It’s simple. Original Altecs are expensive so I decided to make my own.
The story.
After discovering the existence of the A7 and the other VoTT speakers while in college around 2011, I became instantly obsessed. The world of horn-loaded speakers was completely unknown to me at the time and I began to dig deeper into the forums reading about them and all the details surrounding what turned out to be a legendary speaker.
Even though I was a time-impoverished college student with a full class load and a few jobs, I took on this massive project. It’s worth mentioning that school was also the primary enabler in this story. If it weren’t for the huge amount of machinery and awesome woodshops dotted around Ohio State’s campus, none of this would be possible. Not to mention having free access to SolidWorks.
As an aspiring automotive engineer I set out to enhance my CAD skills whenever I could and this project helped me learn the assembly basics. I had modeled pieces and parts before but I need to level up and try out assembly modeling.
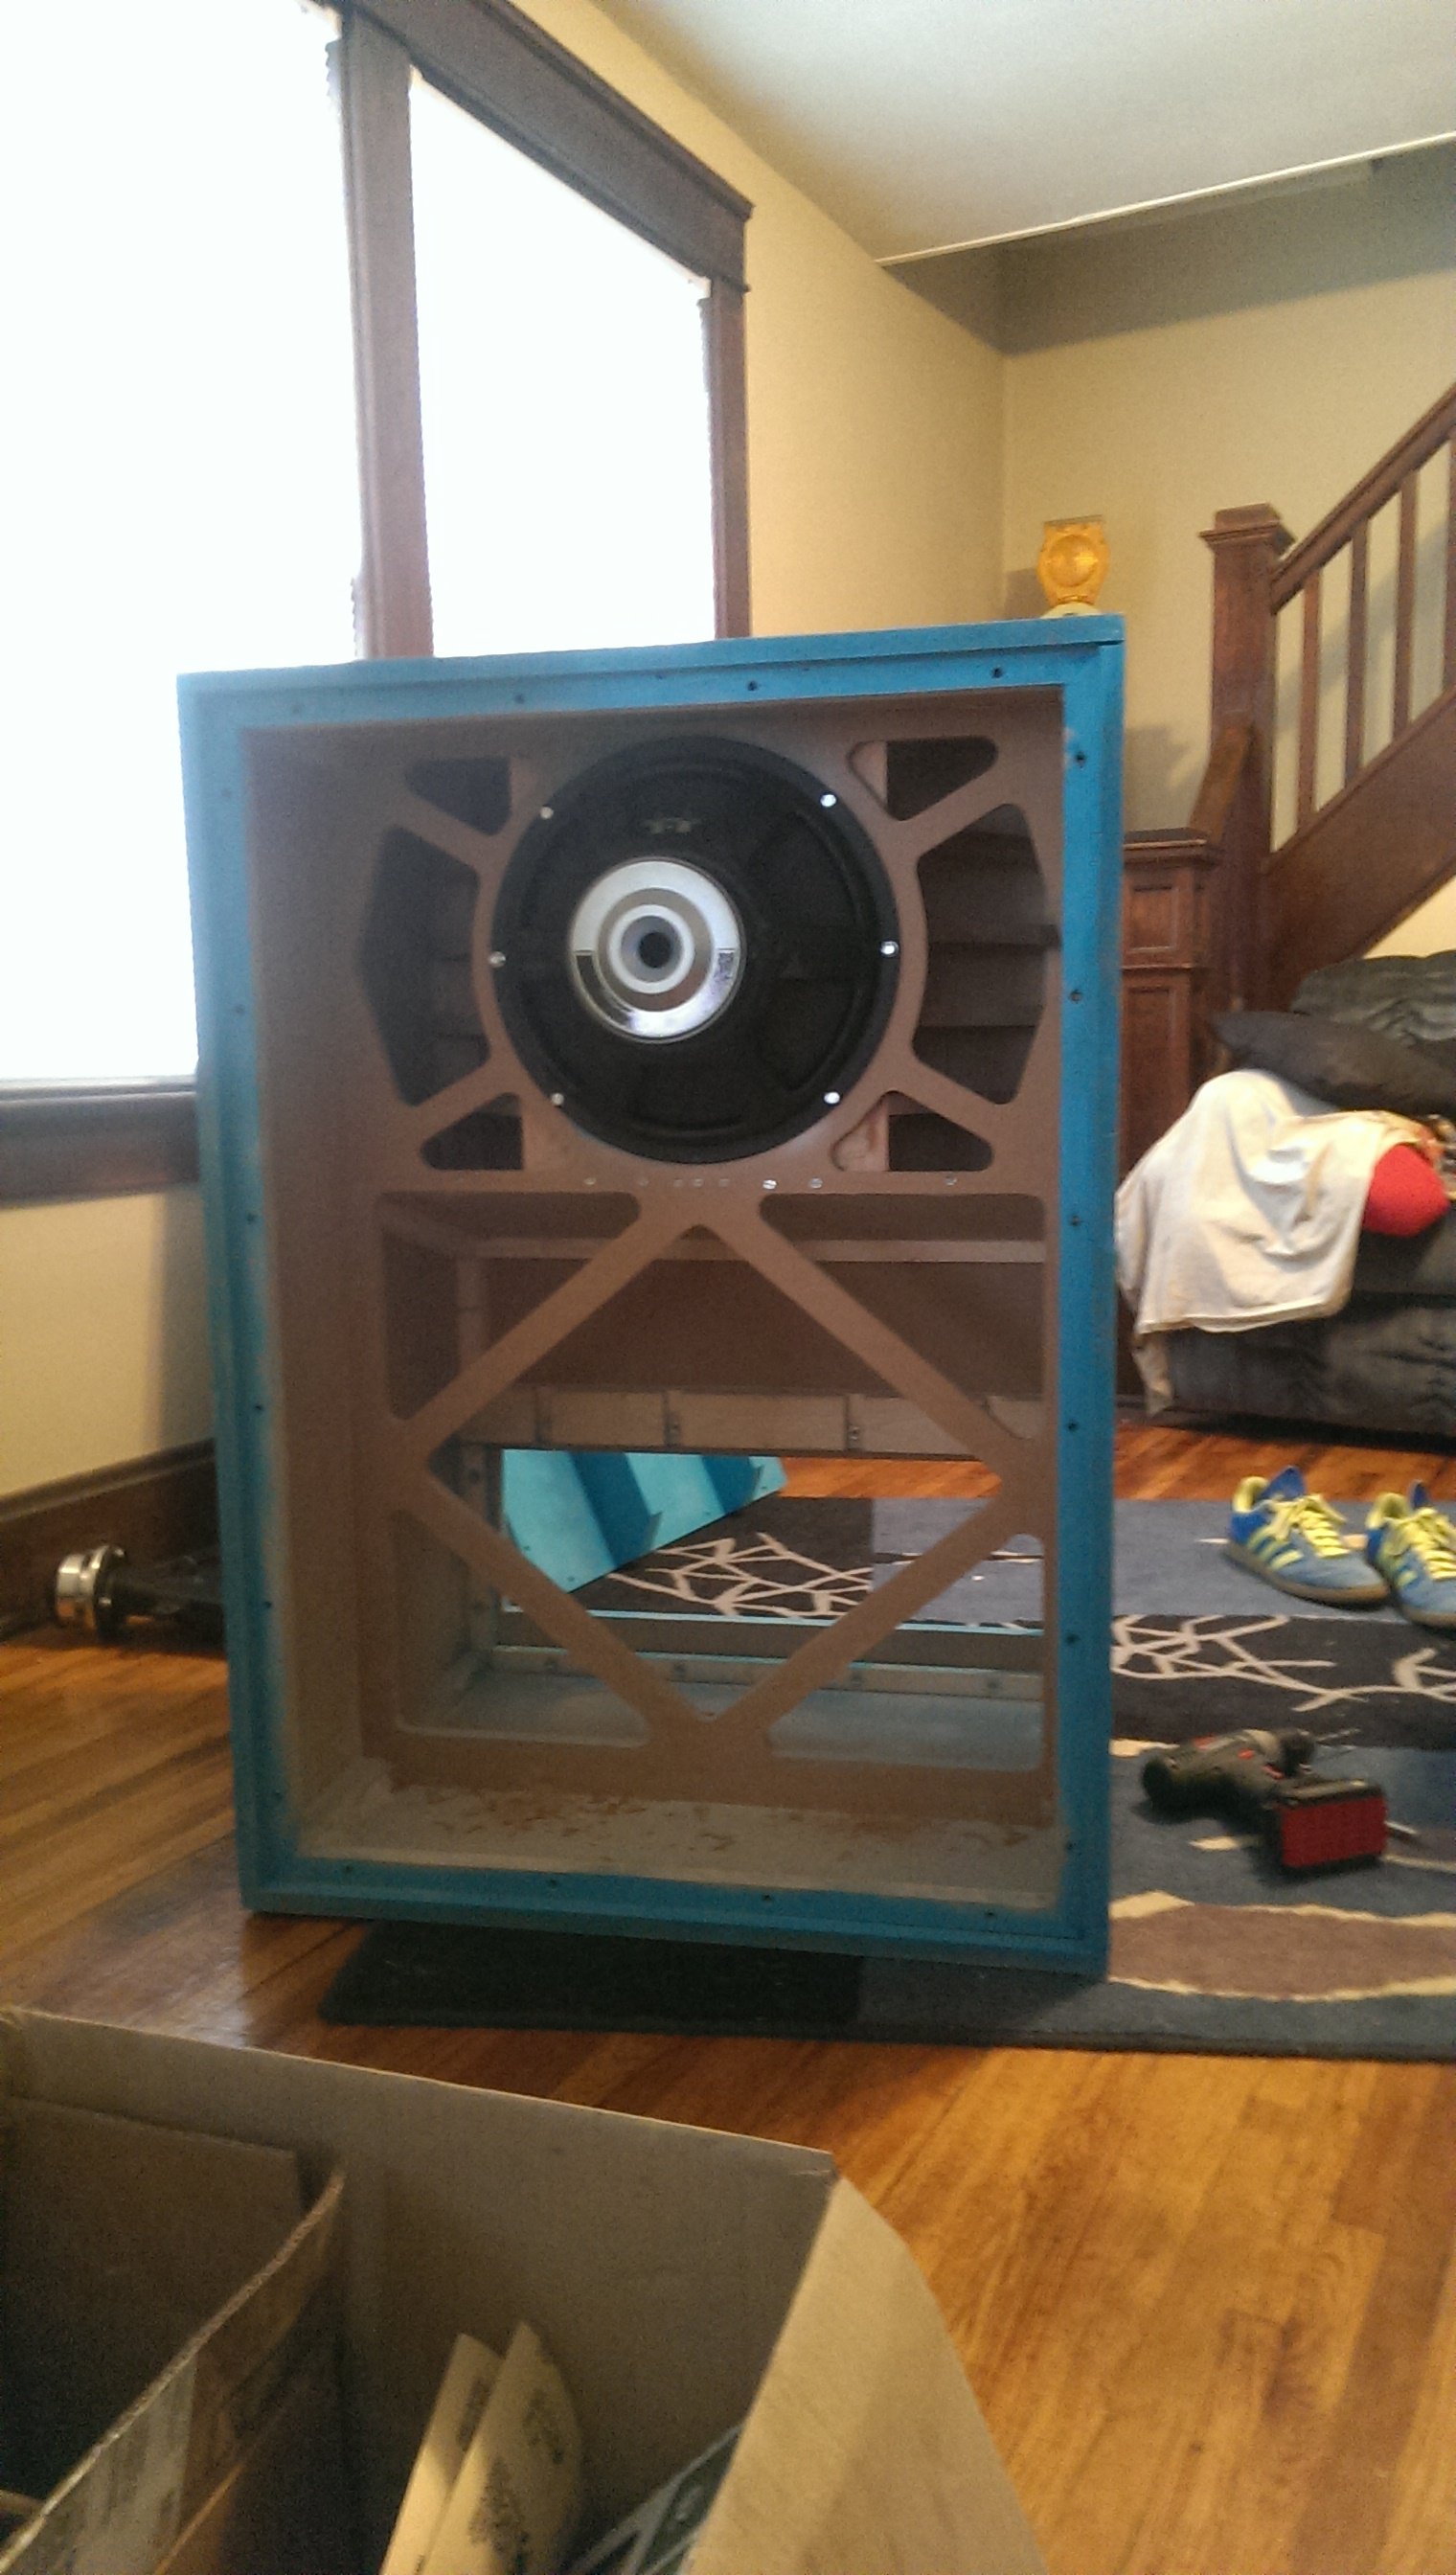
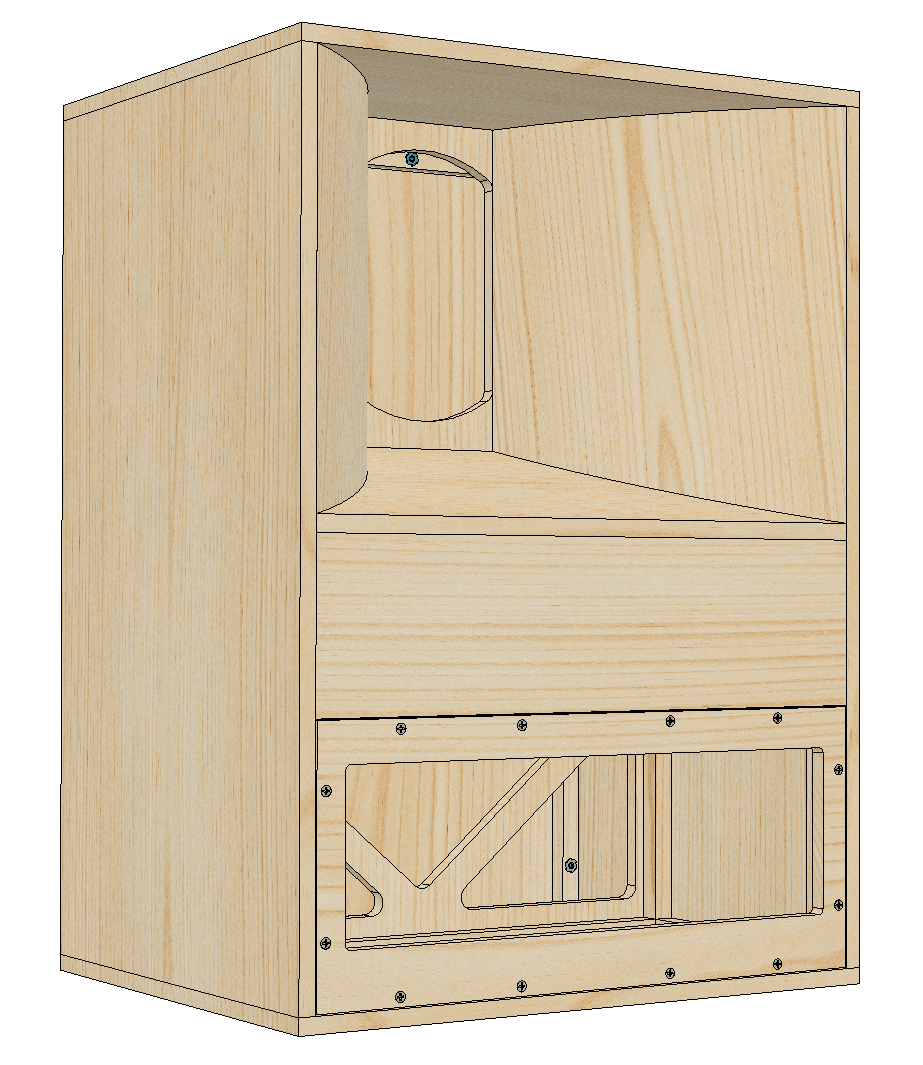
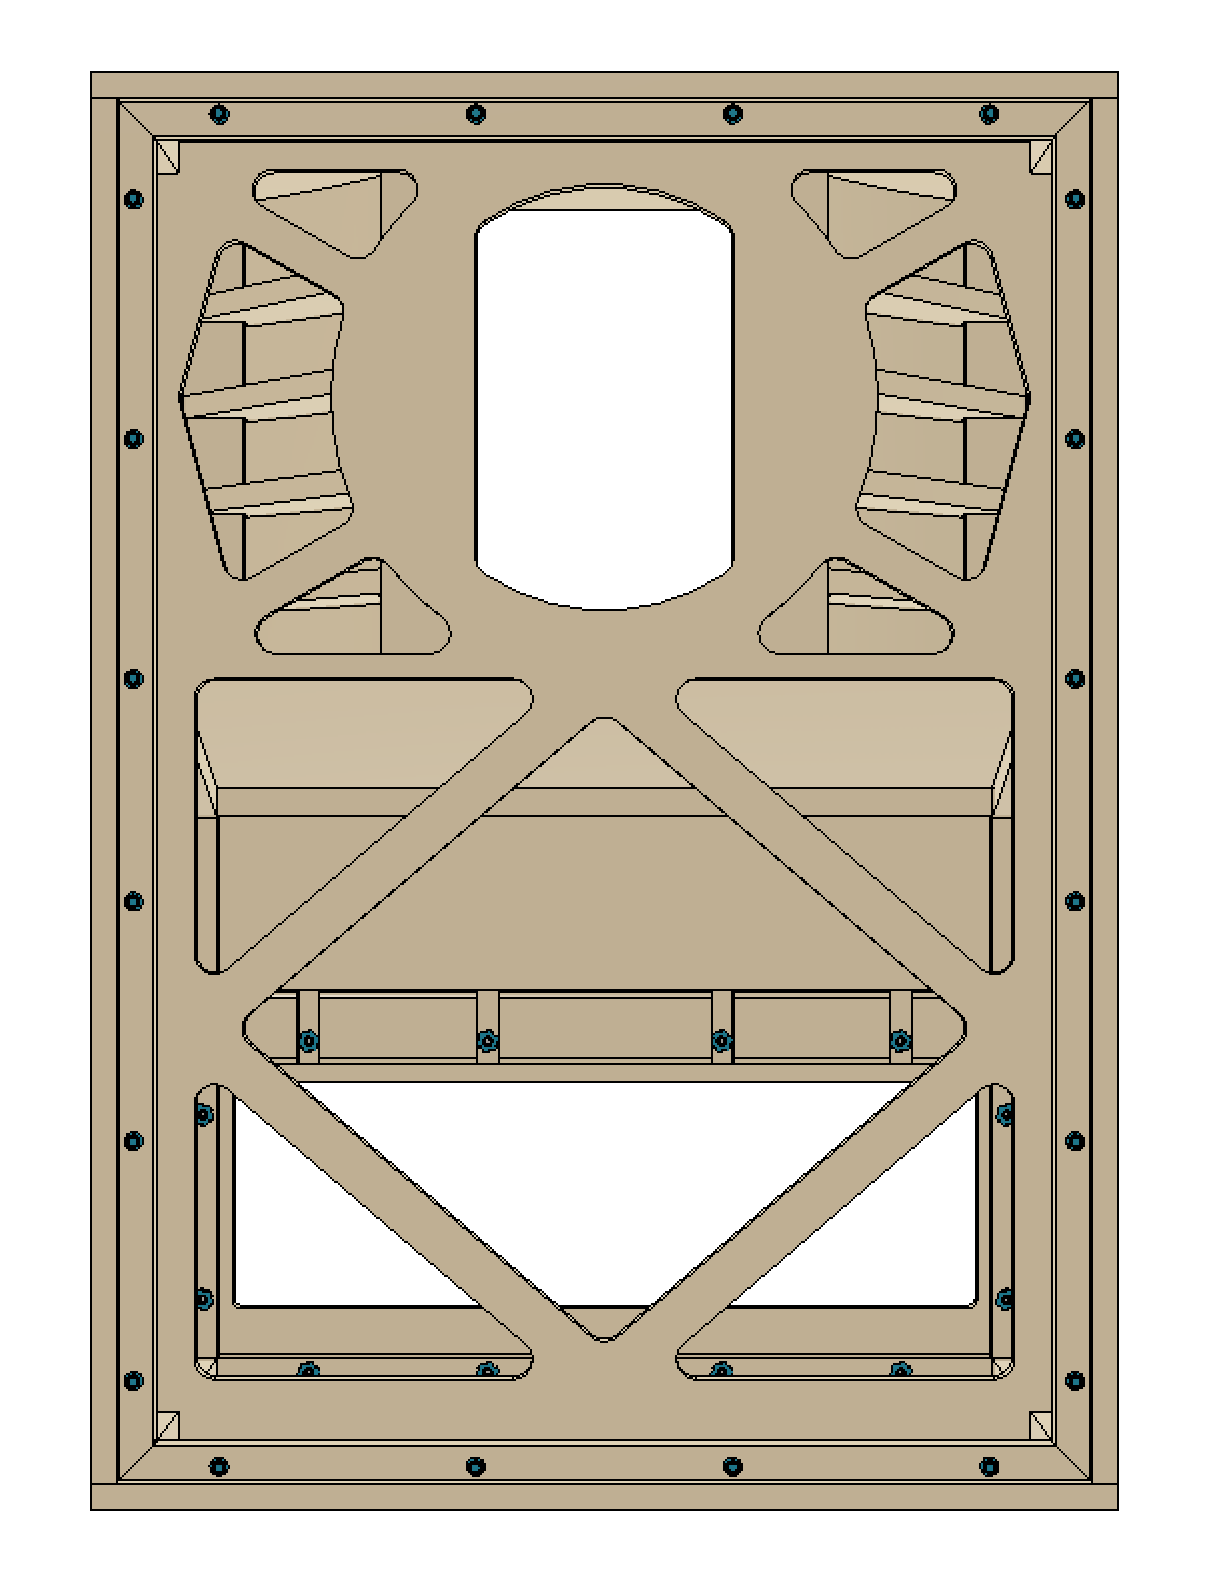
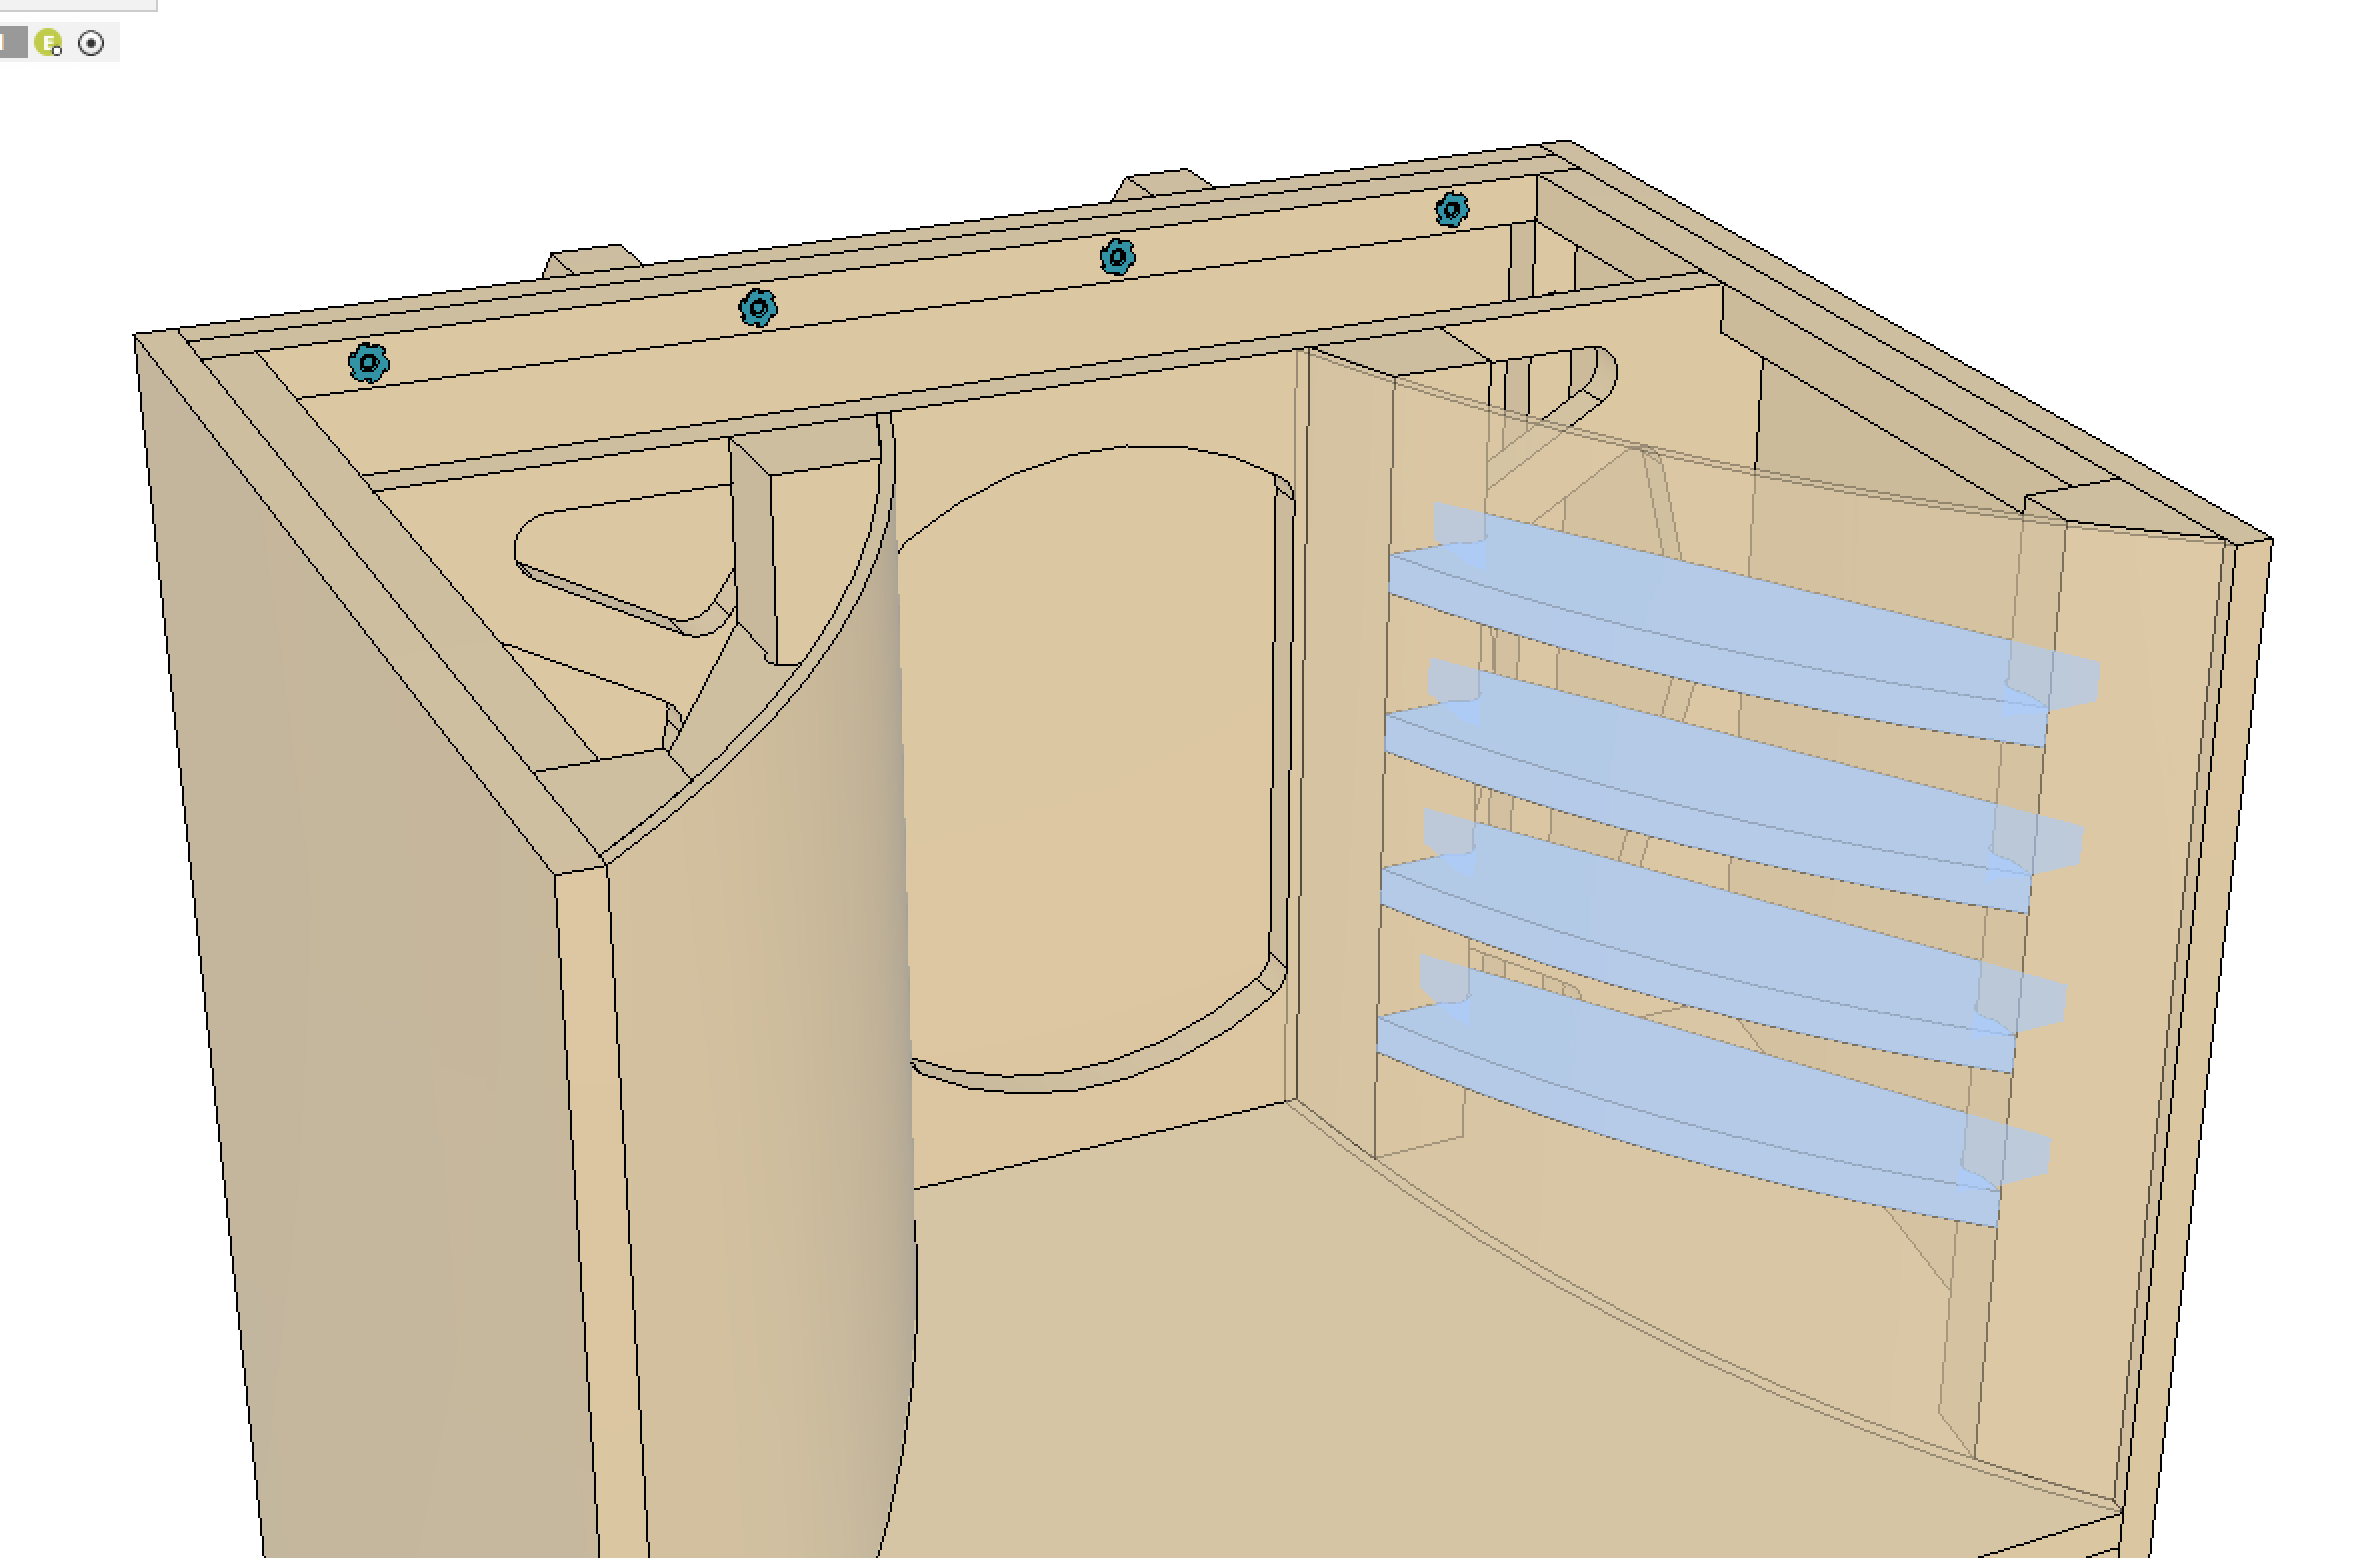
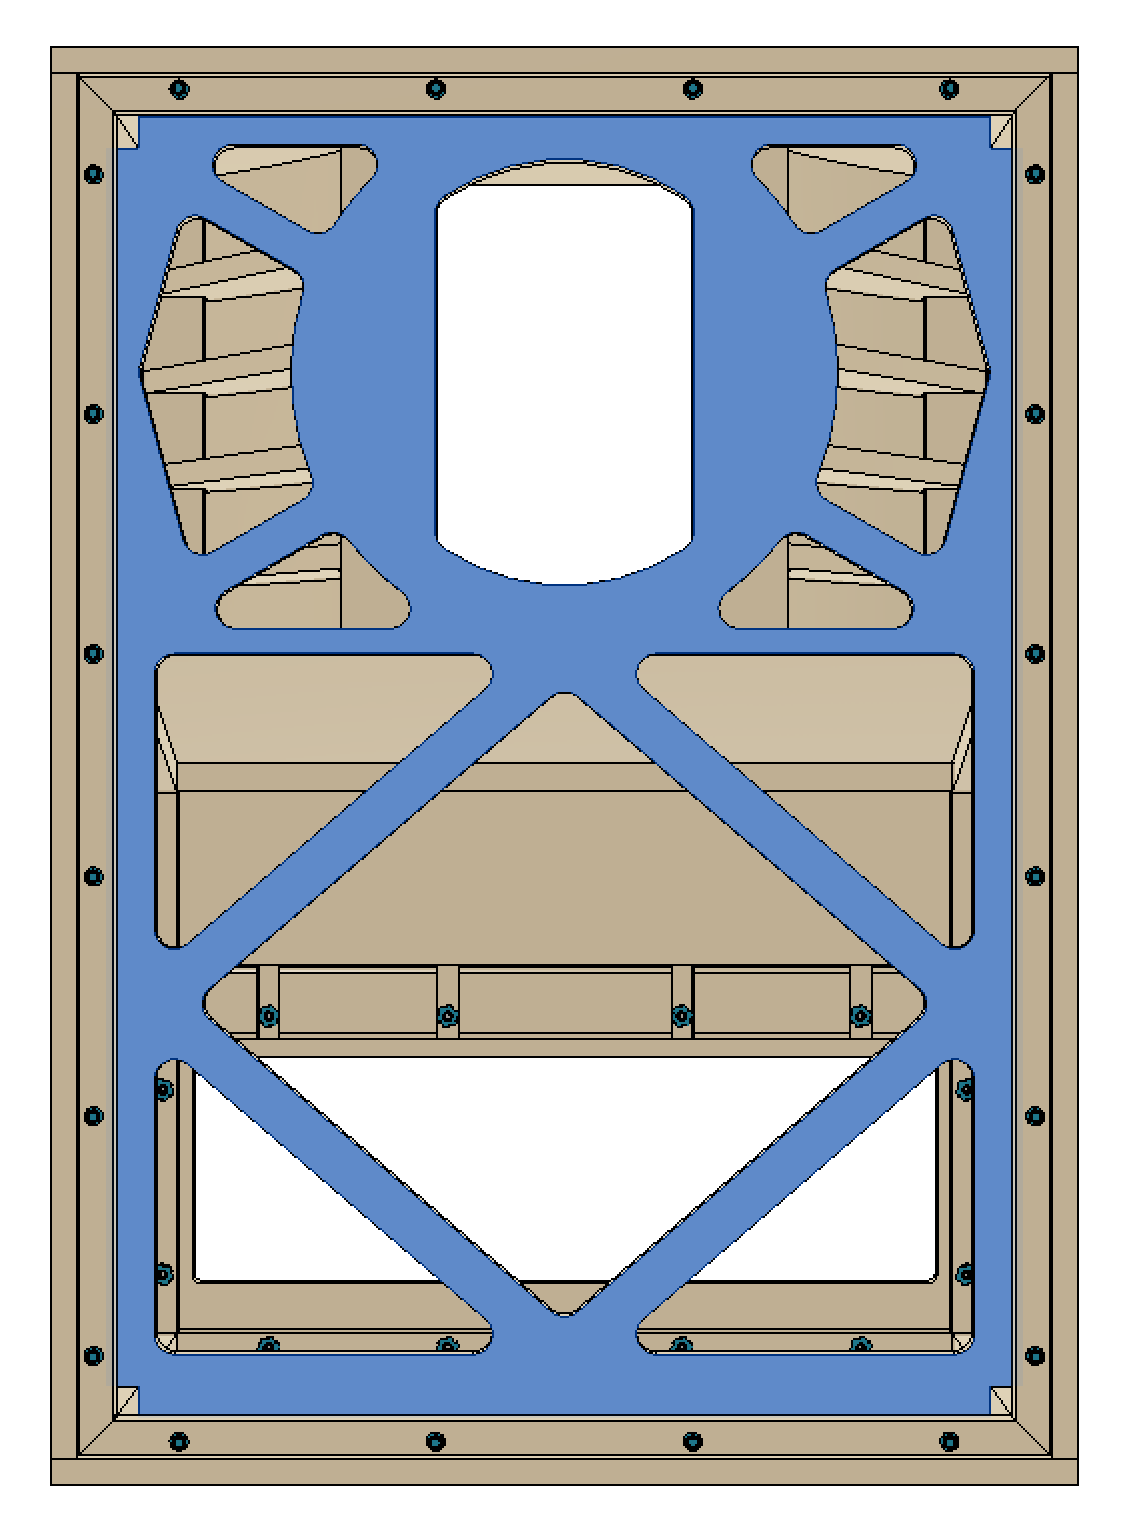
First step was to get the original design into CAD and work to improve from there. I spent a huge amount of time combing the forums gathering all I could about the A7 cabinet’s shortcomings. The modest updates I managed to incorporate centered around the baffle and lack of bracing, both in general and around the horn flare itself. One other major difference between my design and the original is the material choice. I decided early on that I would use ¾” MDF which meant that a clean sheet design was necessary as the original 828 was 5/8” panel thickness.
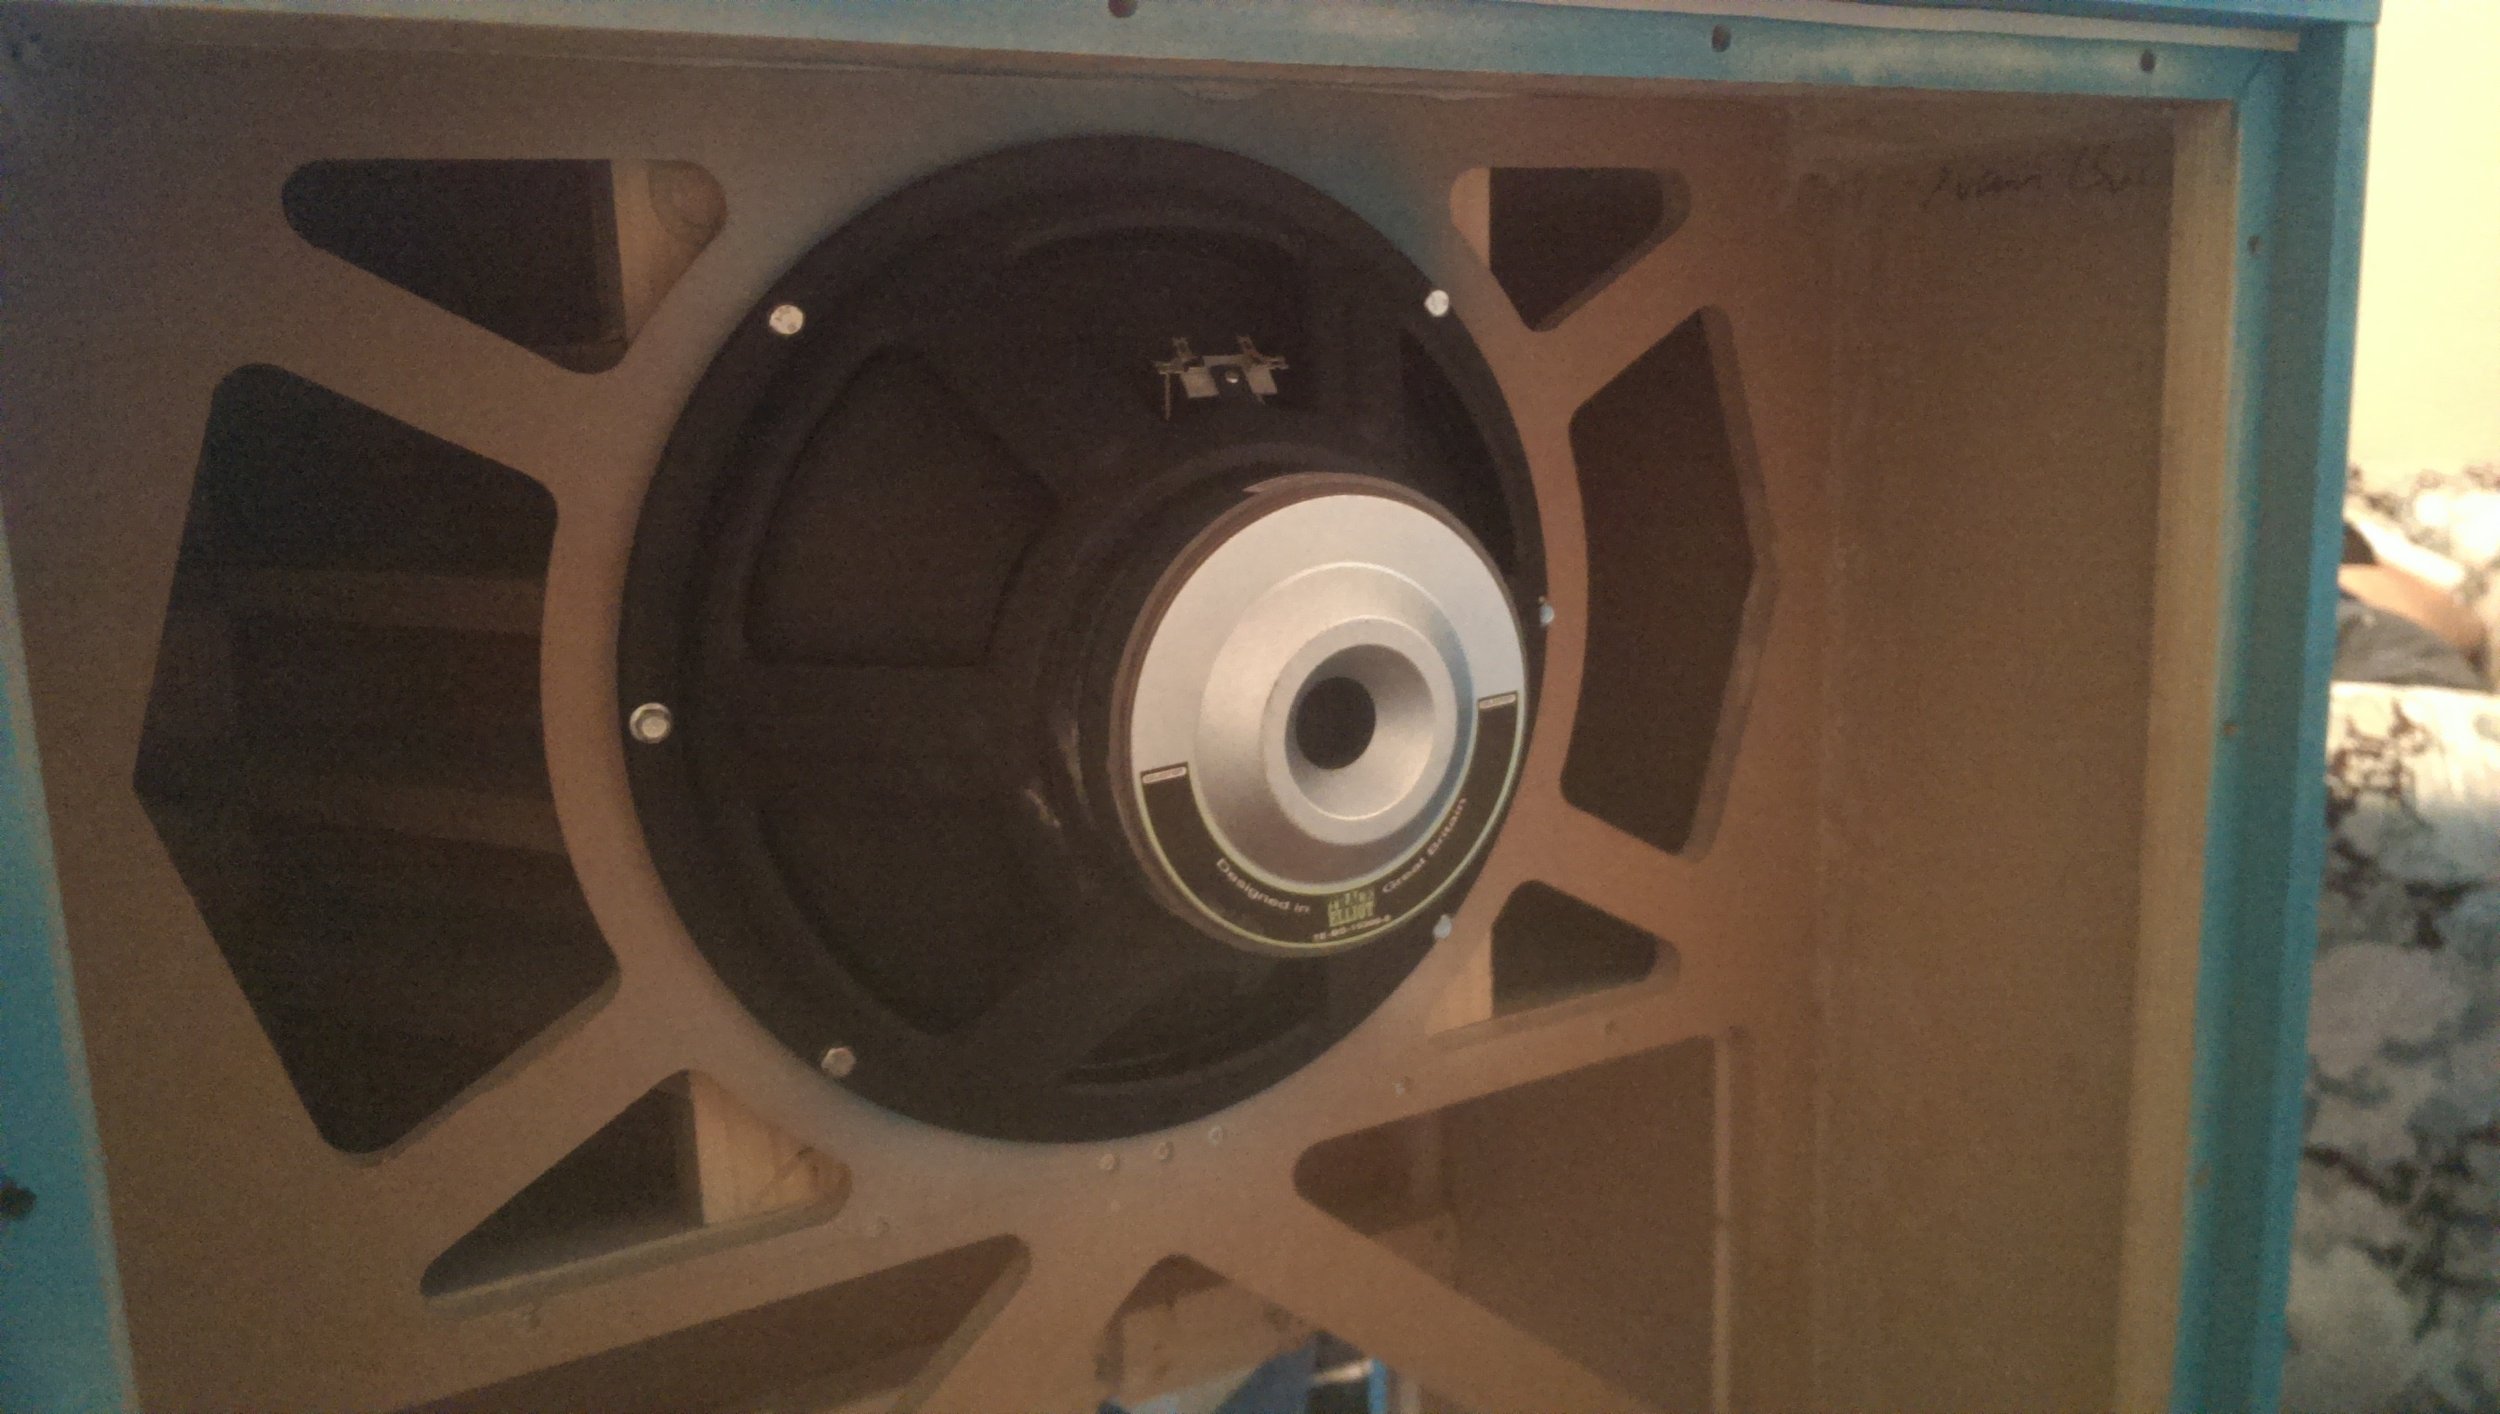
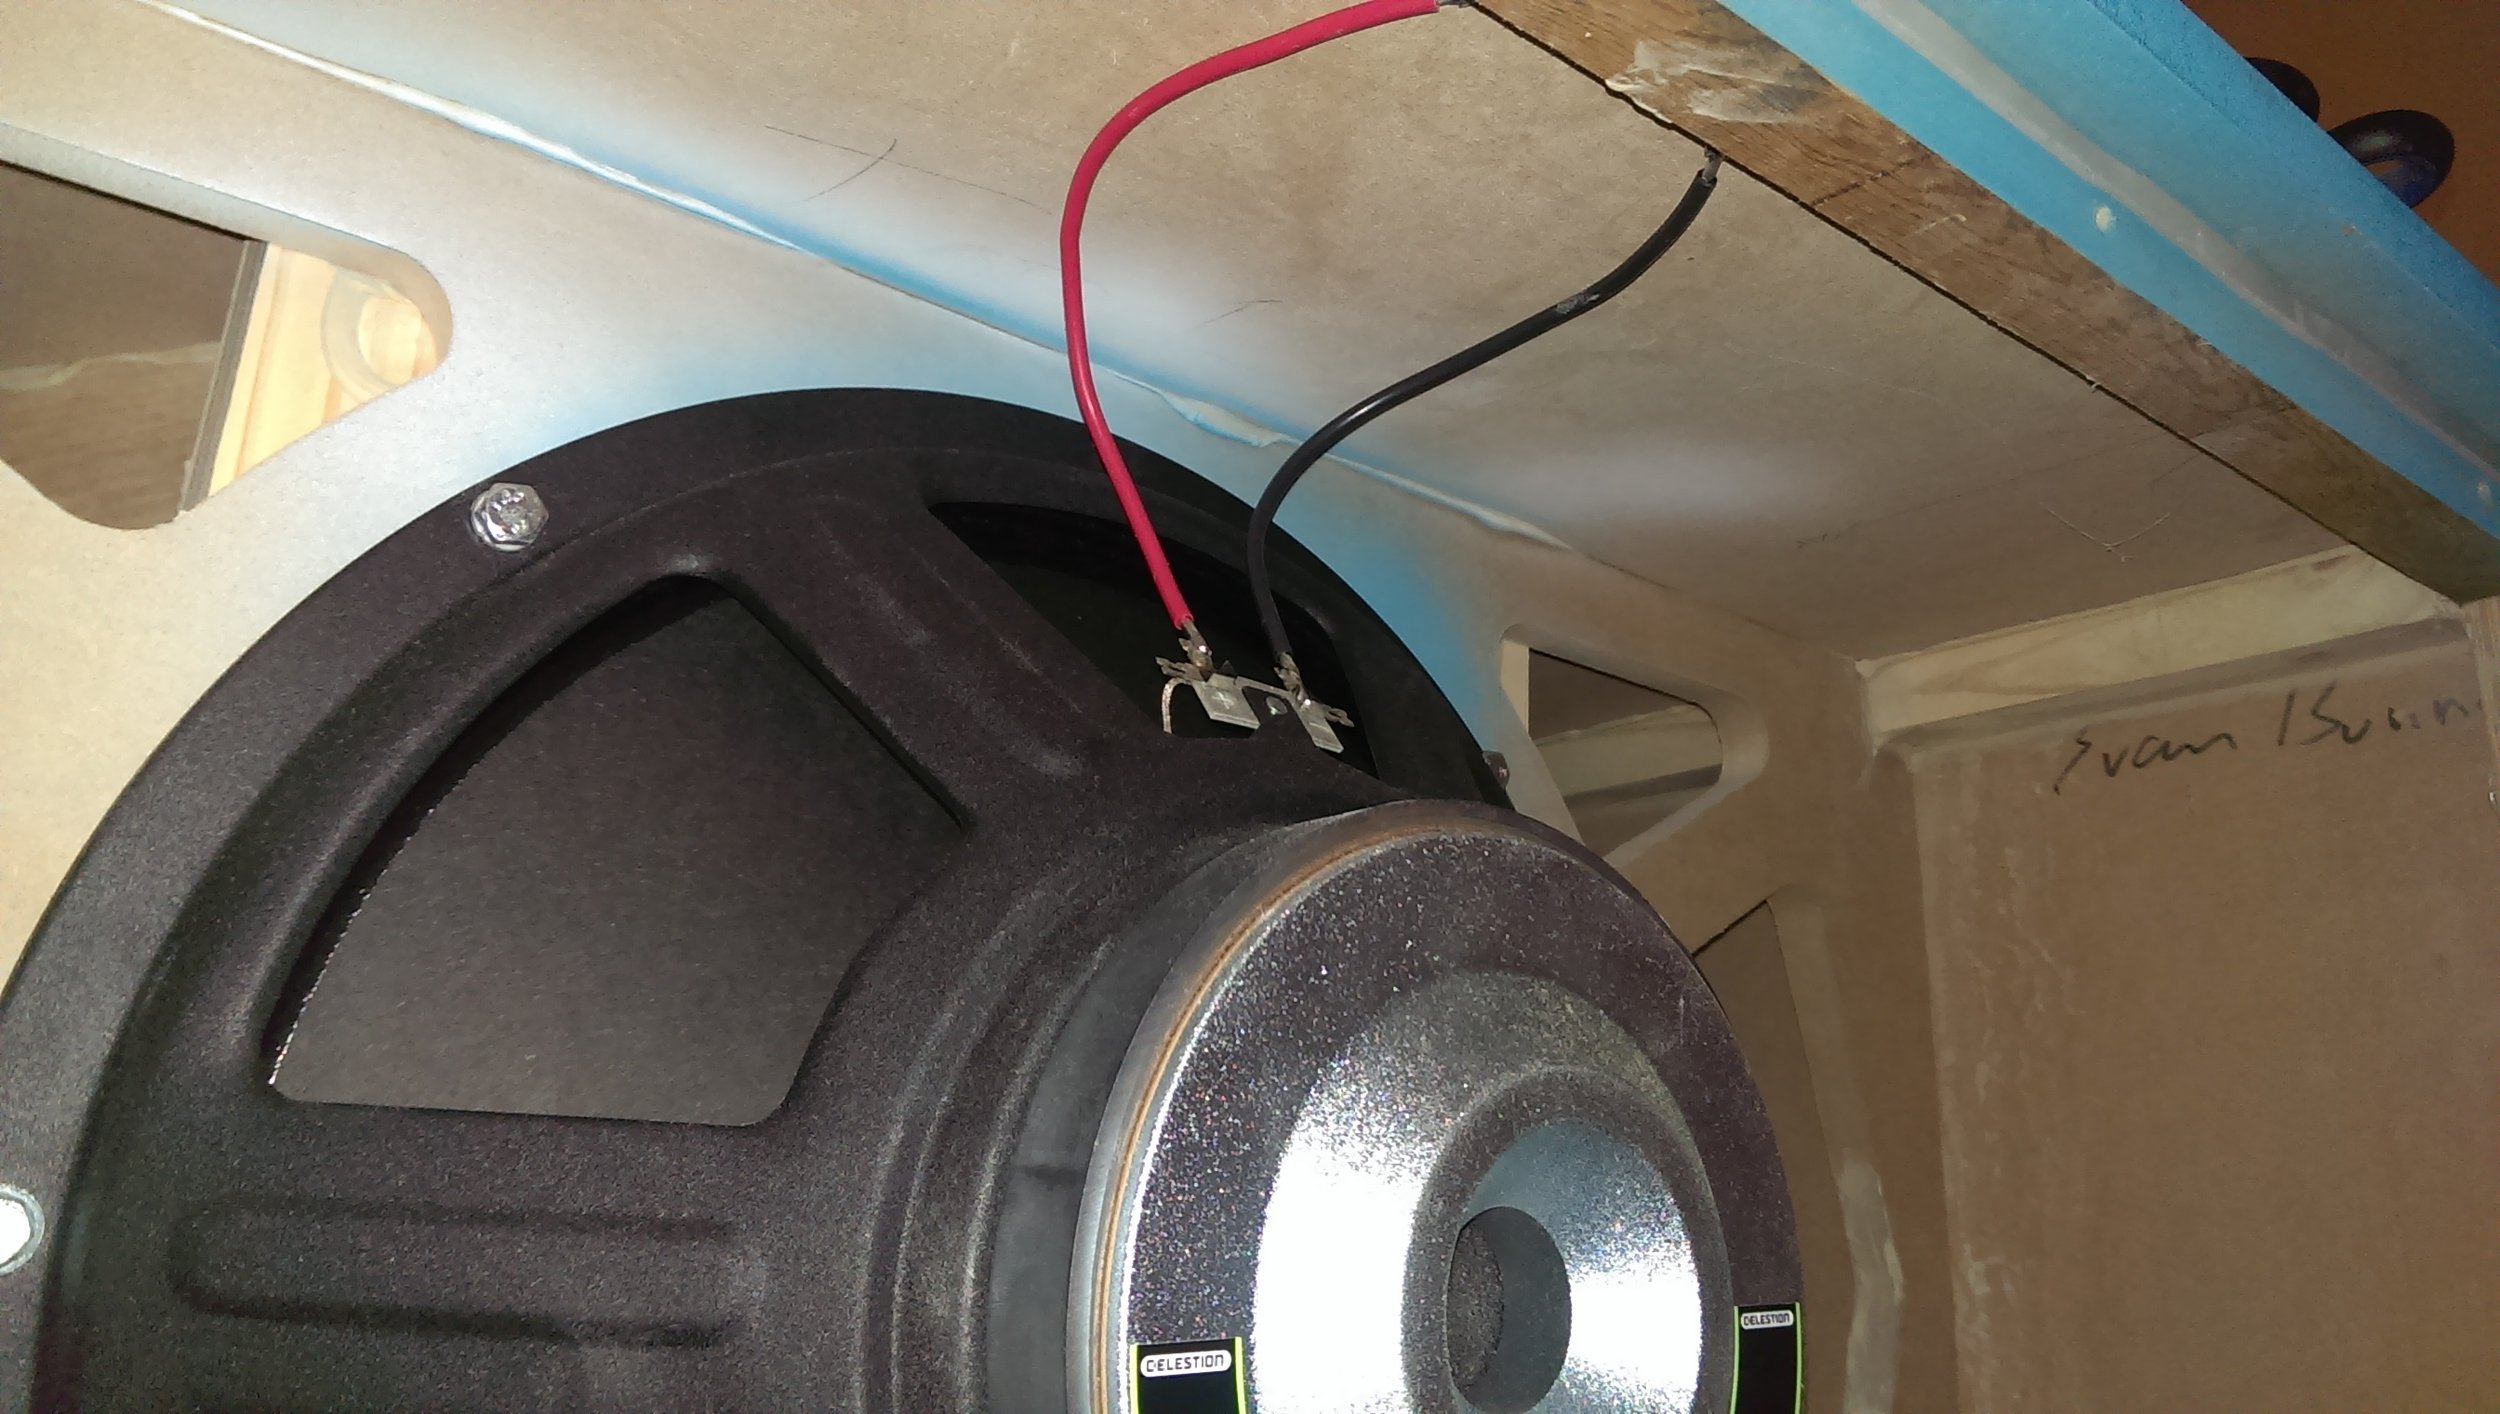
Since I was a broke college student and always on a budget, I went with some pretty affordable transducer hardware. The Celestion woofers were chosen mainly due to the fact that they were cheap and even then, I convinced my parents to get them for me as a Christmas gift. I think at the time they cost a whopping $60 each as they were buy-outs on Parts-Express.
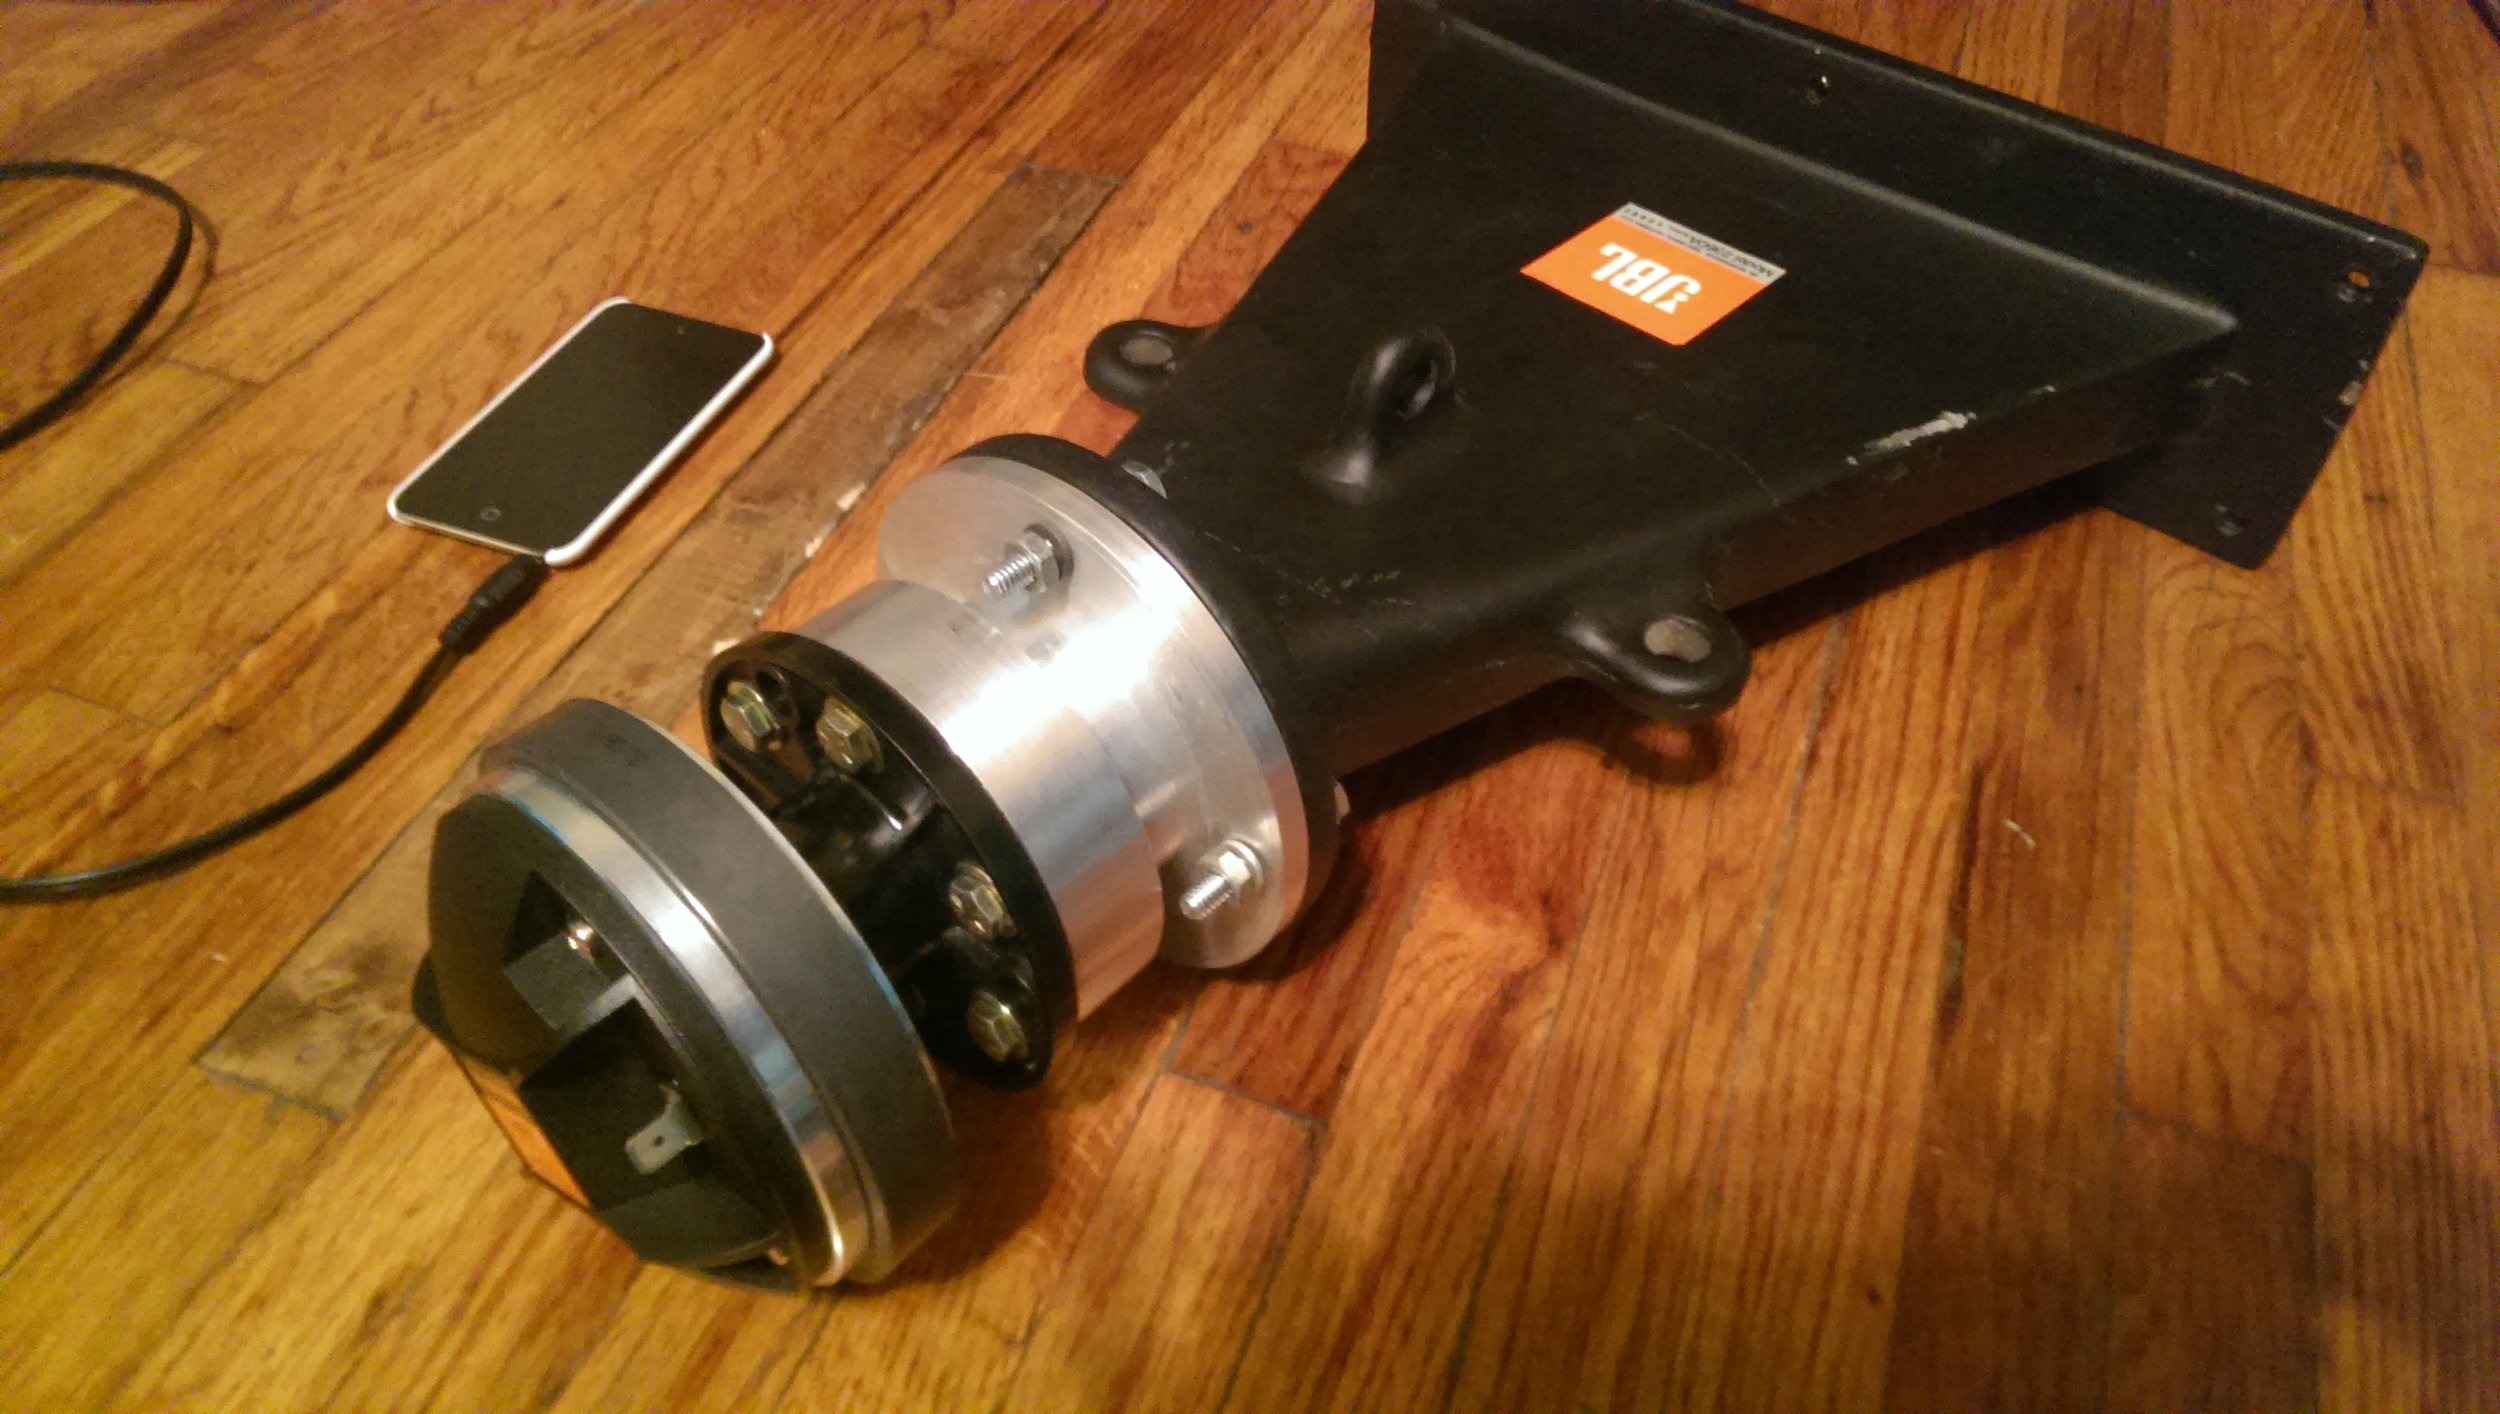
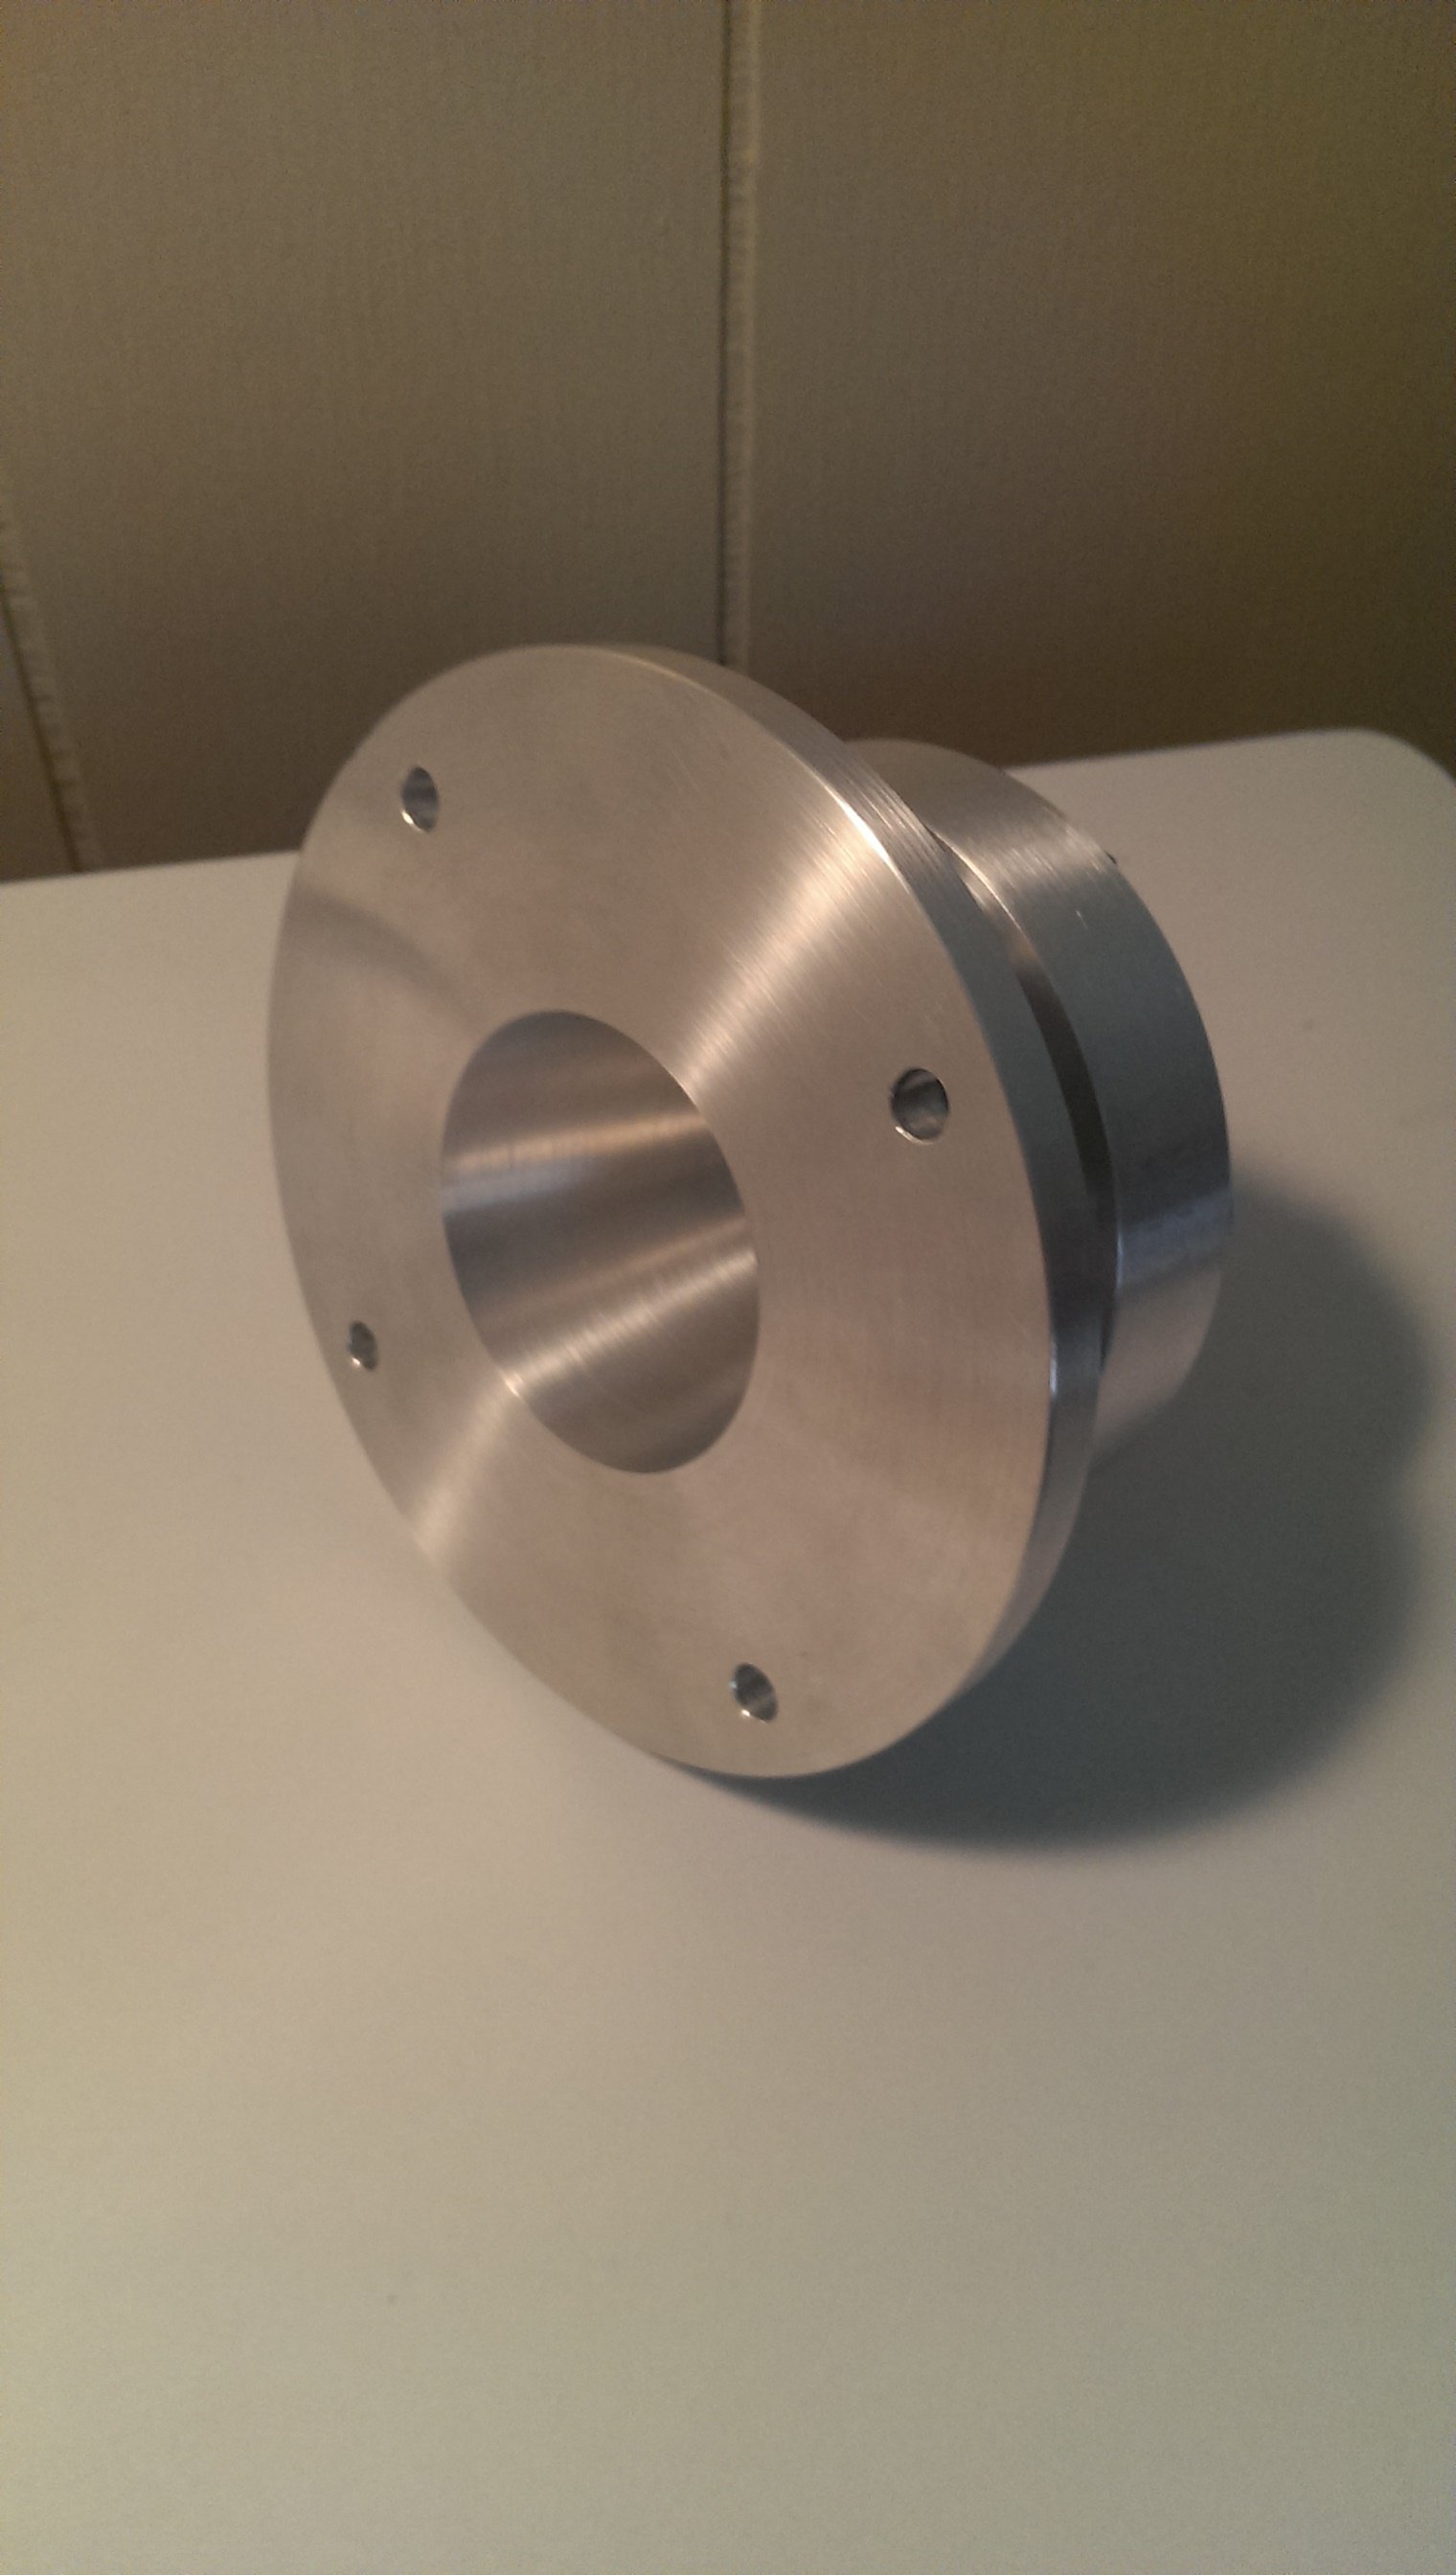
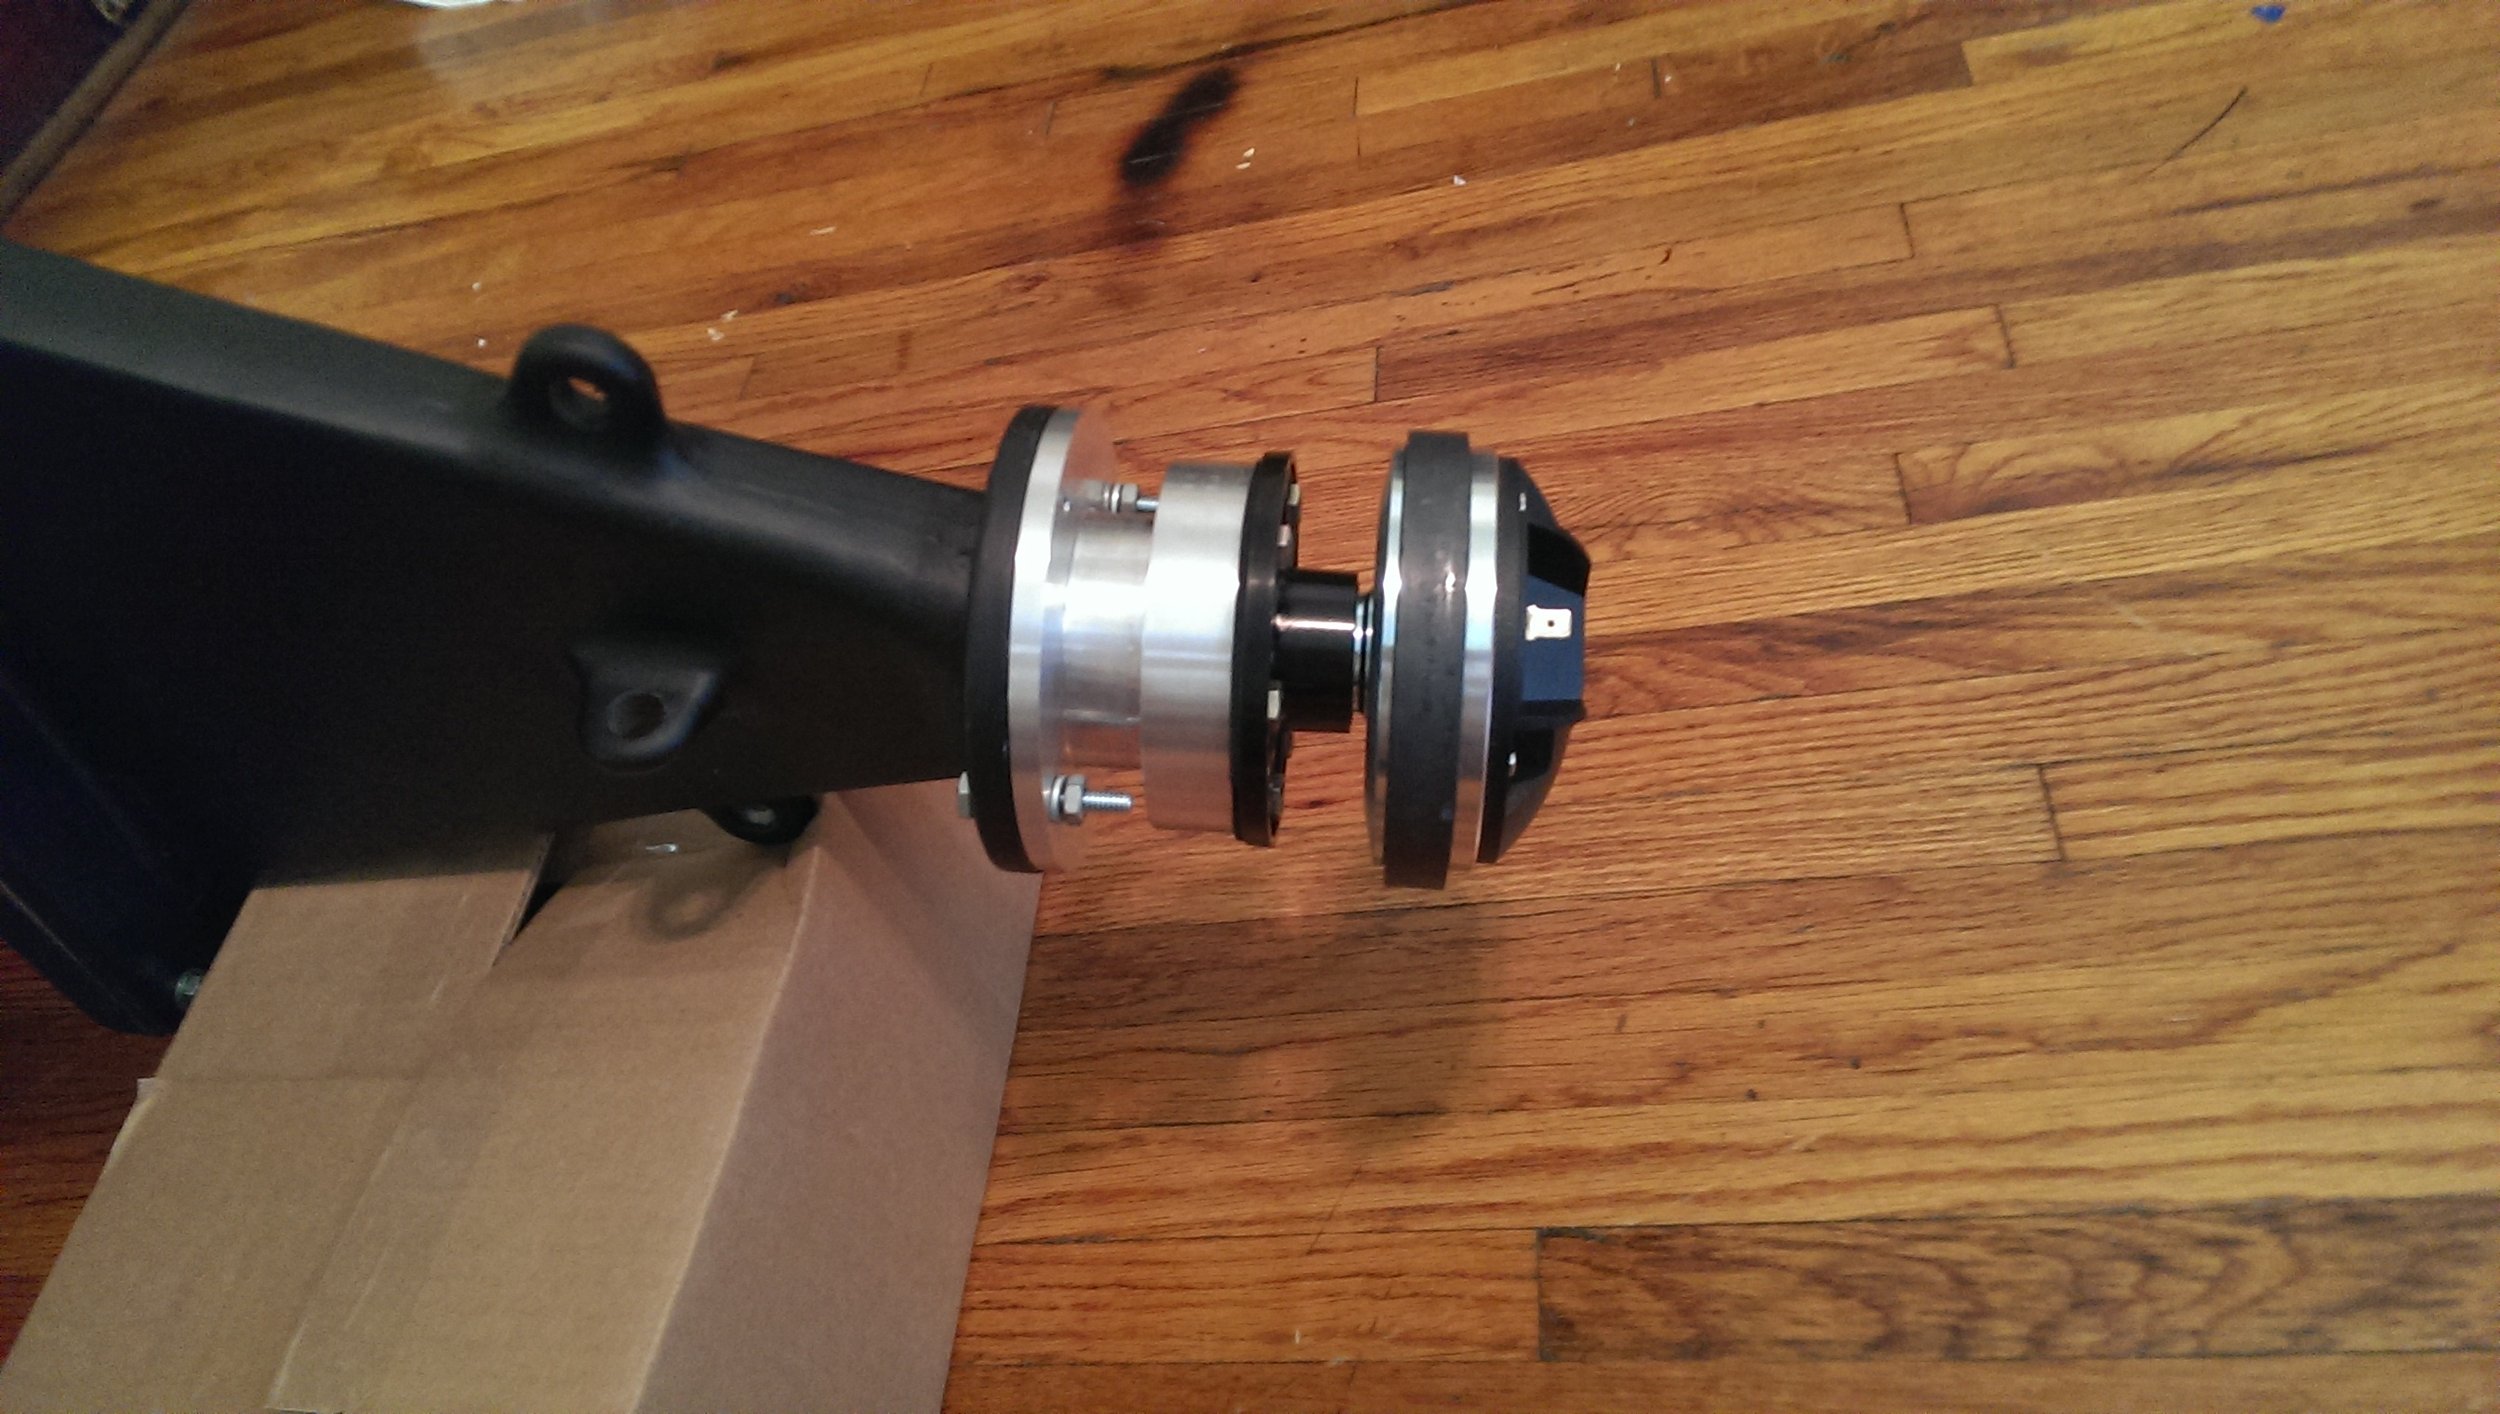
Not having much money to do this project made the HF horn the most difficult hurdle. Original Altec horns 511/811 horns were just too expensive for me and pretty much impossible for me to get my hands on at the time. Period correct compression drivers would be completely out of the question. I contacted many audio repair shops around town, online and over the phone. Eventually I discovered the deal of a lifetime and scored not just two but three original JBL 2360A horns from a craigslist ad in Cincinnati. Believe it or not, those three horns set me back a whopping $110 (without drivers) and cost of gas for my friend’s borrowed Honda Pilot – no way were three of these fitting in my car. Since I had some of the greatest bi-radial horns on planet earth I had to find something that worked with them. It took forever but I ended up pulling an all-nighter to turn some aluminum adapters on the lathe at school but I managed to get a screw-to-flange adapter and aluminum taper adapter to connect some Selenium D-220Ti’s.
To make use of the 2360A’s I had to also build a set of brackets. Luckily the shop at my University had an industrial grade metal shear and brake so I was able to fabricate some aluminum ones with the help of my roommate in about a day.
Driven by an old set of amplifiers (Yamaha P2201 for woofers and Niles SI275 for the compression drivers) I implemented another bargain find - UREI 5235 crossover that I bought from my local guitar center store for an impressive $20. To make it work I etched my own filter cards that were set to make the crossover 1200Hz. The preamp was record store find, a rather temperamental BeoMaster 5500 but it had the badass MCP5500, a remote very fitting of the caliber and power of the system!
This was the main configuration for about two years. The house predictably became party central and hosted several, deafening college ragers over the final few semesters of my college education. Luckily, in 2014 I managed to graduate and secure an amazing opportunity as an R&D engineer in Detroit for a large automotive Tier-1. Sadly this meant the speakers couldn’t come with me and stayed in storage in my parents house for 3+ years or so and then also got handed off to a friends storage unit where they would spend another 2ish years.
Zoom forward to 2020 and I’m living and working in Germany. I had been doing so for over two years at that point and looking for a change. Luckily, in the midst of the pandemic I was able to secure my dream job - becoming a design engineer where I would be developing audio systems for new automobiles. I would start working at Tymphany, one of the largest audio ODM’s on the planet. This meant returning to America and getting my stuff back under the same roof. Luckily this meant I could dust off the A7’s! I managed to find an apartment large enough to contain the A7s and allow me to set the room up properly.
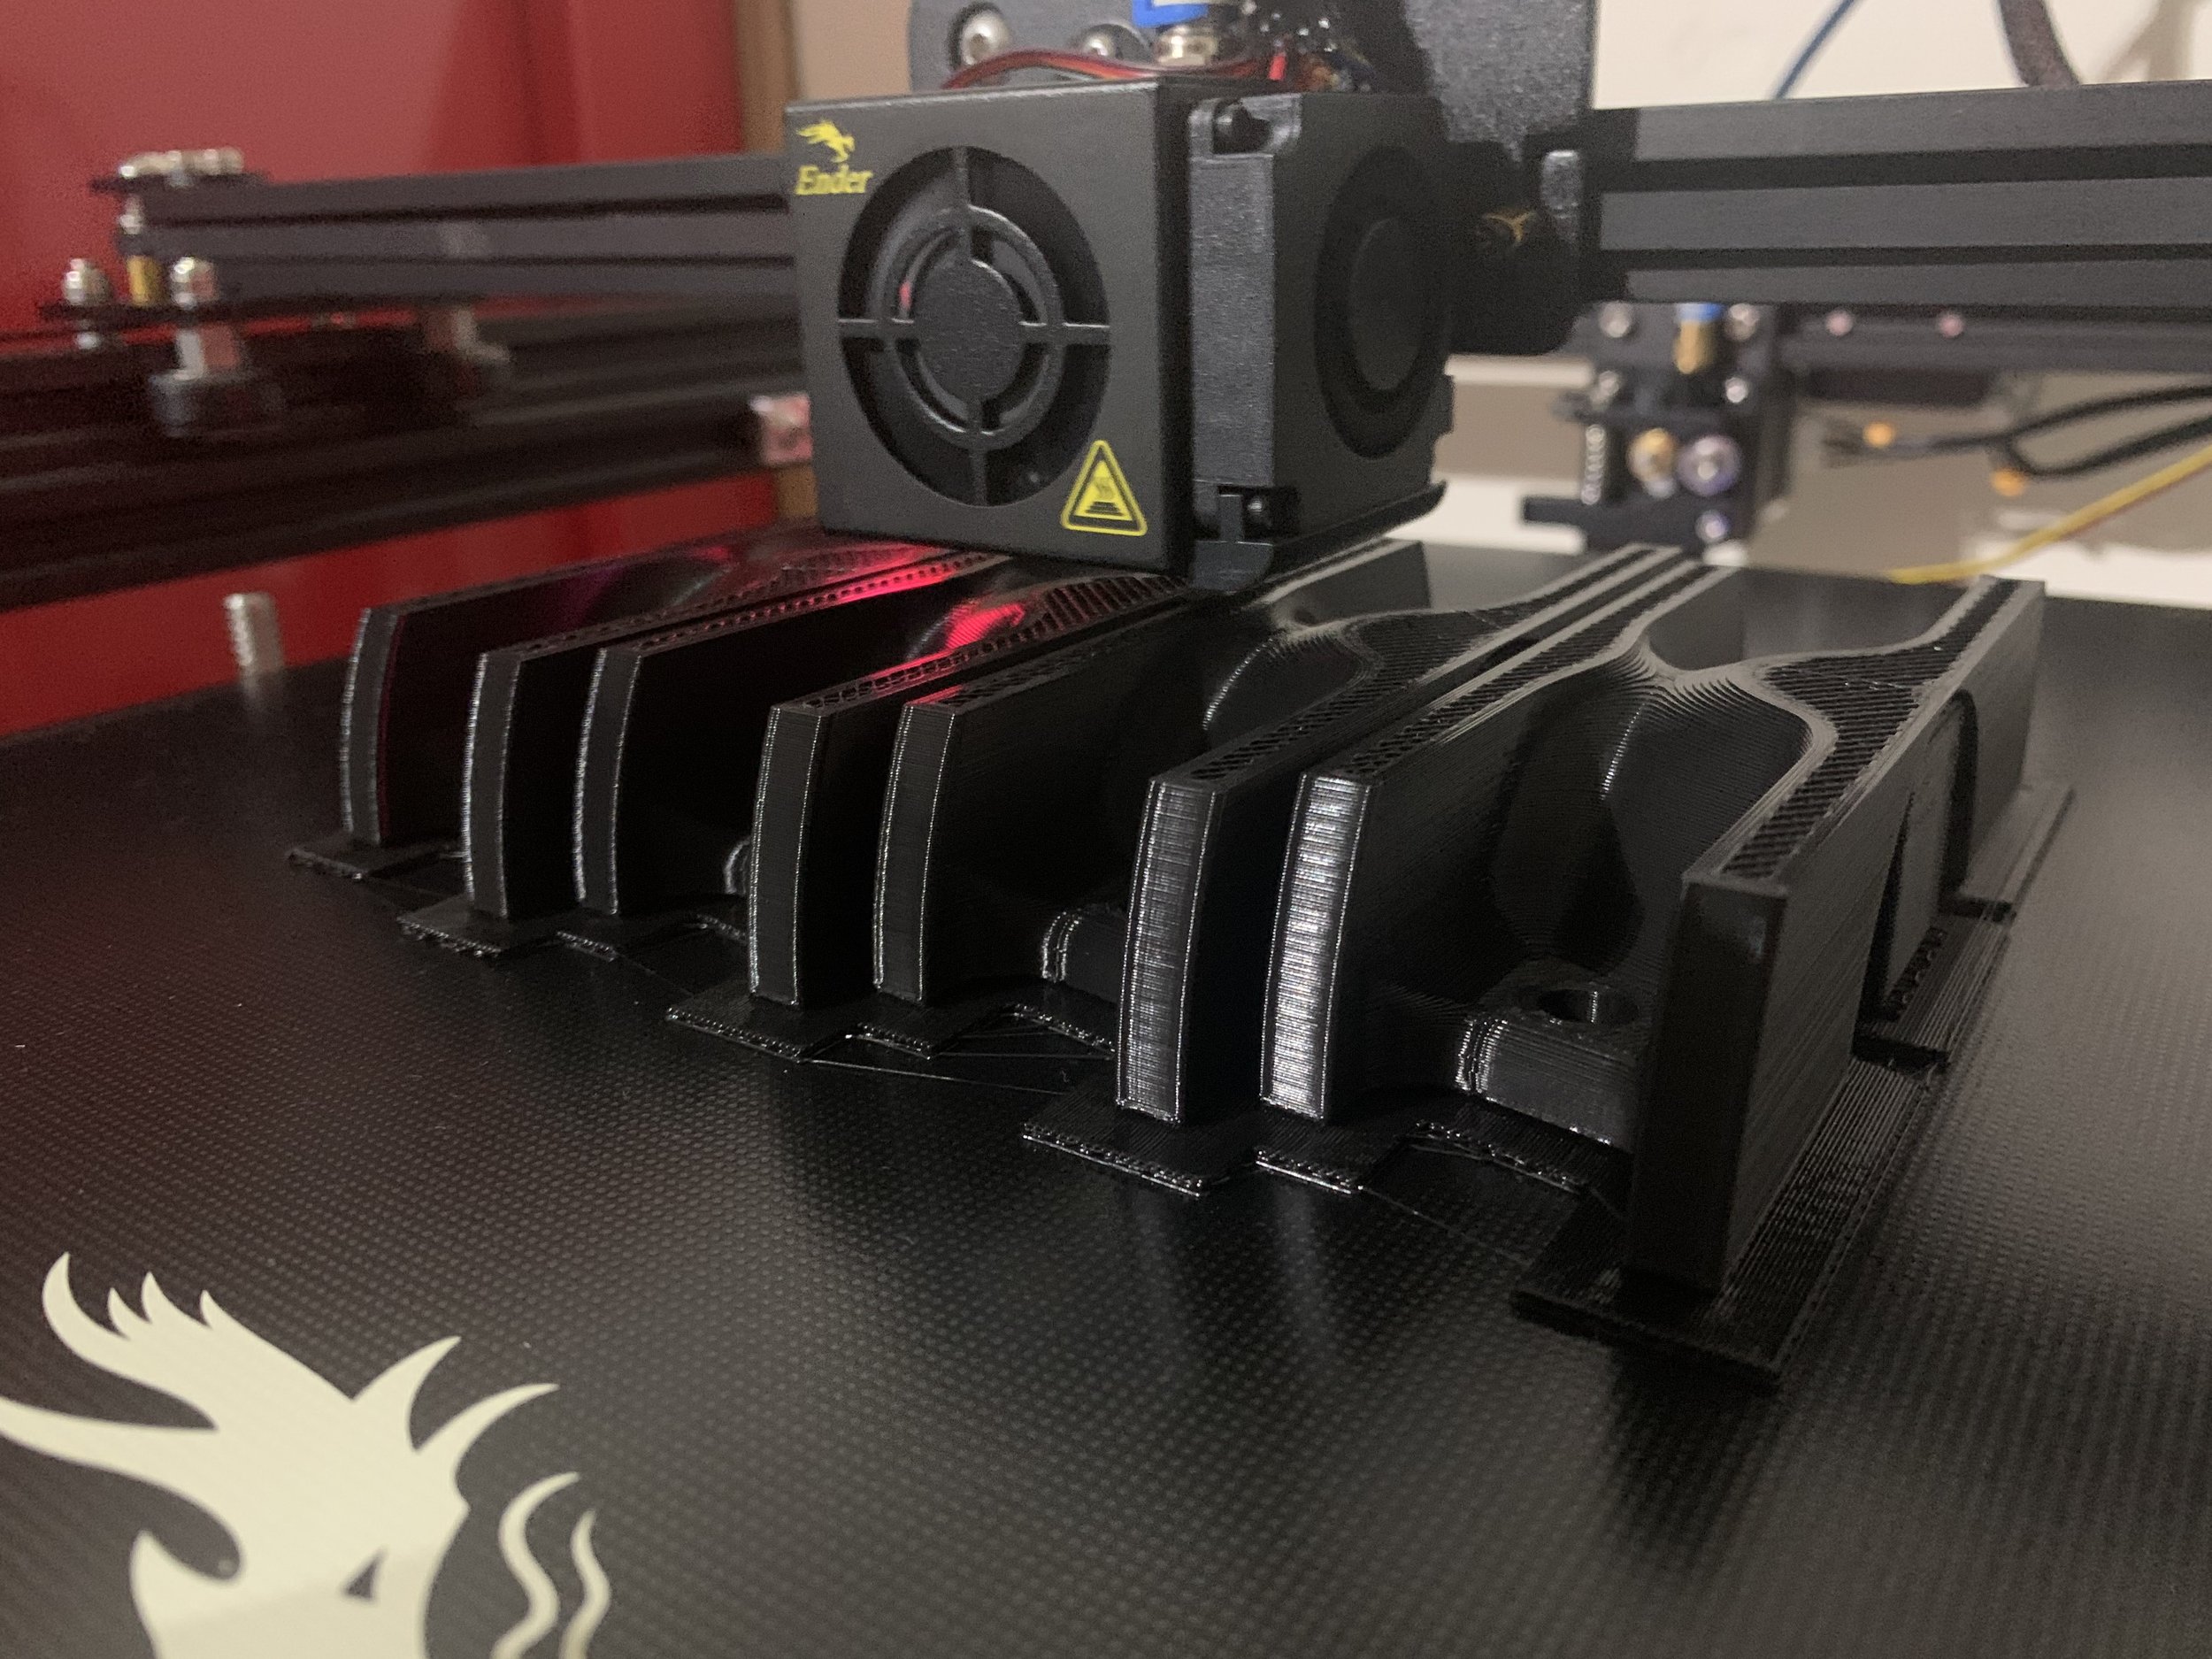
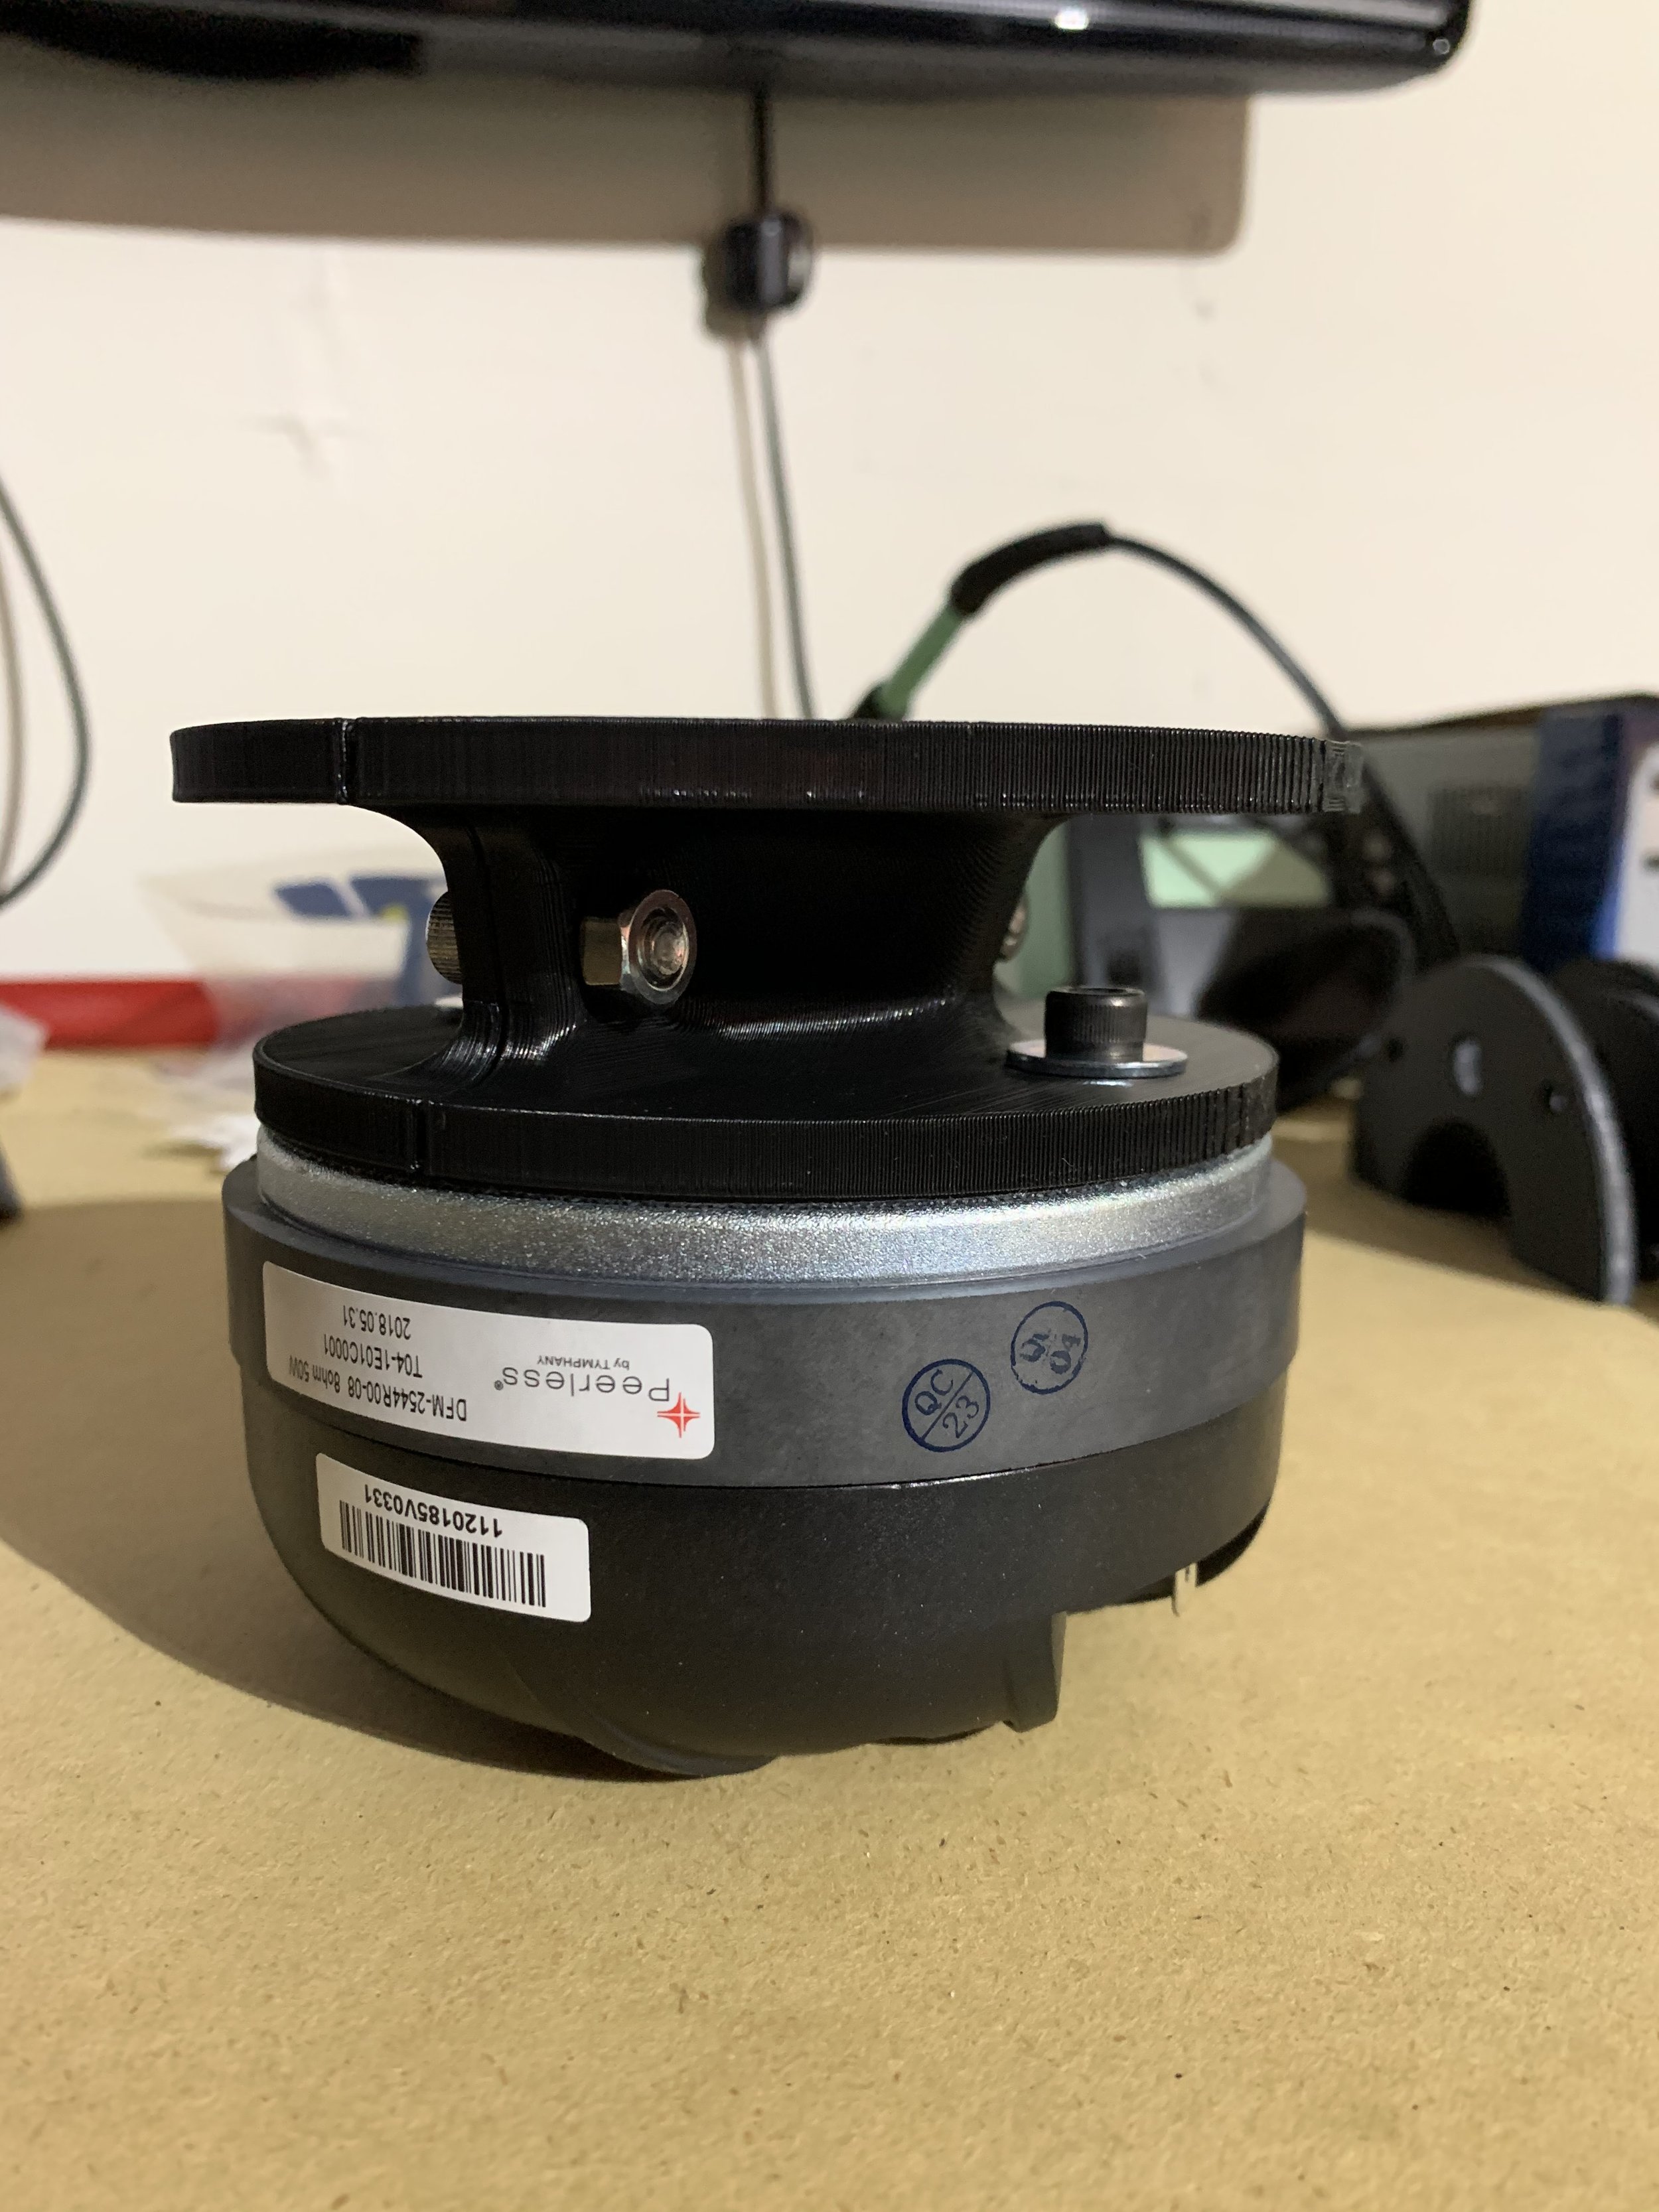
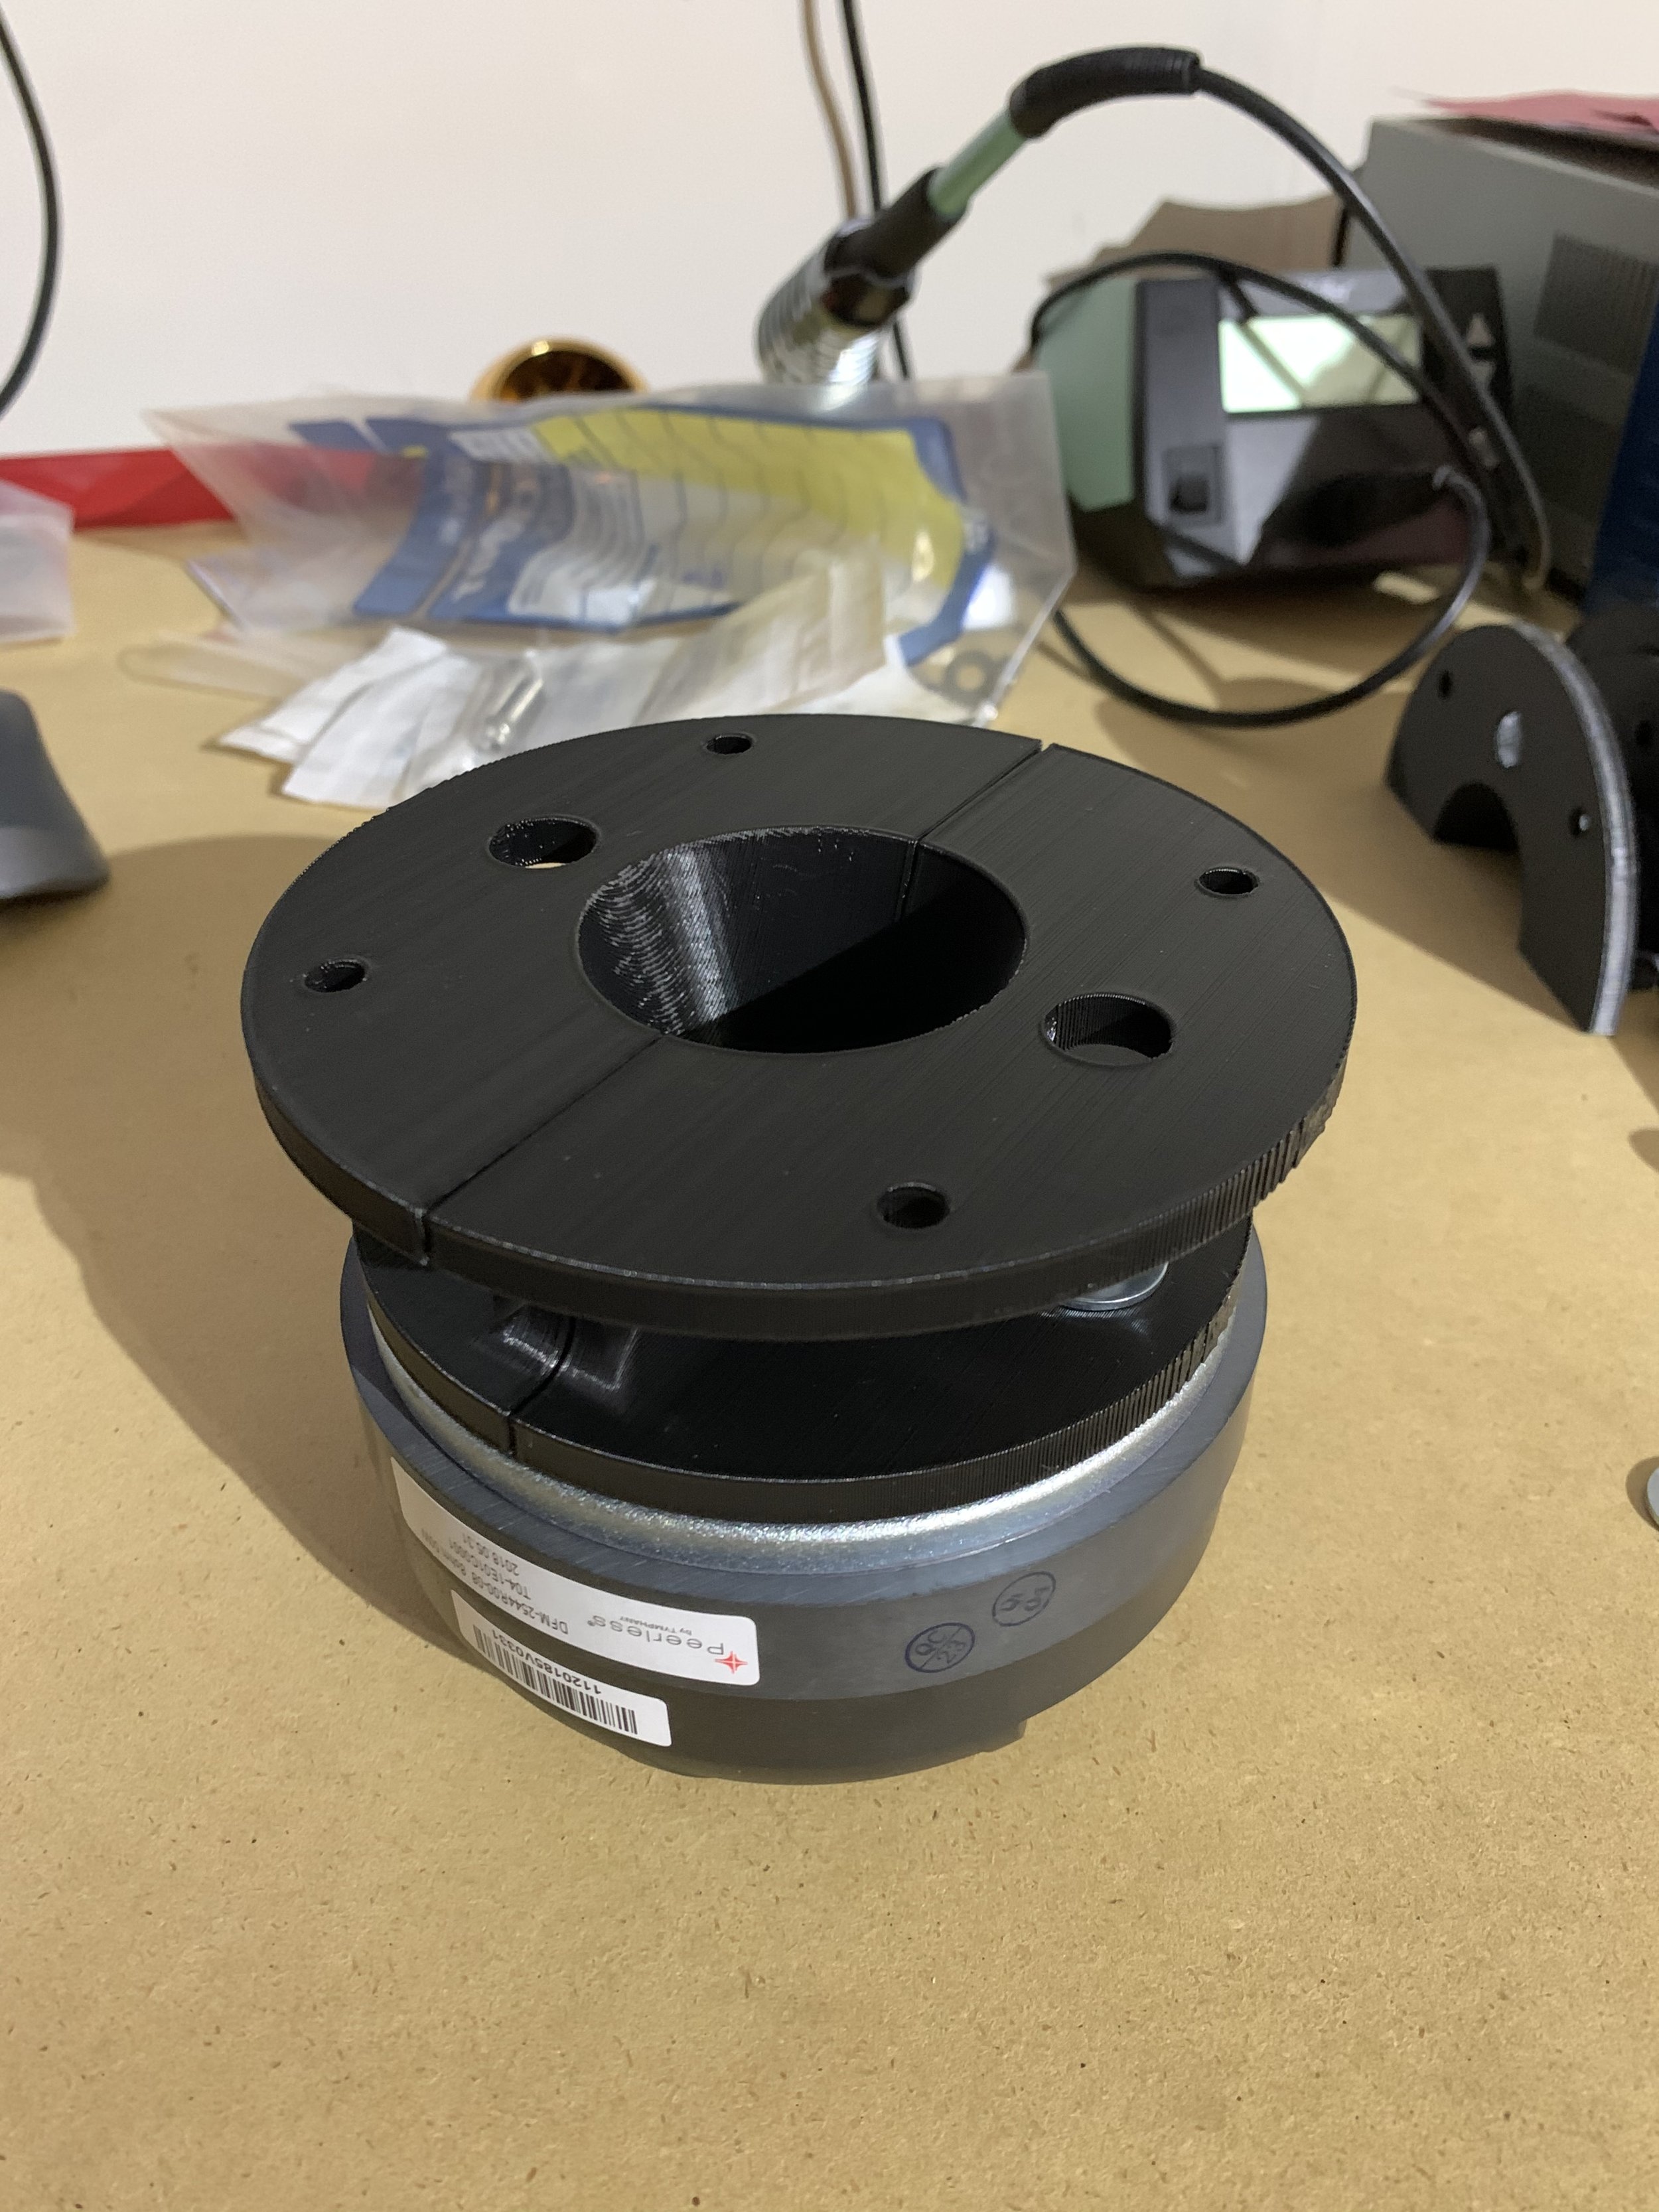
Now fully integrated into the audio industry professionally, I started to up my game with the A7s. First things fist, I added Tymphany Peerless transducers. The Selenium D220Ti was always harsh sounding to my ears so it was great to be able to put some Peerless DFM-2544s on after 3D printing a new adapter (available on downloads page) to mate them to the 2360. I also managed to get my hands on some very early builds of the new Peerless NCP-1540 woofers but I needed to swap in some spacers as they had so much excursion, they could potentially strike the inside baffle face. However that would come much later.
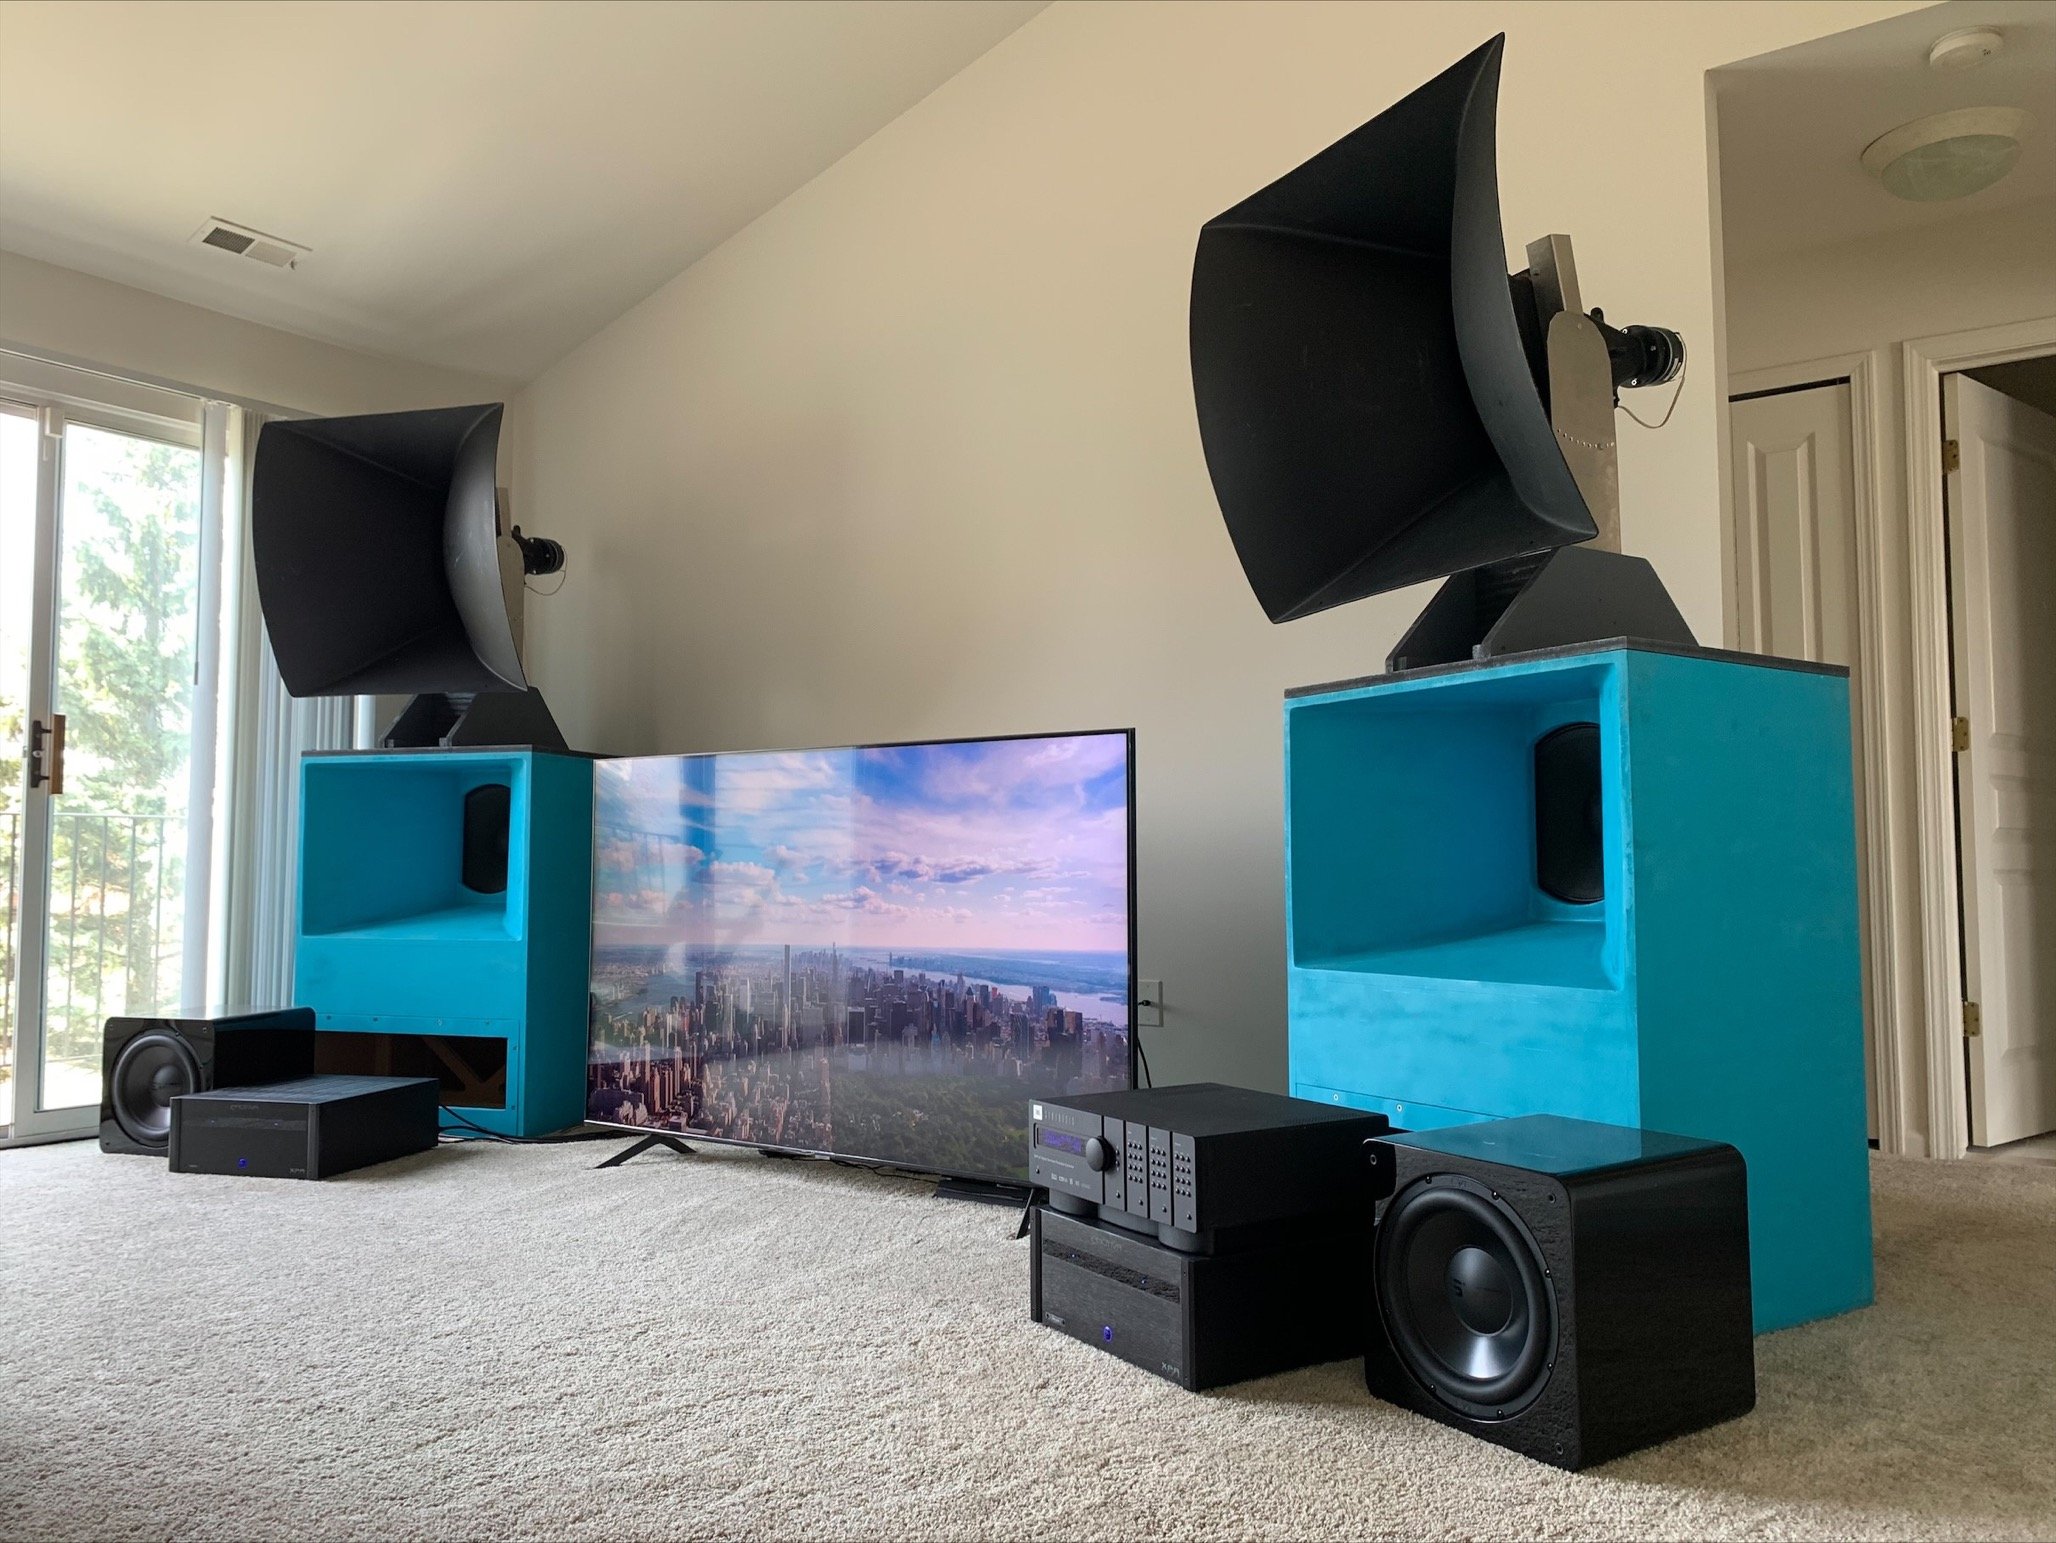
I sold the UREI-5235 and bought a mini DSP 2x4 so I could dive more deeply into the crossover, EQ and some delays to get the time-alignment dialed in. Also new was a pair of Emotiva XPA-2 amplifiers that displaced my old, temperamental Yamaha unit. Driving the system would be another piece of dream gear, a JBL Synthesis SDP-40. To round things out for a total tour-de-force system like this was a set of four SVS SB2000 Pro subwoofers, one for each corner of the room. The result was unreal. Watching movies would never be the same. This system had the greatest dynamics I have every experienced.
While not completely “unfortunate”, life has thrown some more curveballs and moved me around the planet again causing the me to put the A7’s back into storage. If I find the time to dive back in (now that they have those kickass Peerless woofers installed) and put them into use somewhere, I will add some updates here. But for now, that’s all!
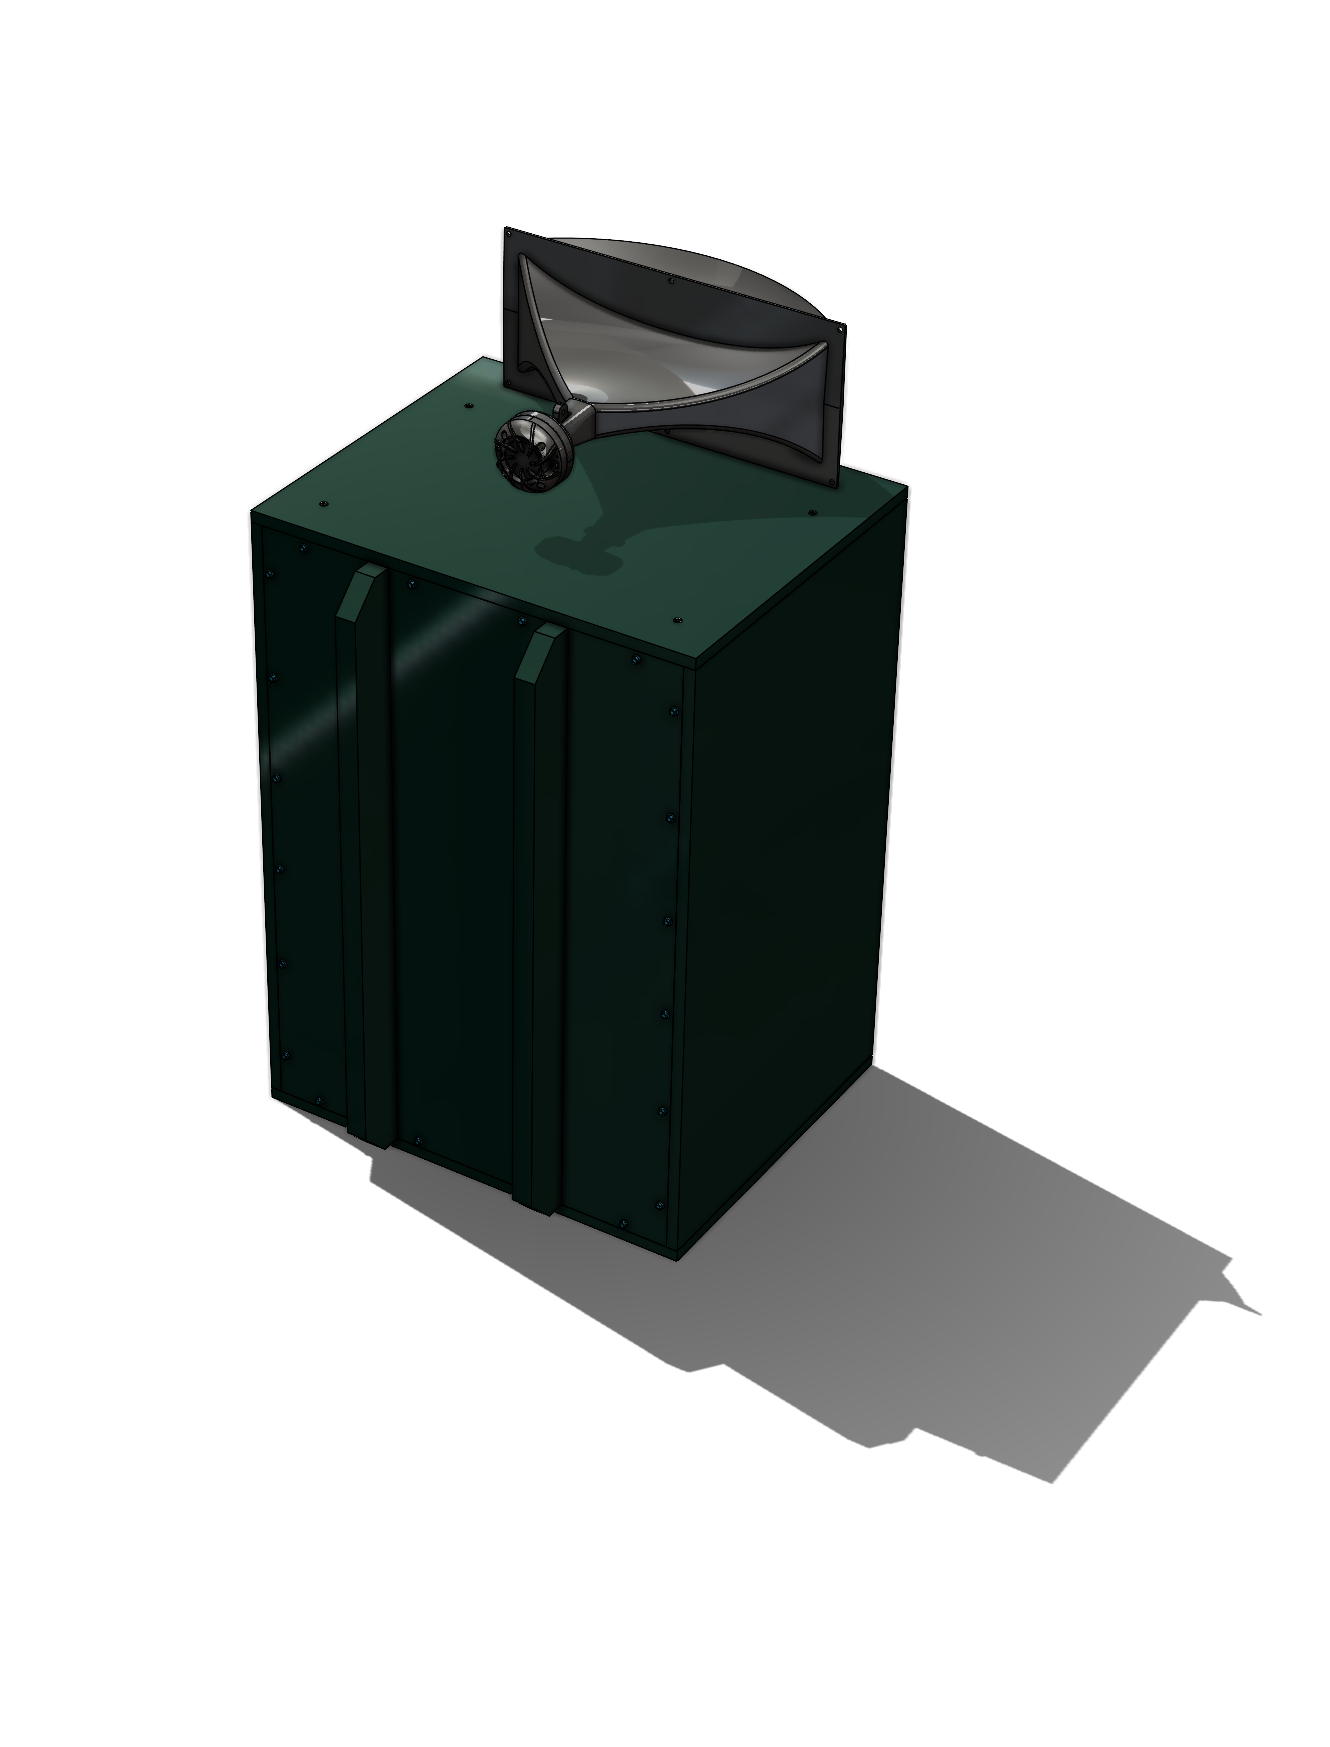
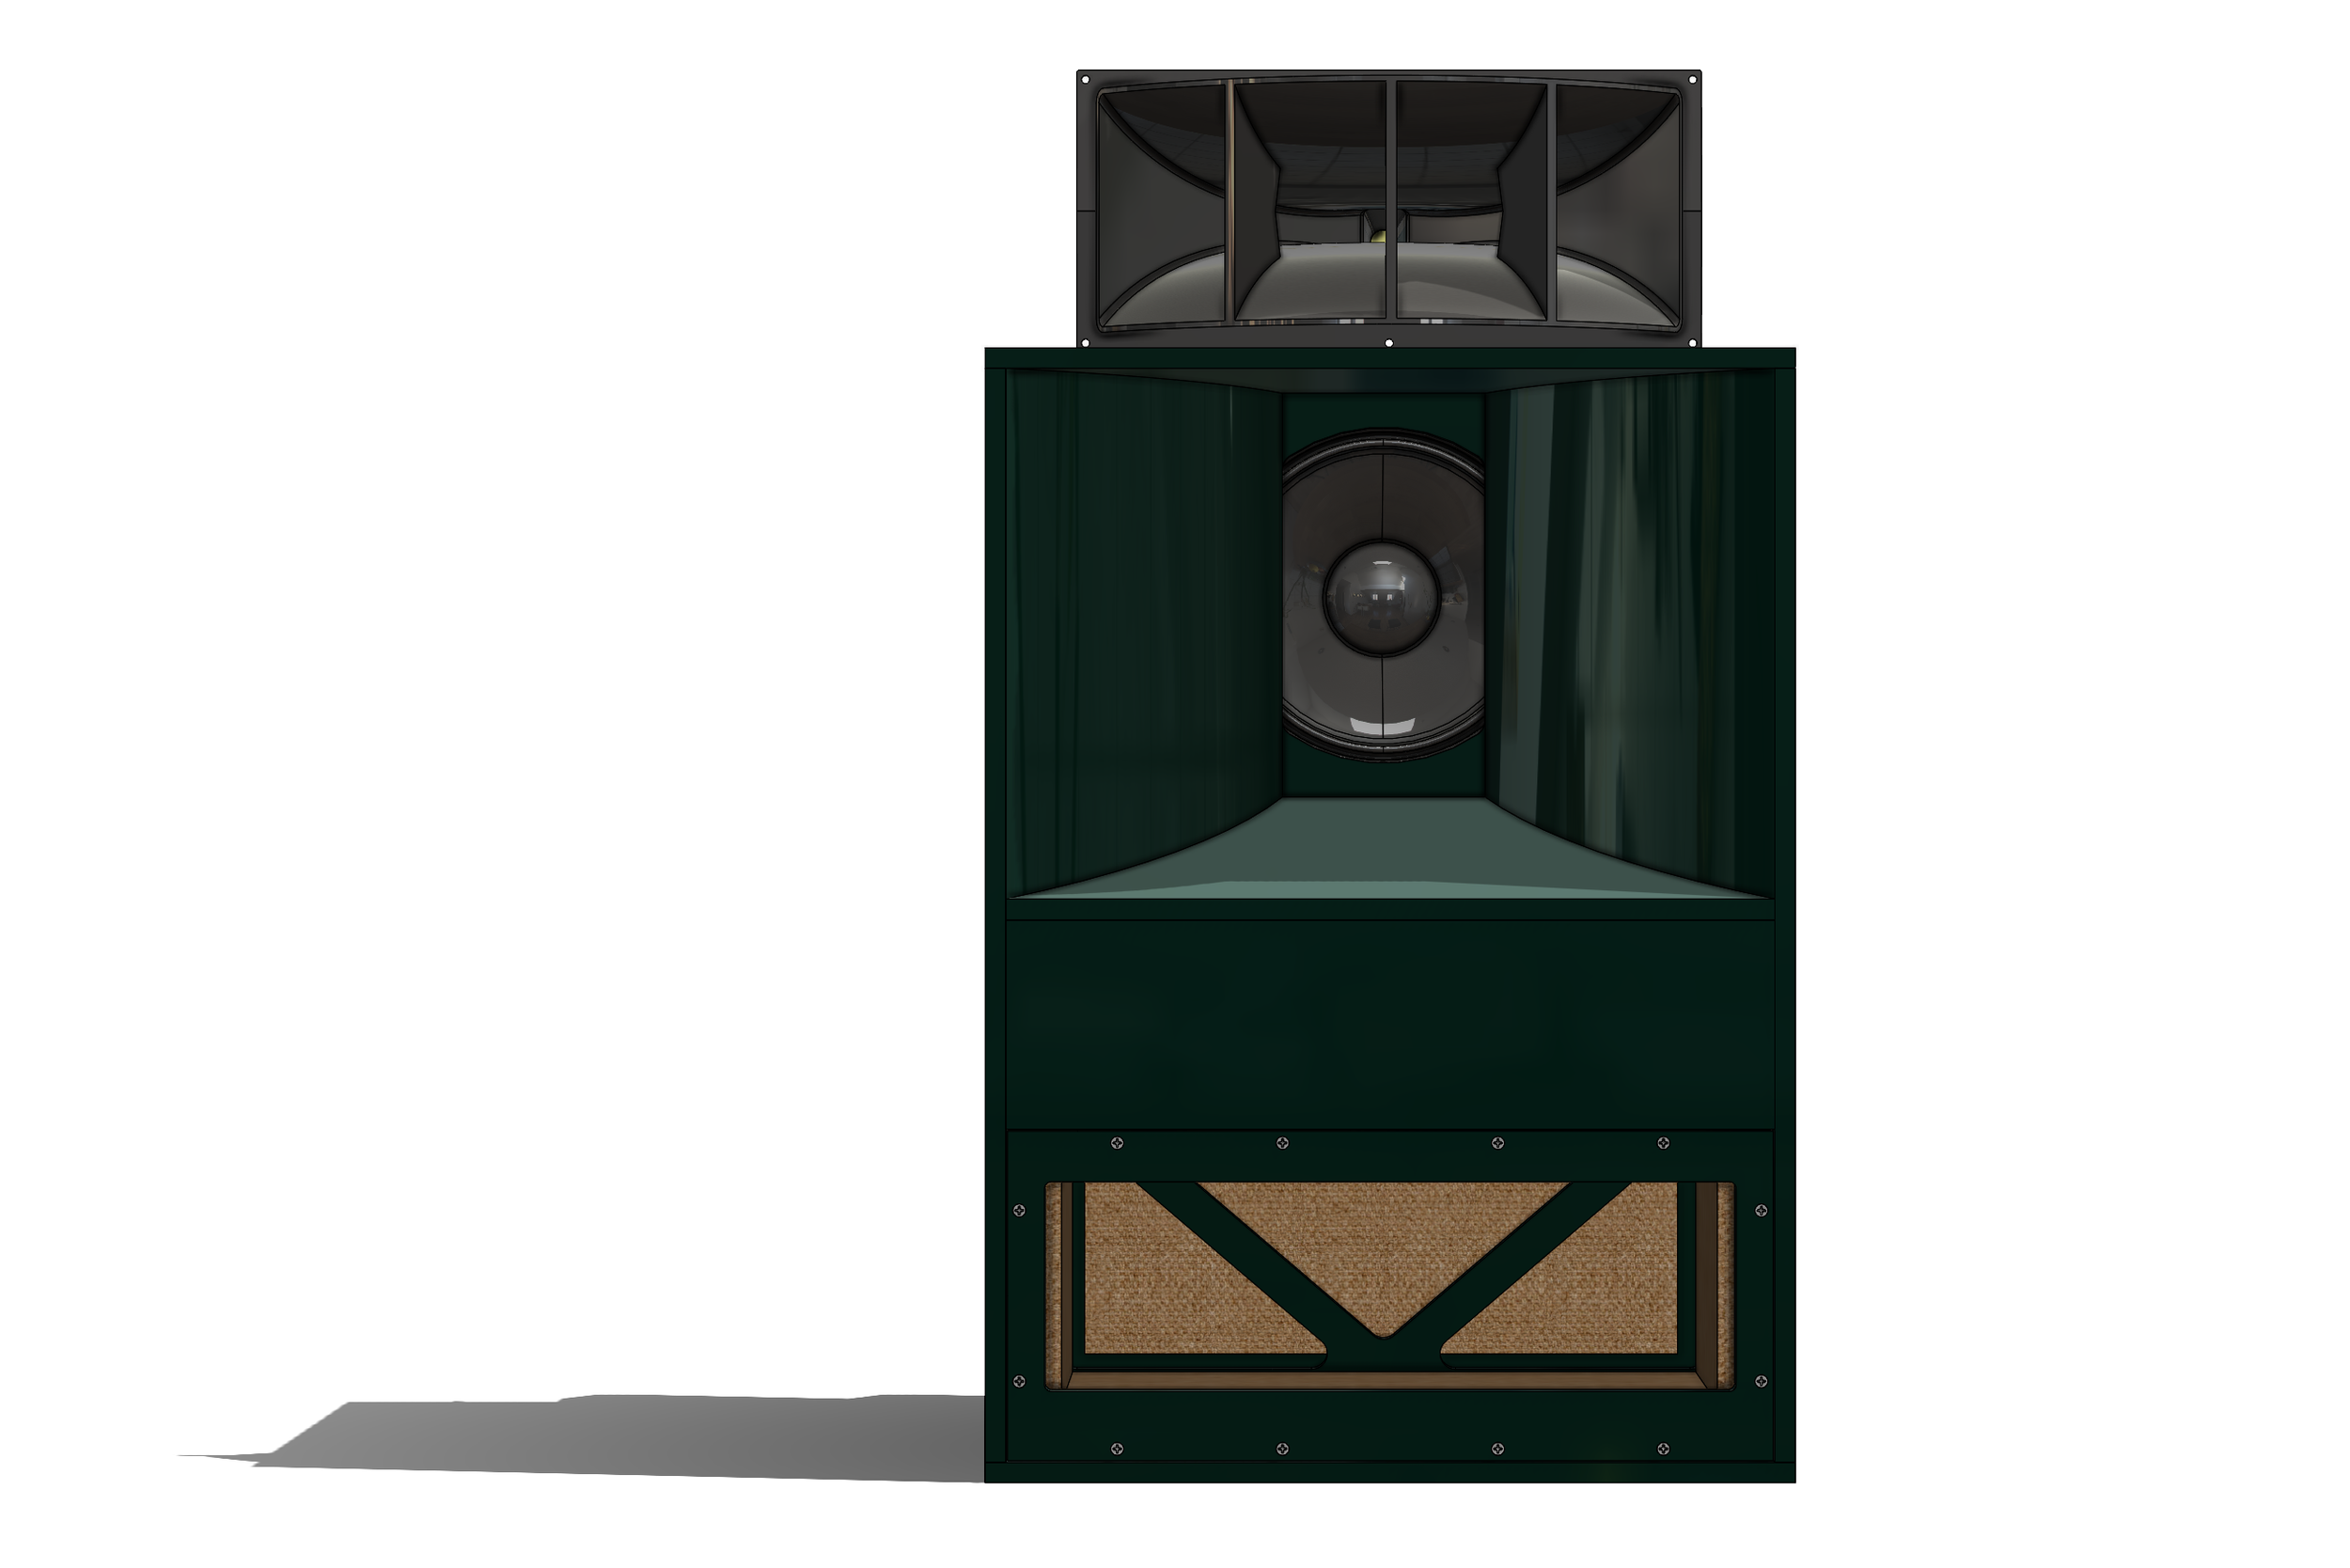
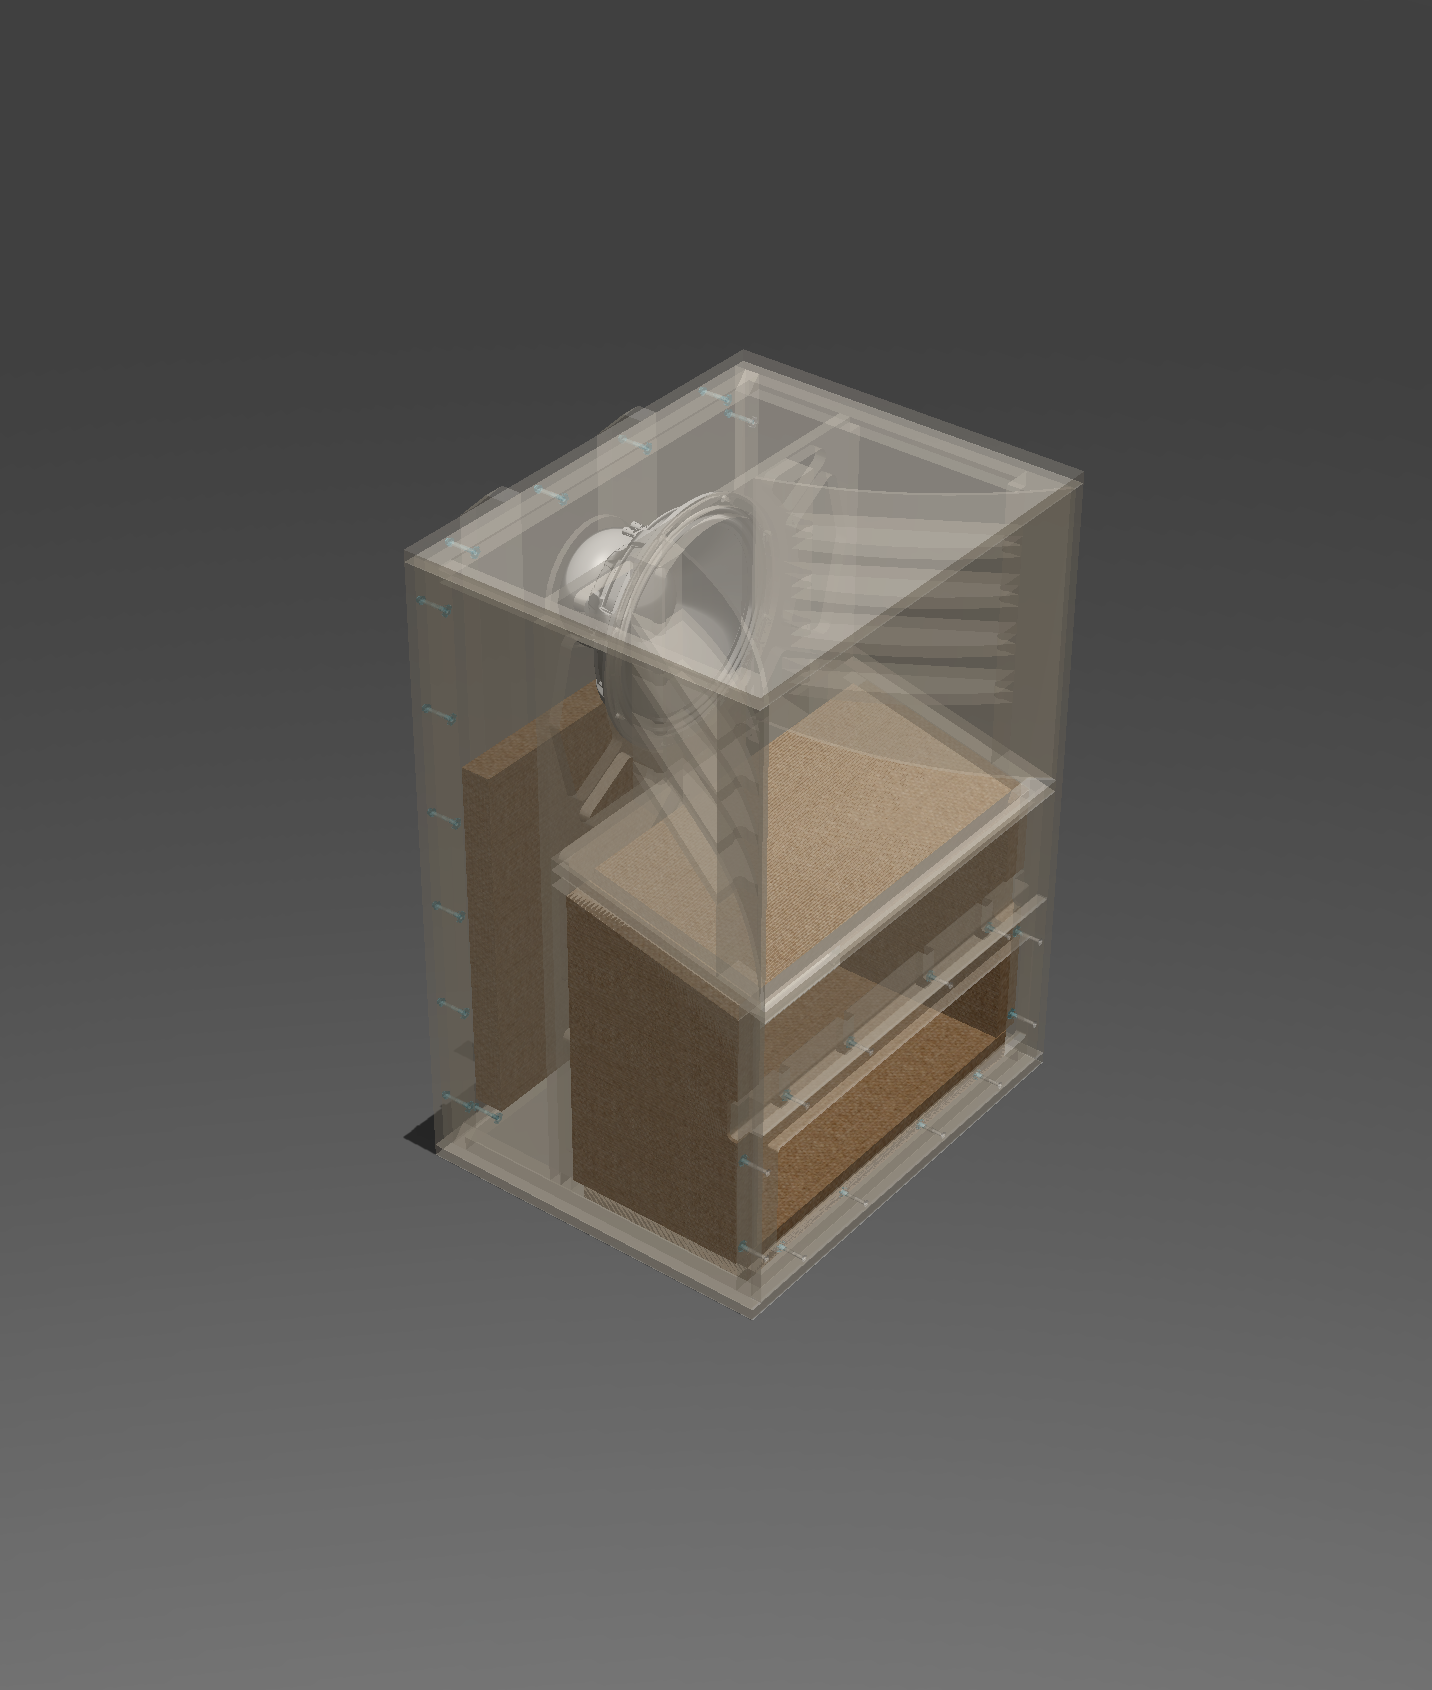
Evan’s A7 CAD model. Download here >>>
The Basics
-
Based around Altec 825 Plan
After committing to the idea of building something itself, it was time to decide what to build. There are seemingly hundreds of variants of the A7 as well as the many other VOTT models but in the end I settled on the 825 (and a few 828 drawings) to drive the primary design.

-
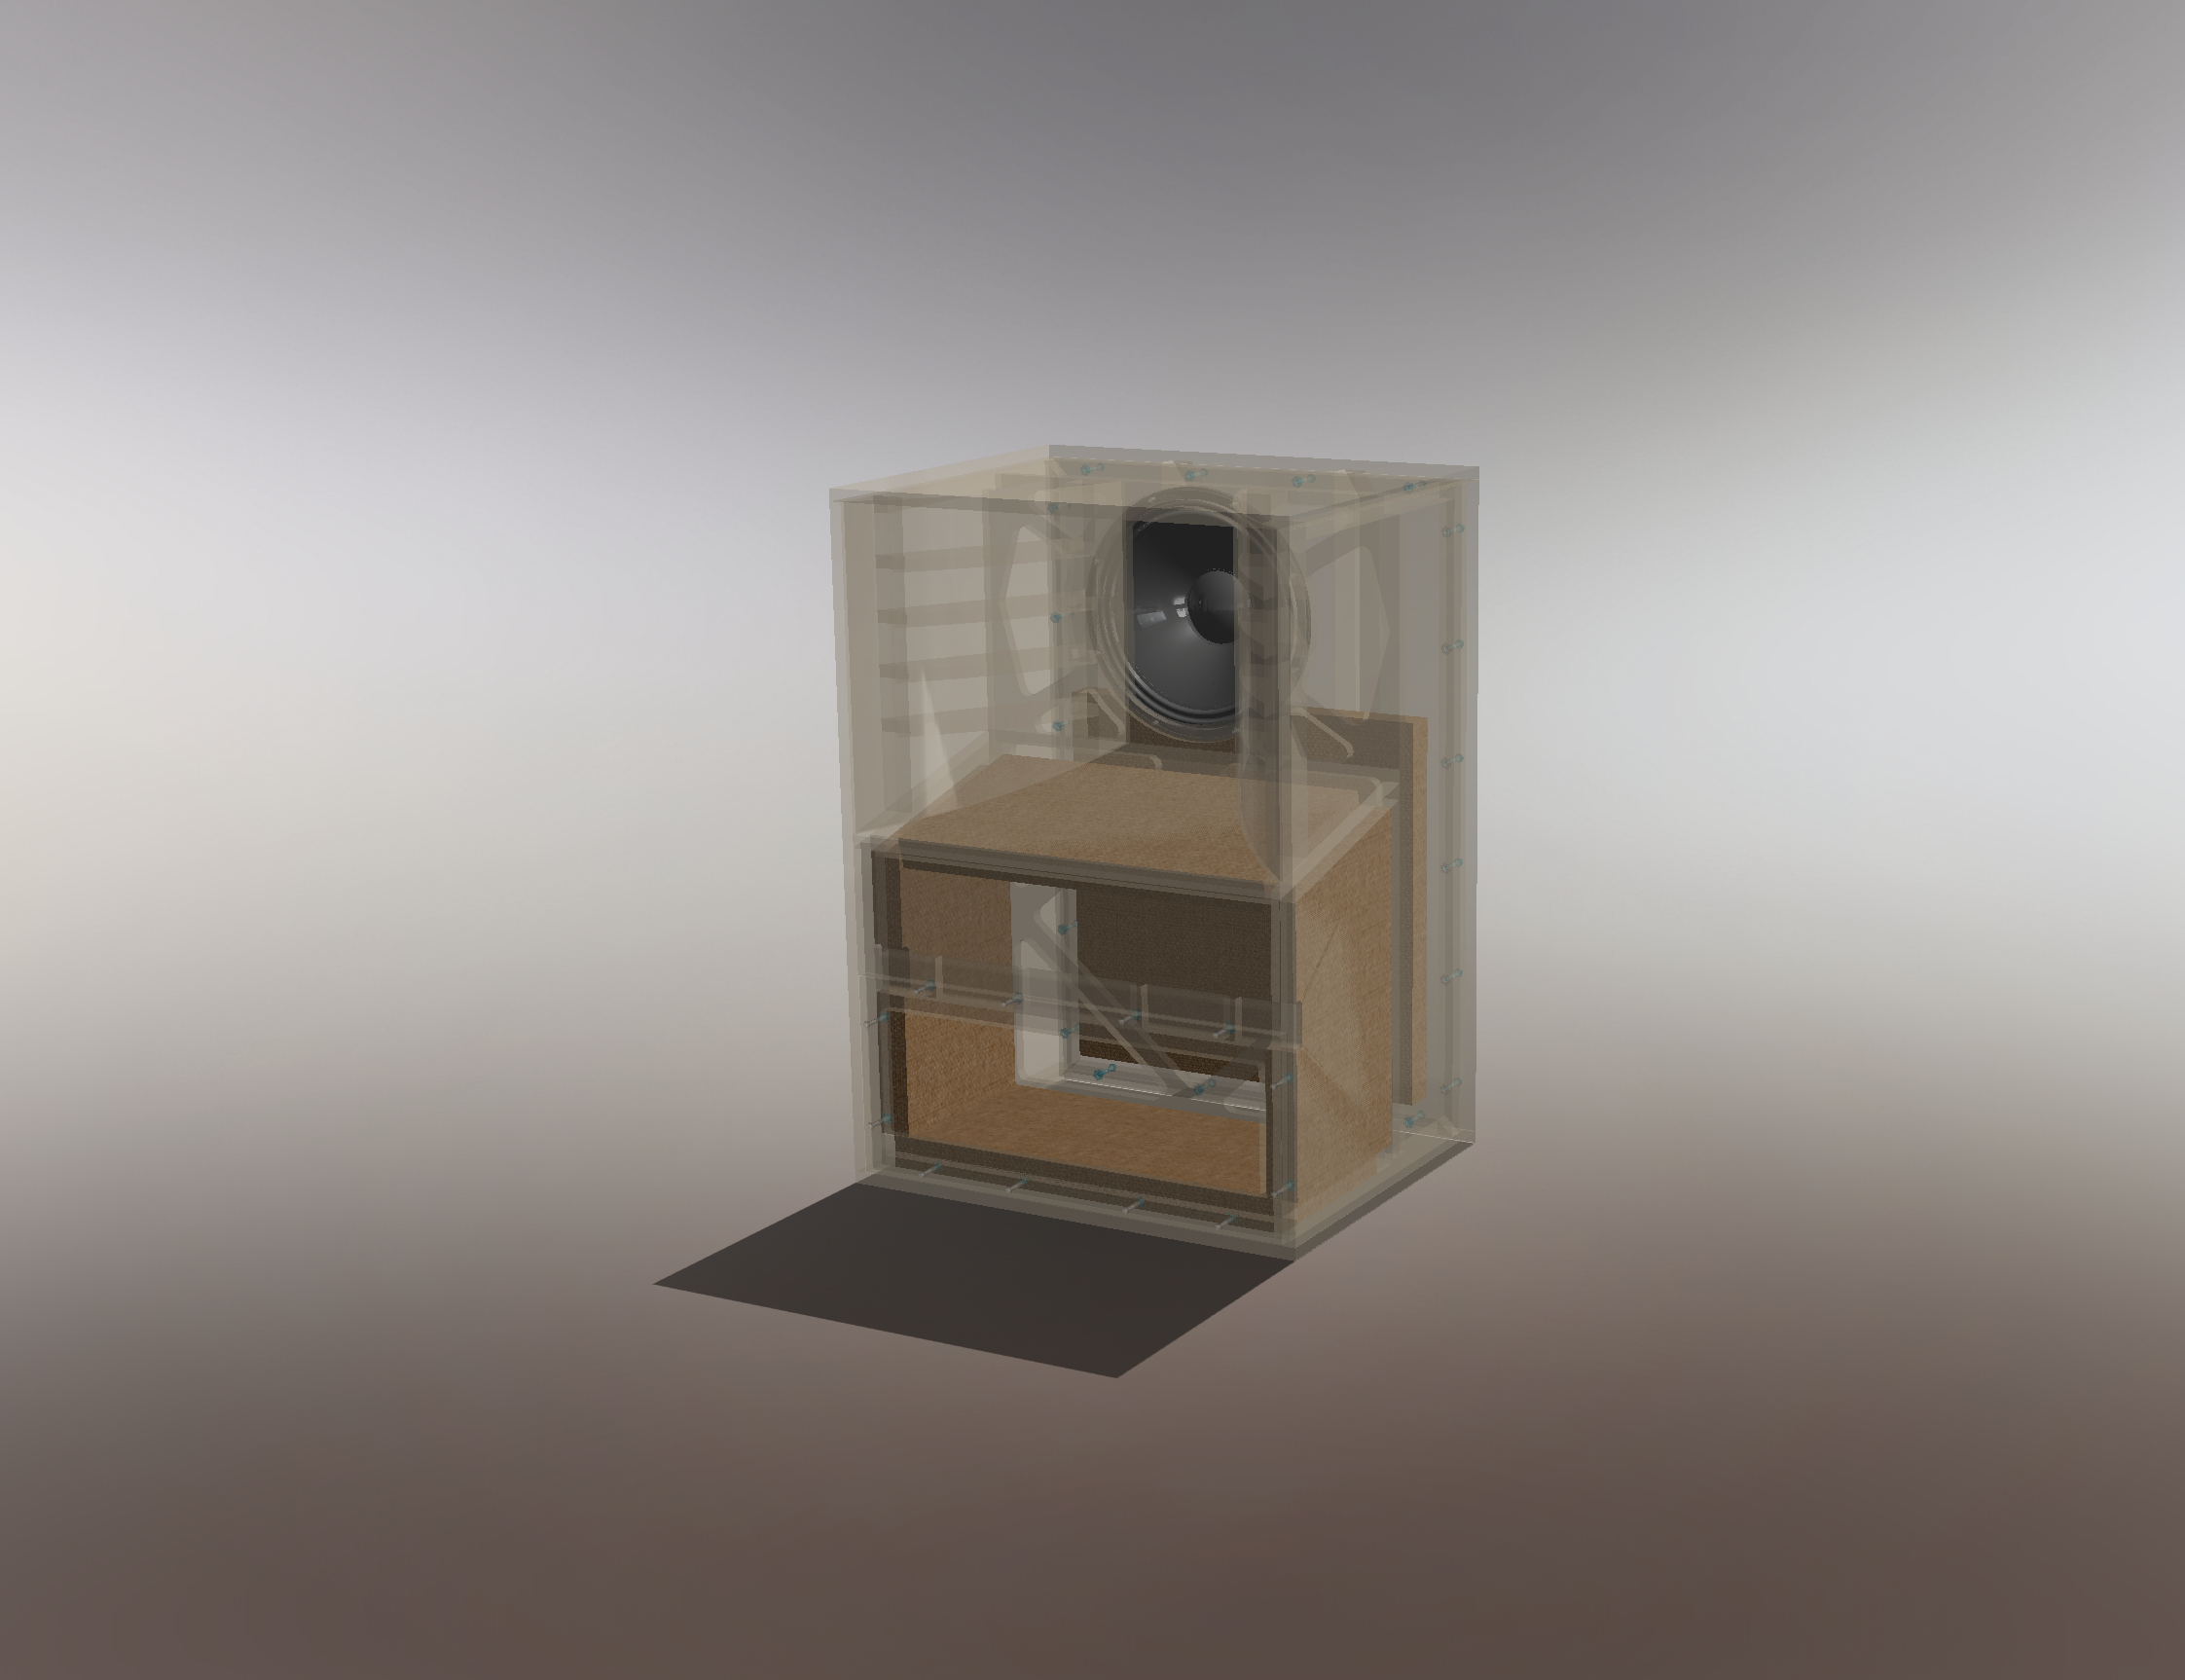
Translated into CAD
After building the original A7 design in SolidWorks I started to implement my own changes to the design to create my own, improved version. The primary distinctions between the original design and my own are the CNC’d baffle-brace, horn flares and the use of 19mm MDF.

-
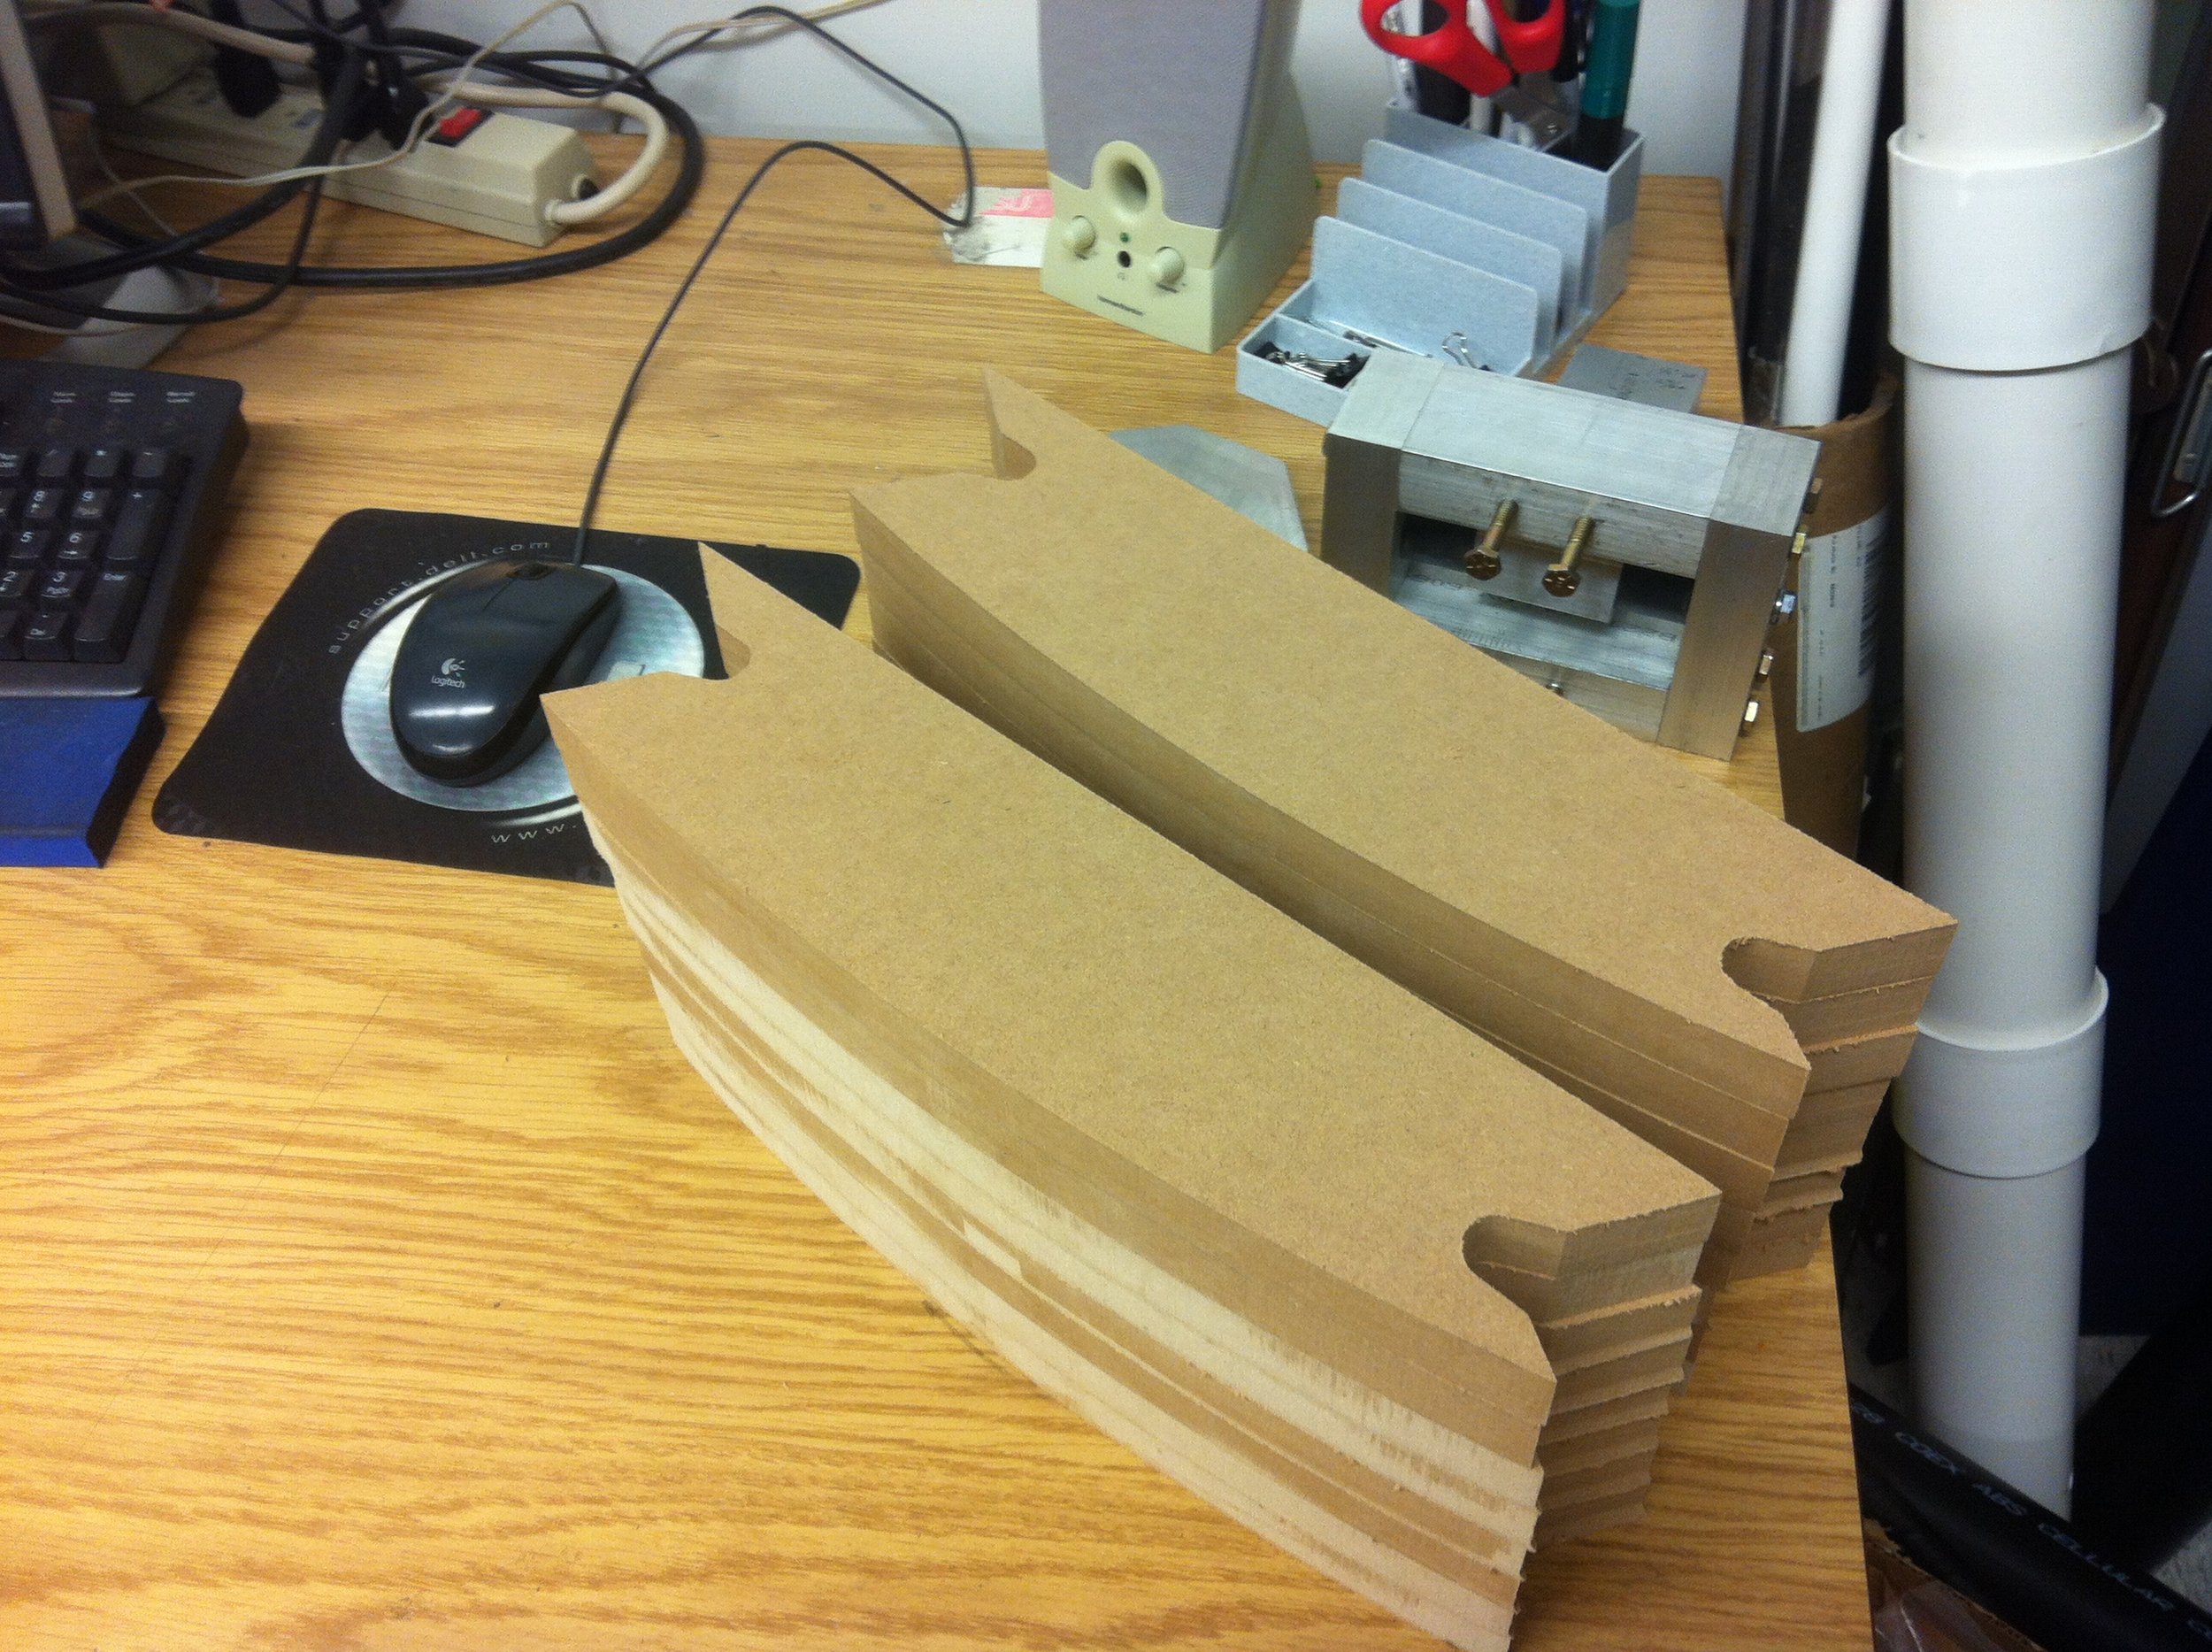
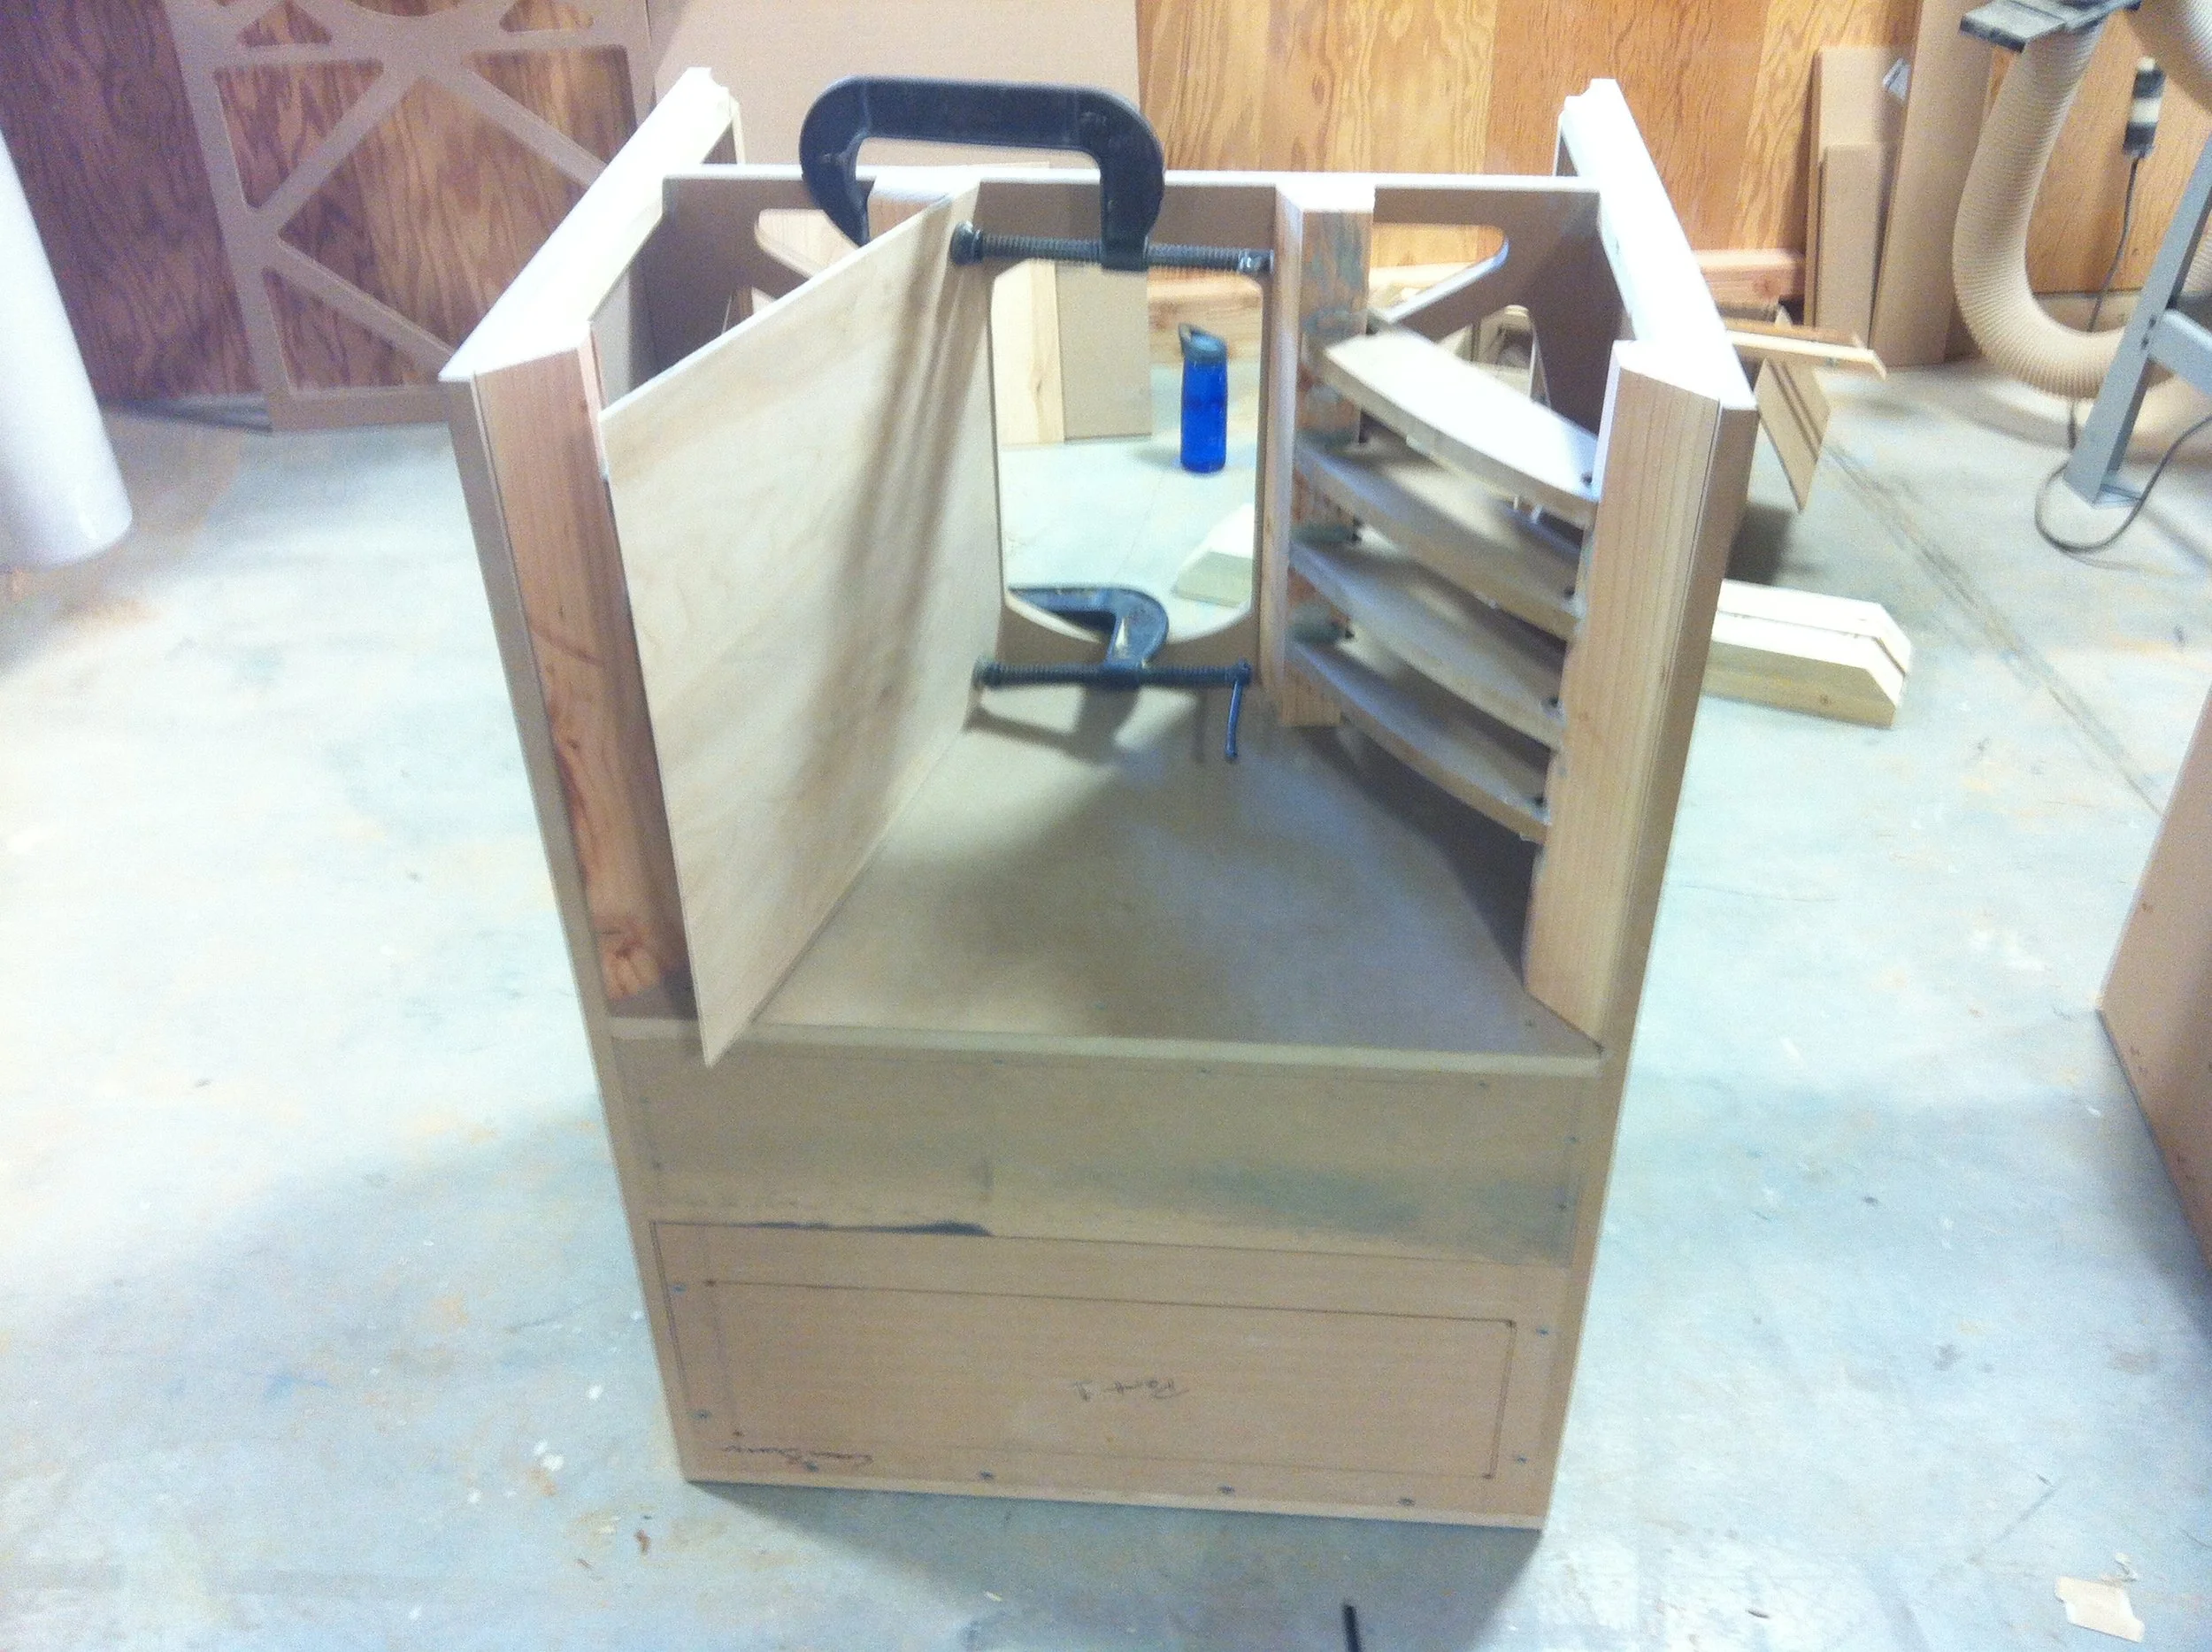
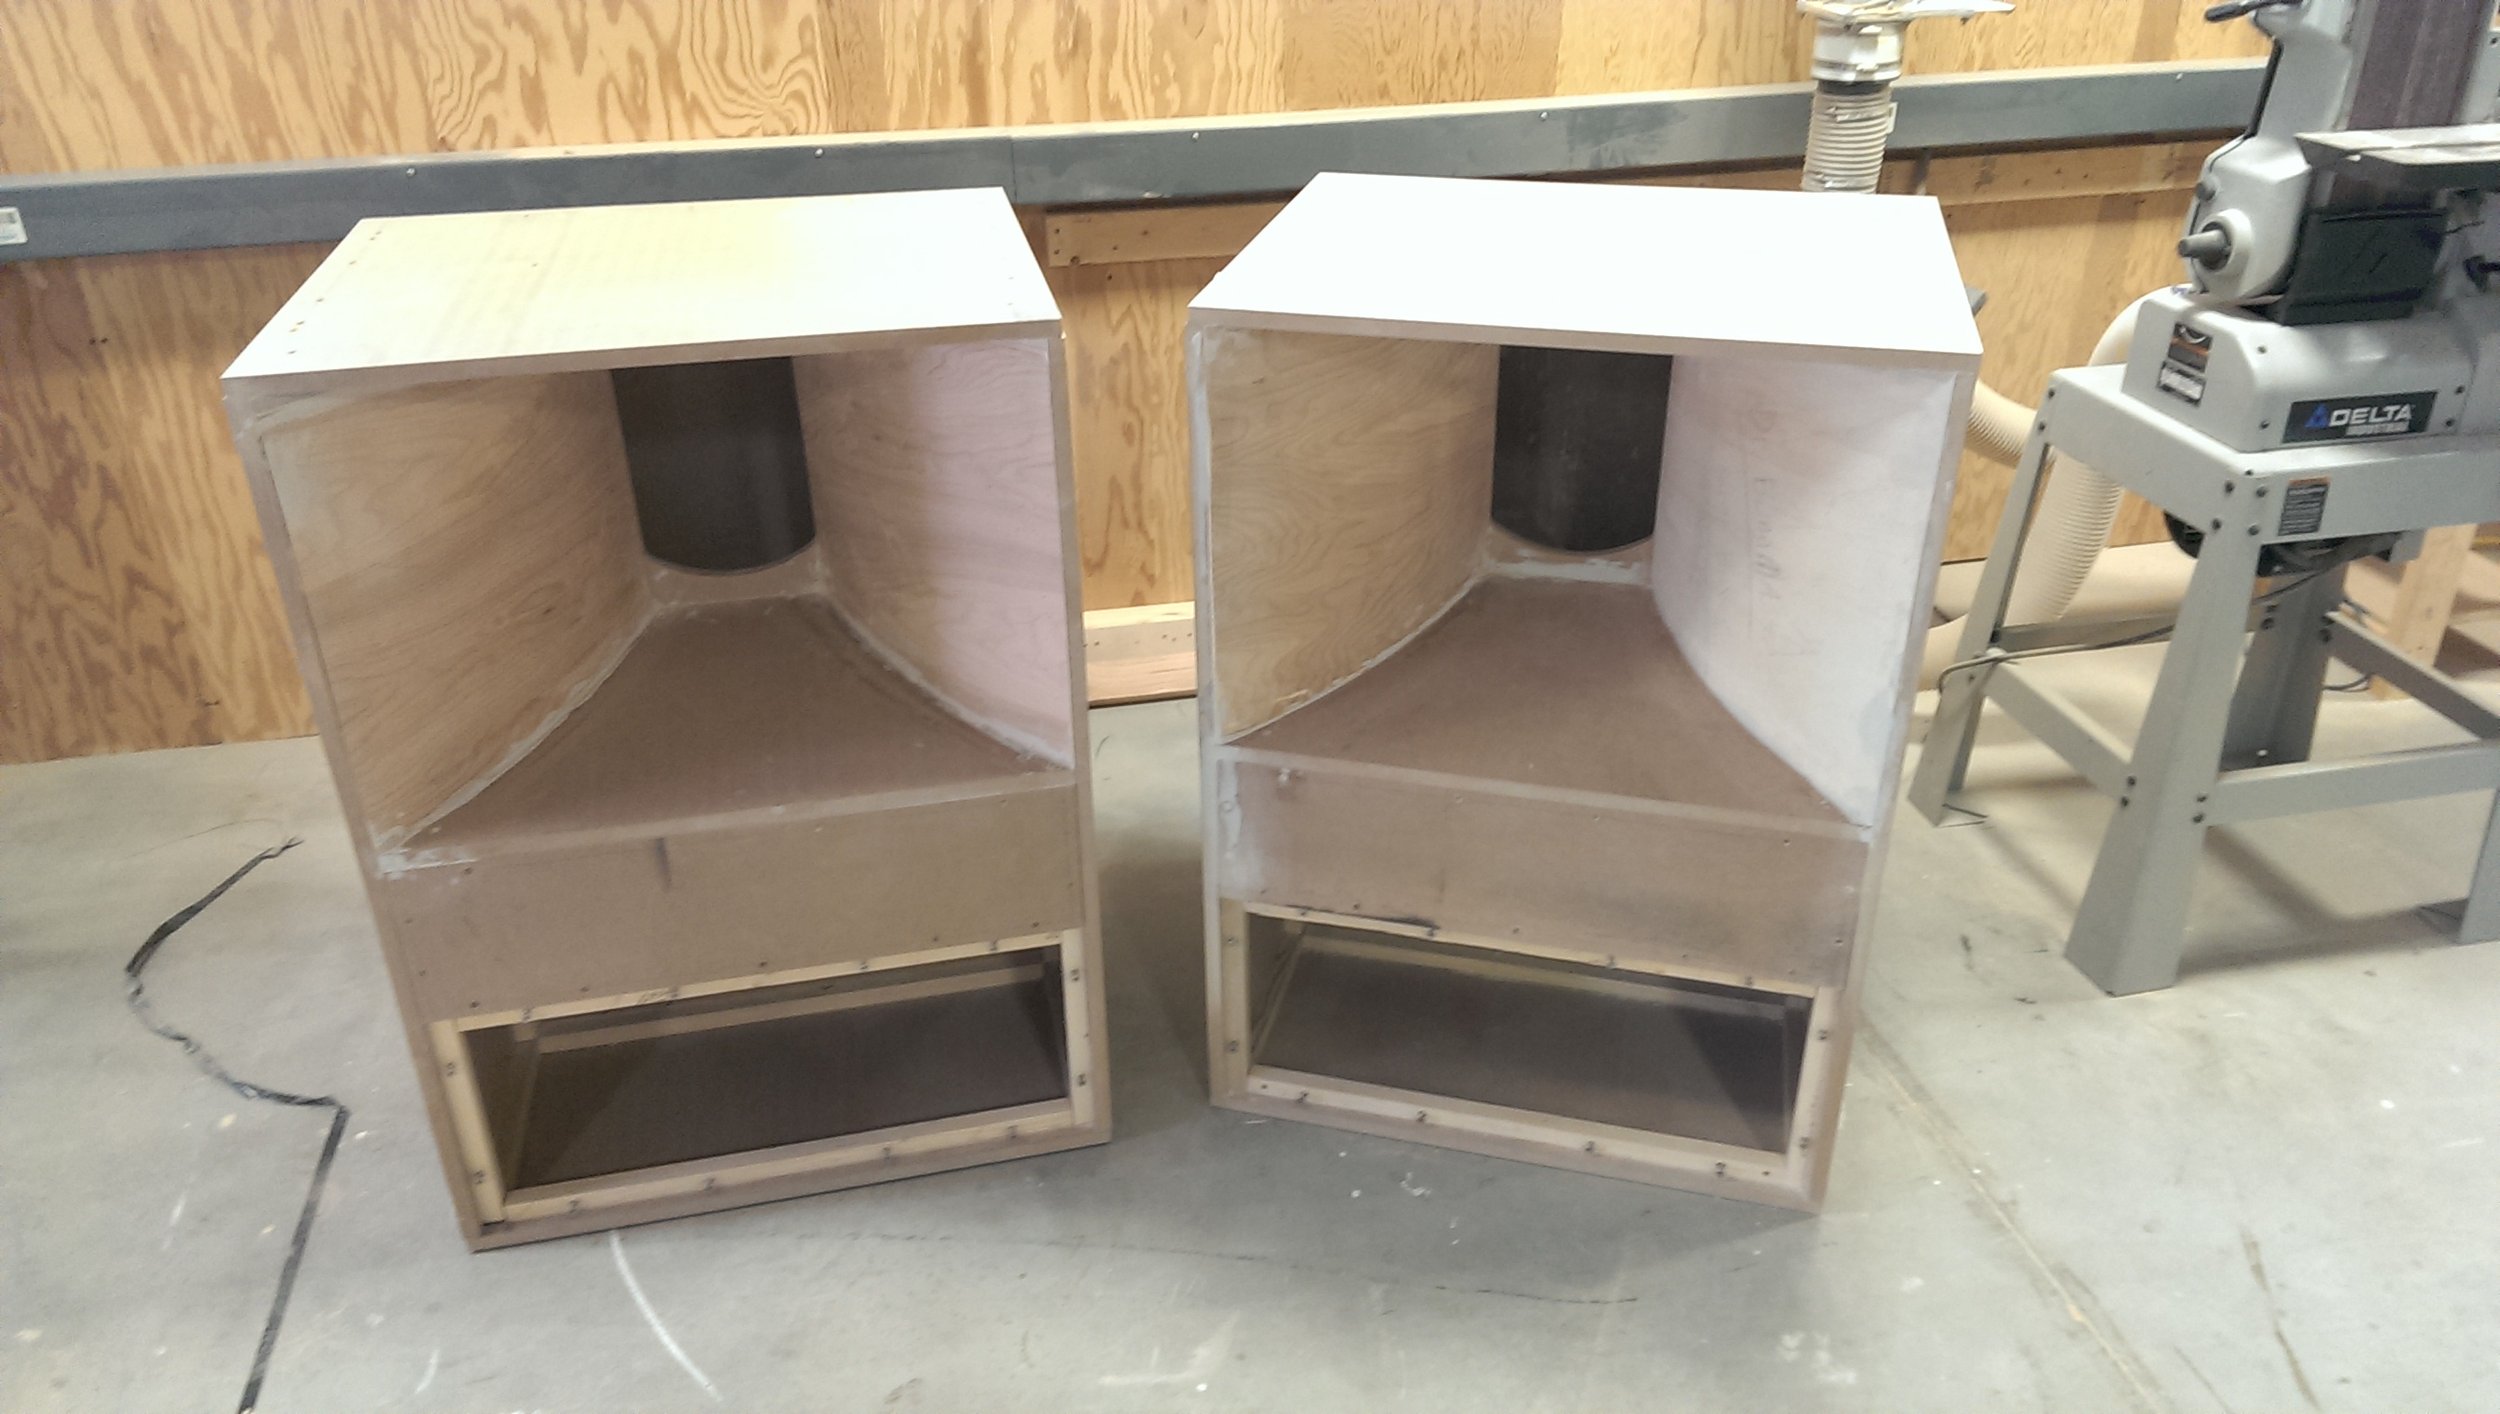
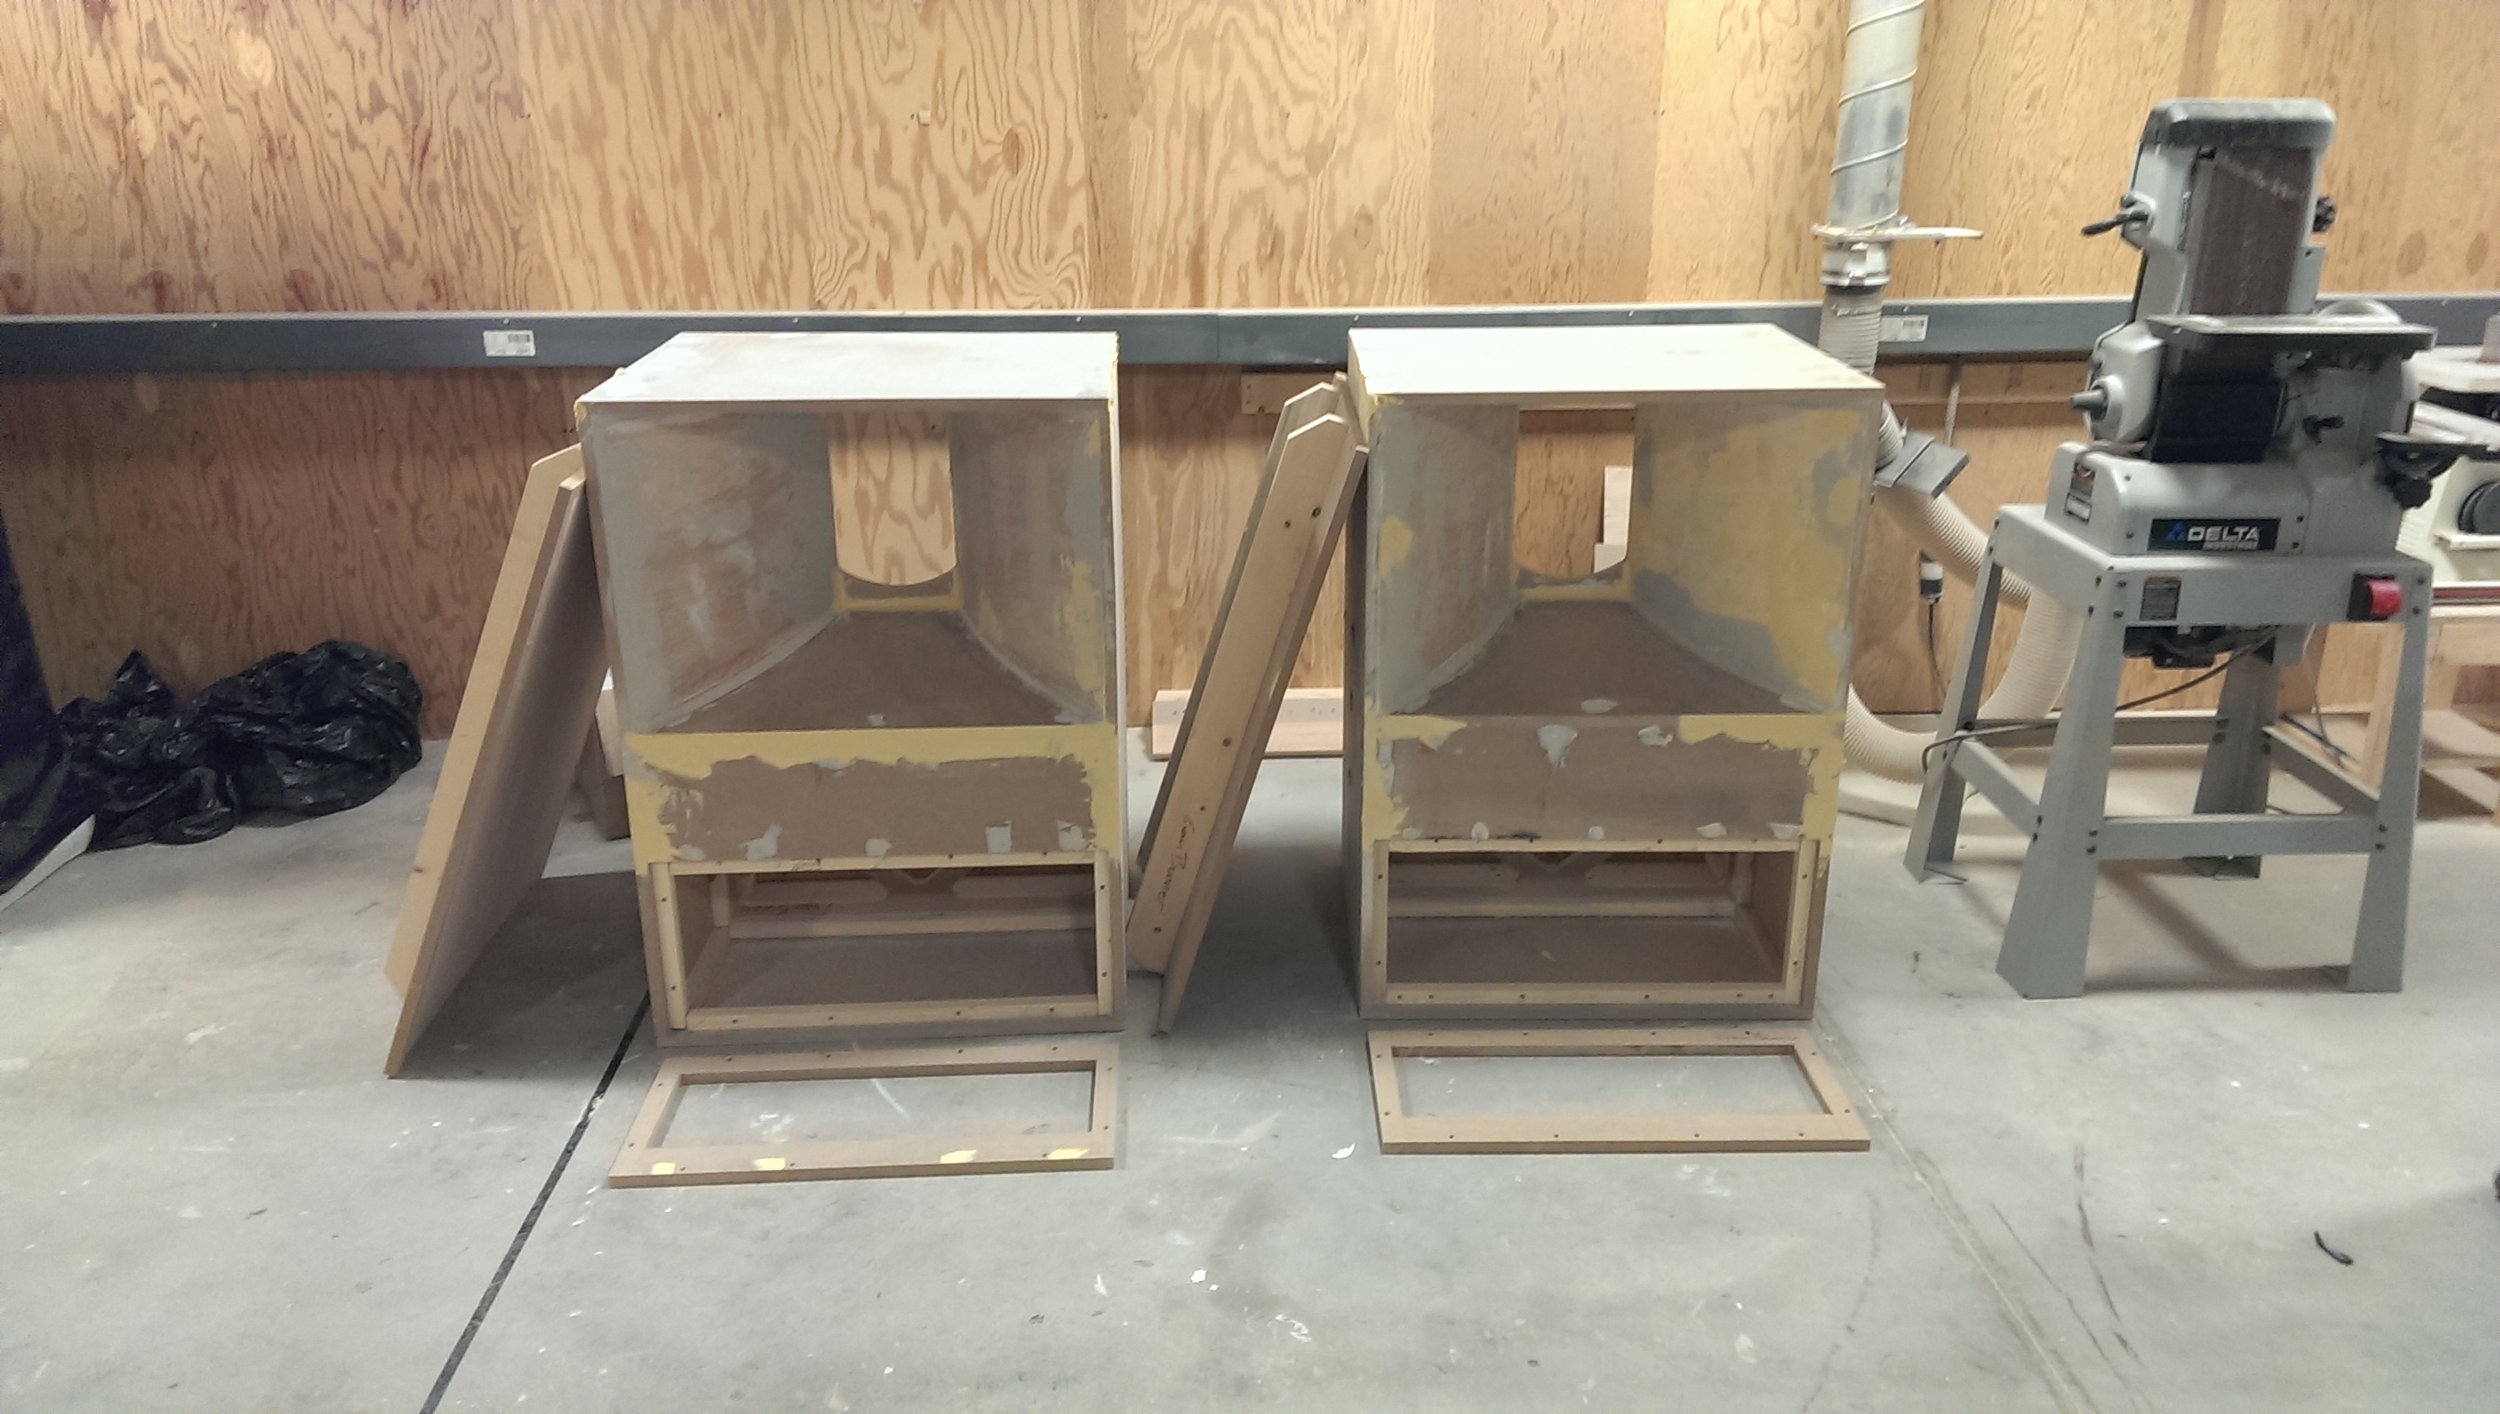
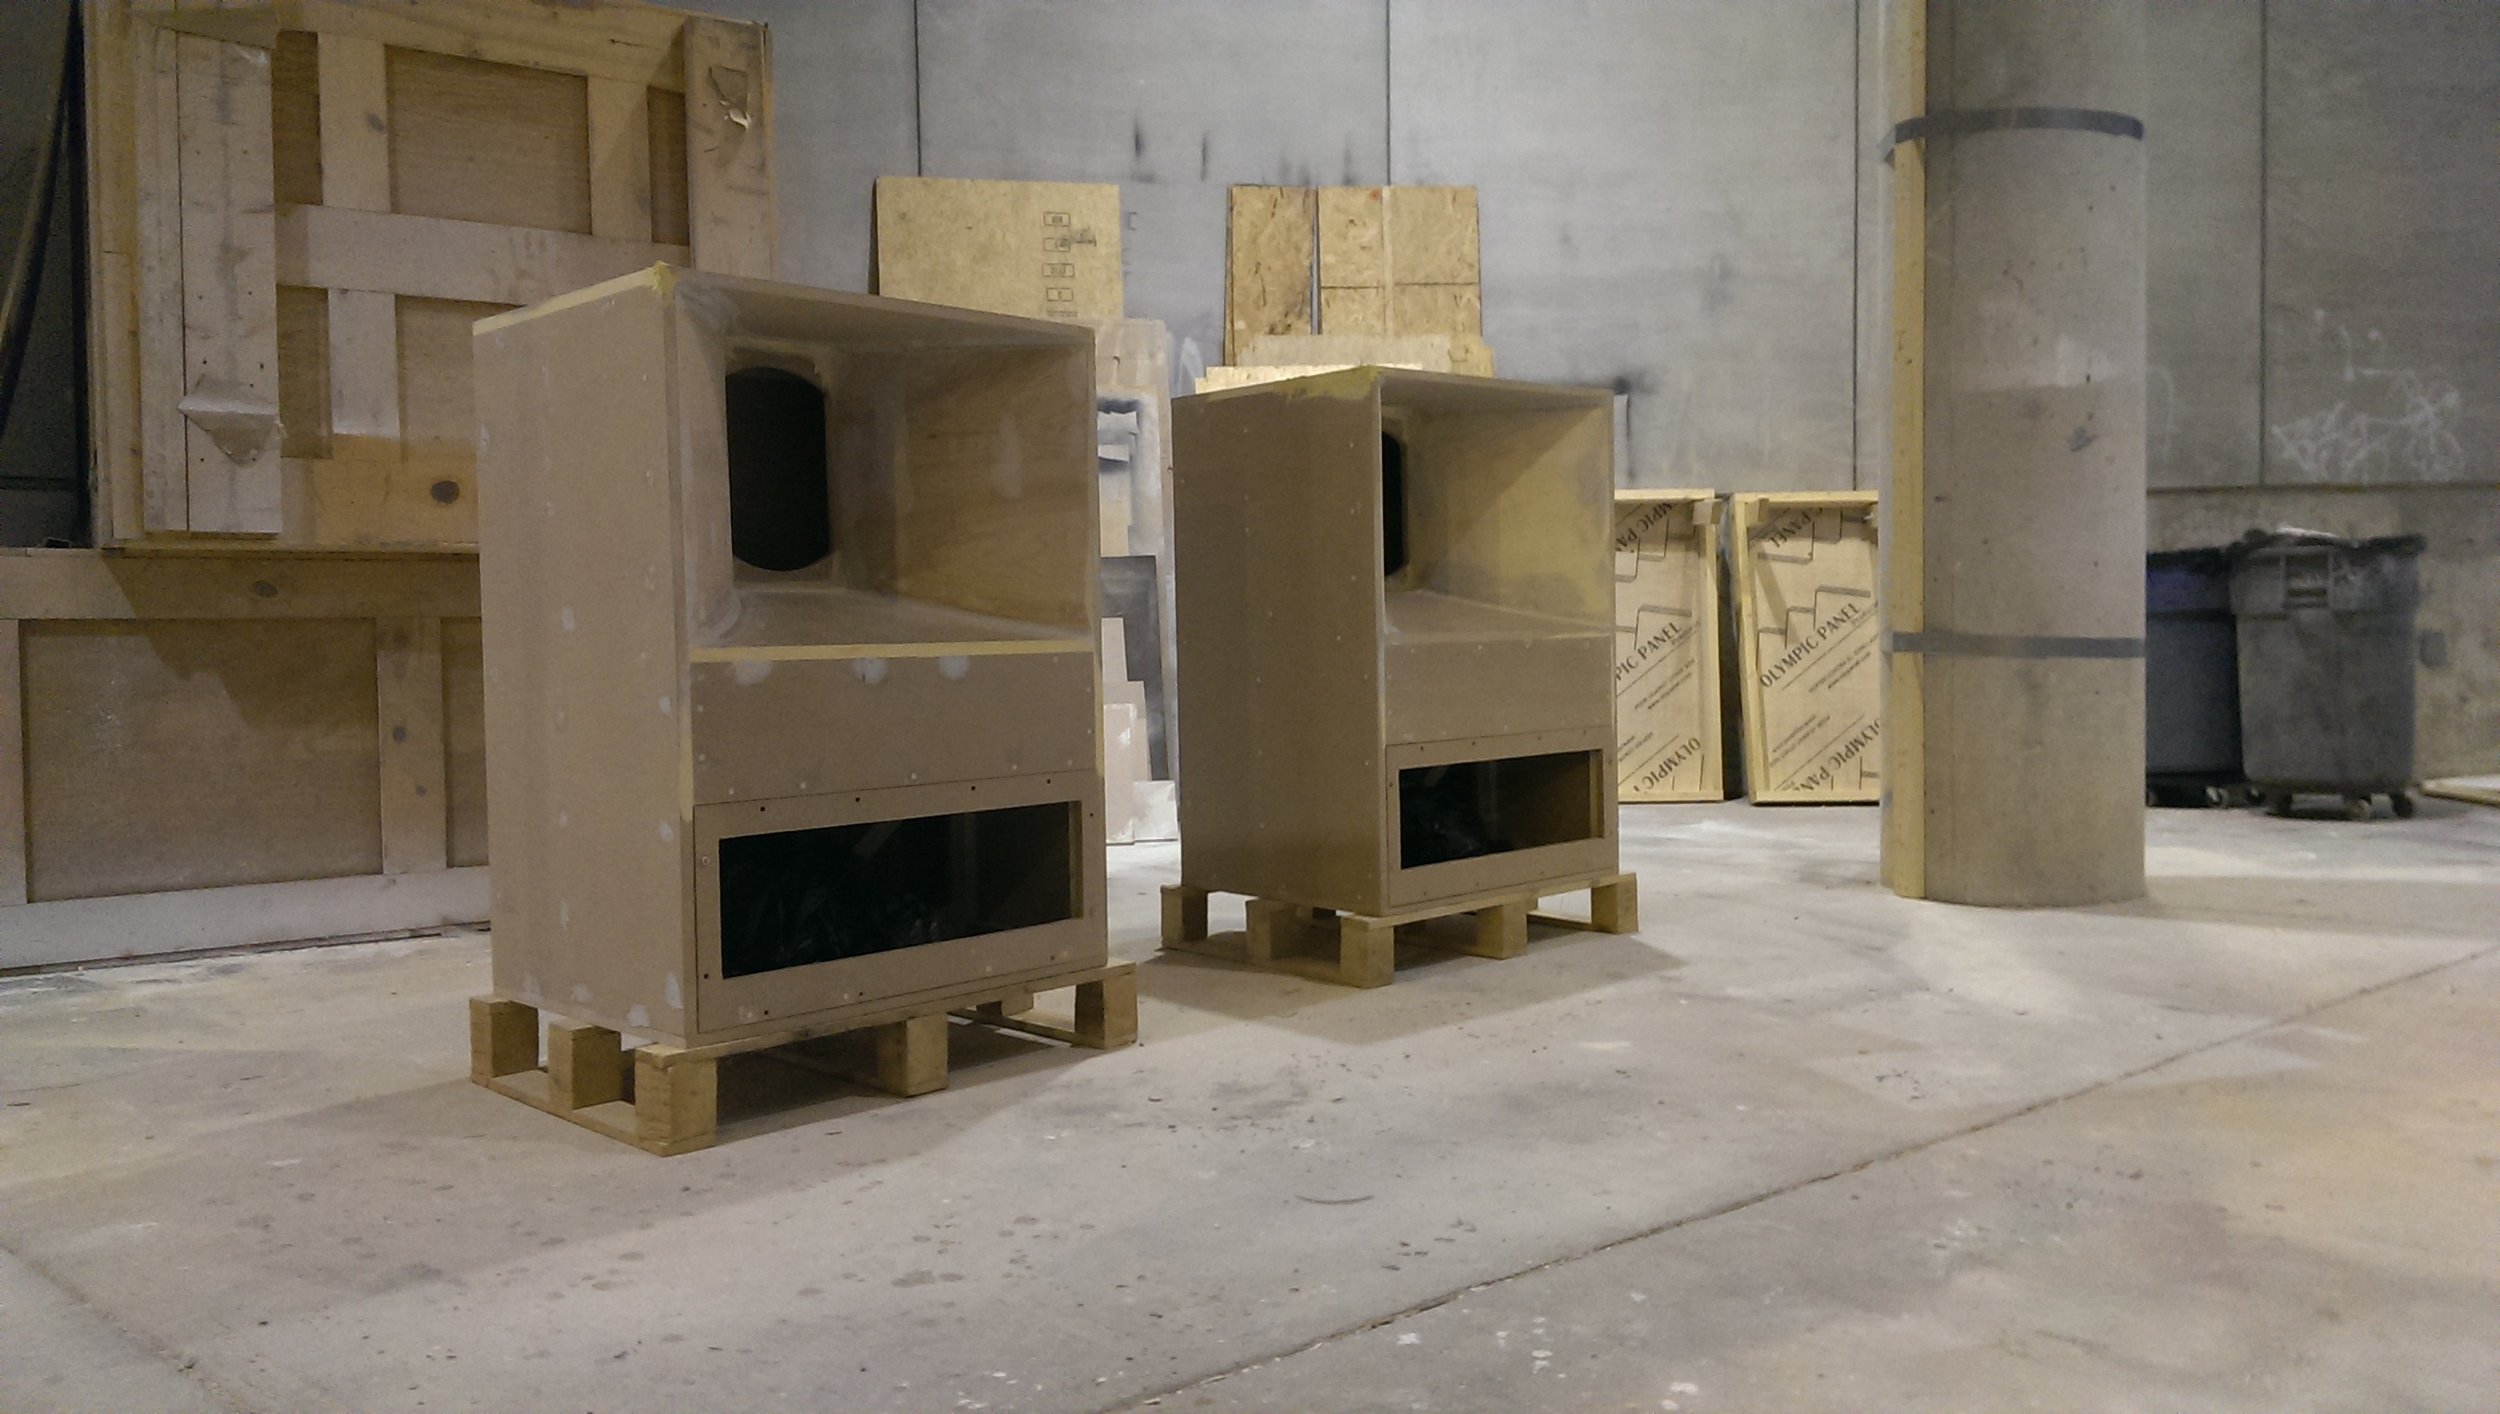
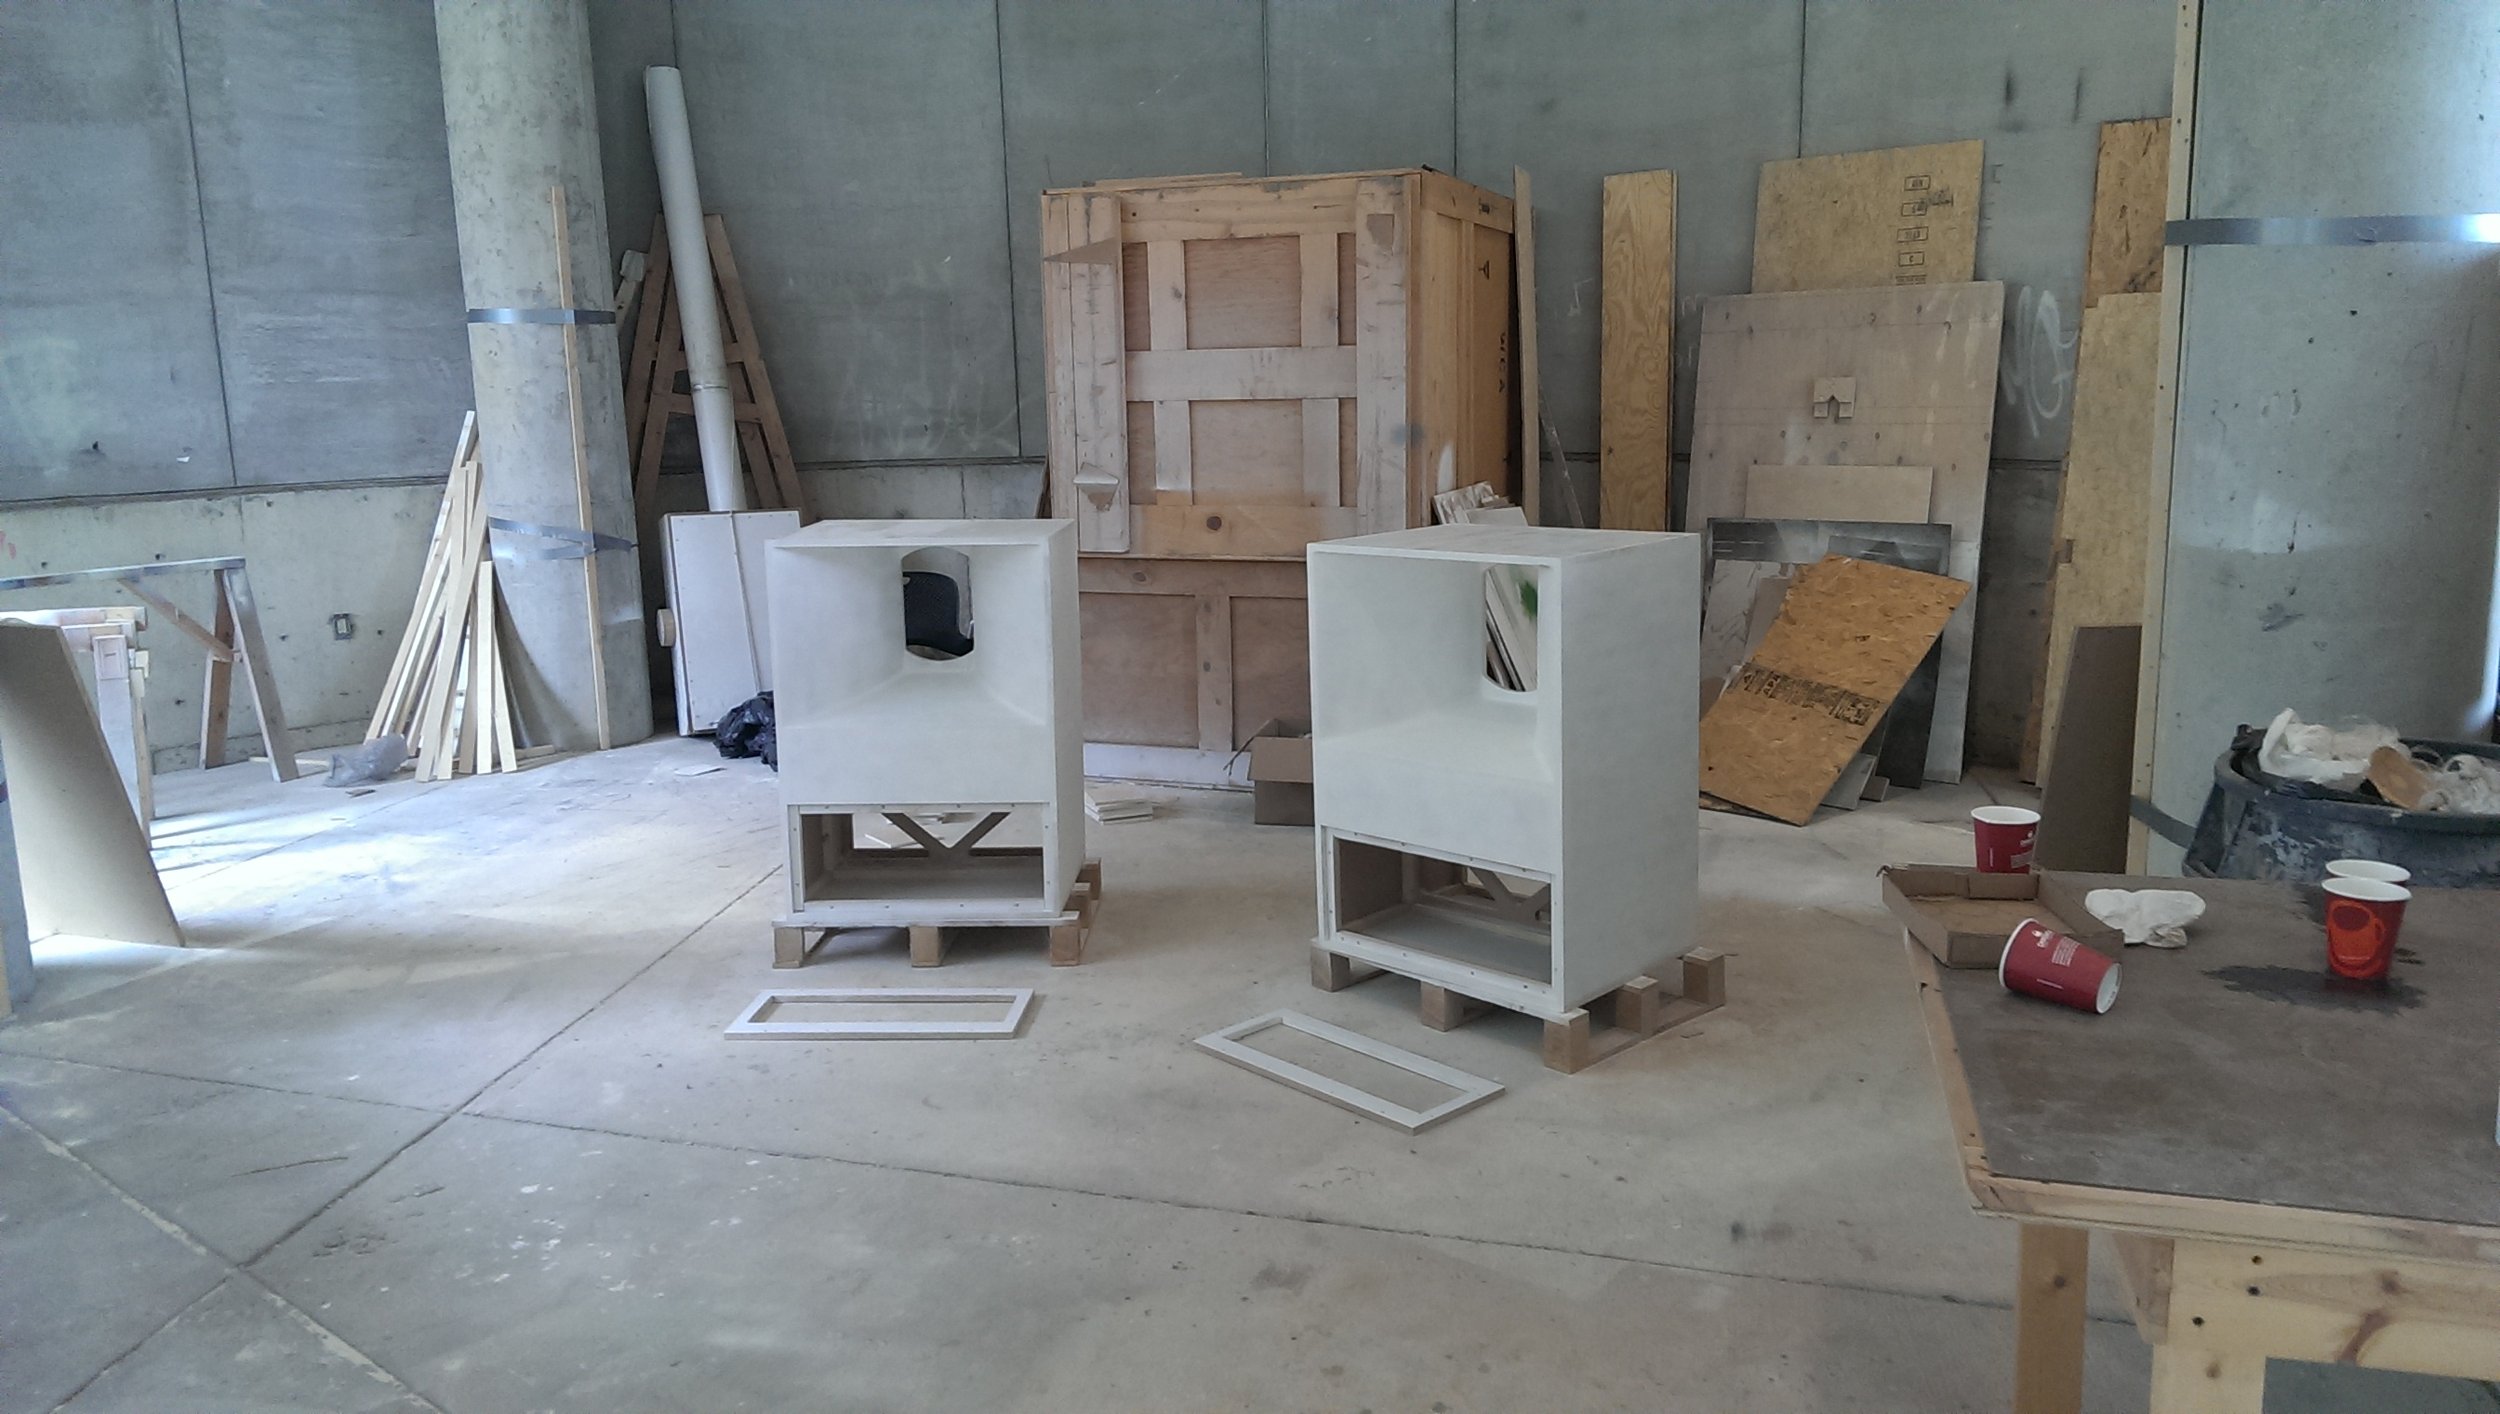
Built by hand ...and CNC
Coming from the CAD domain made the CNC router a natural next step. The baffle-brace and horn flare ribs were made on the CNC router and the rest was glued and screwed to perfection. All joints in the design were made with cleats to fasten the edges of the cabinet since it was made entirely of MDF.


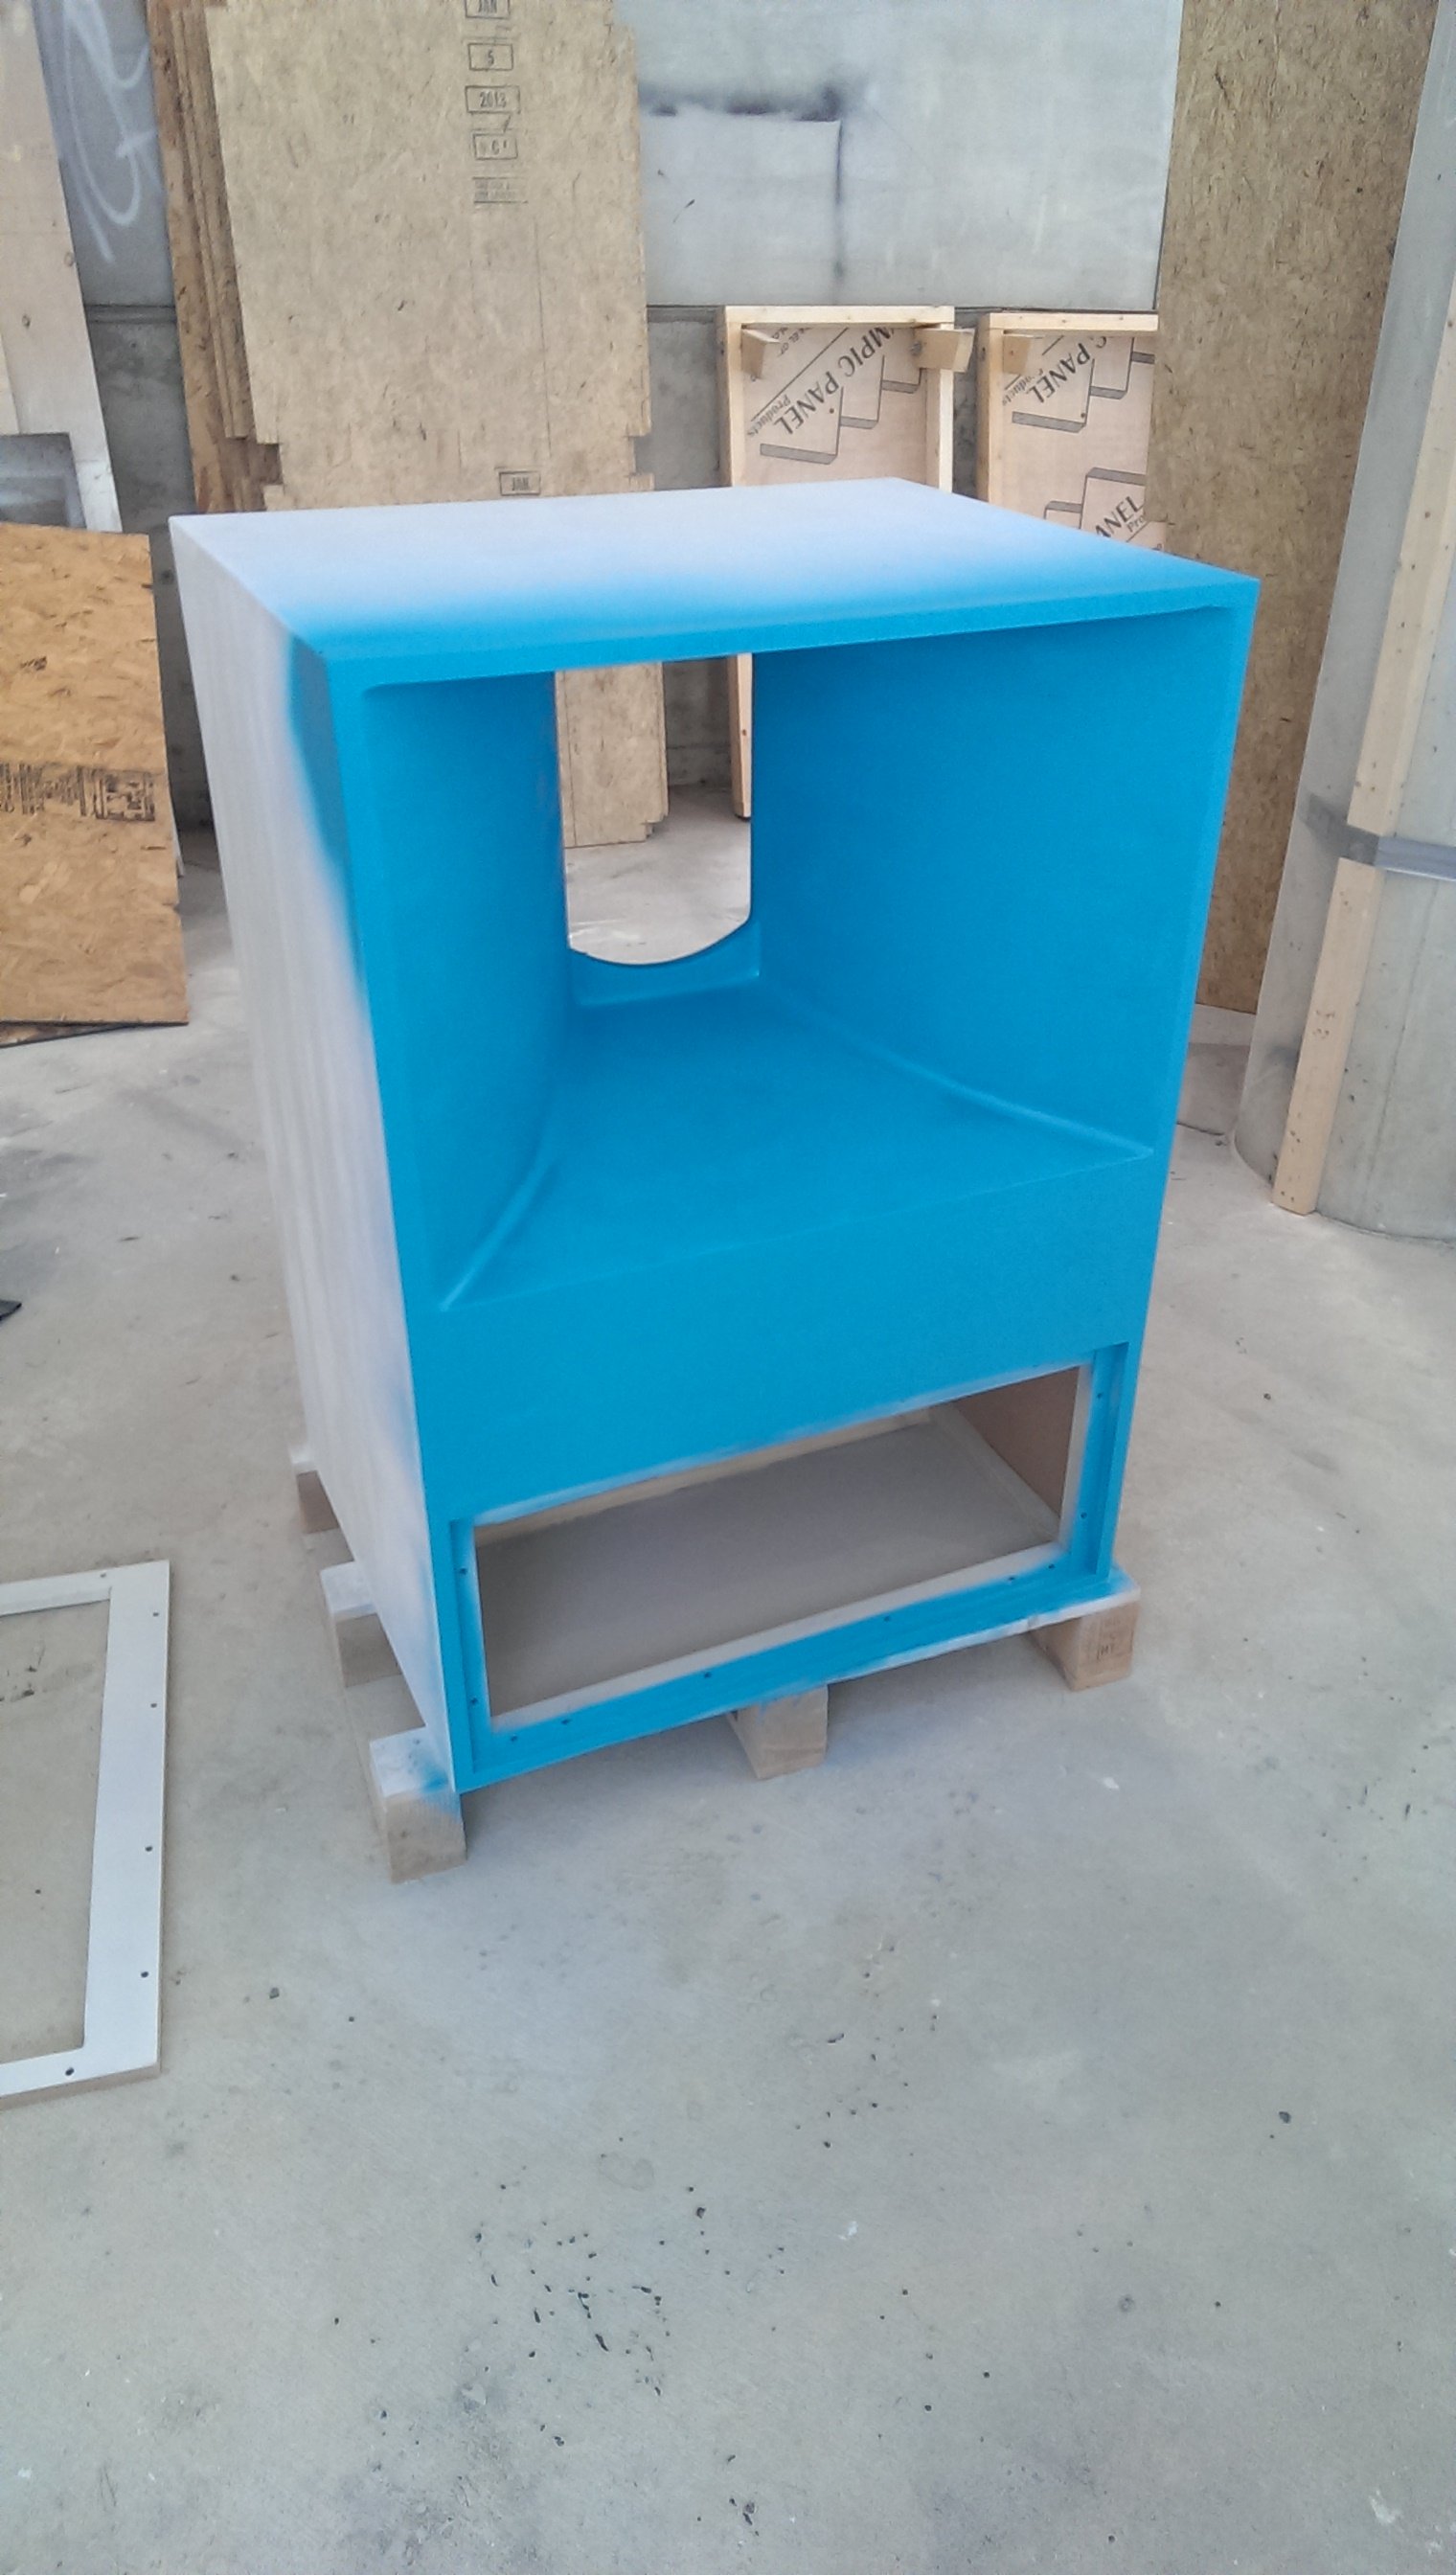
Woodwork


Compression Driver and Misc Assembly